Wireless-G Internet Video Camera
Chapter 5: Setting up and Mounting the Wireless-G Internet Video Camera
Setup Wizard
The
1.Insert the Setup
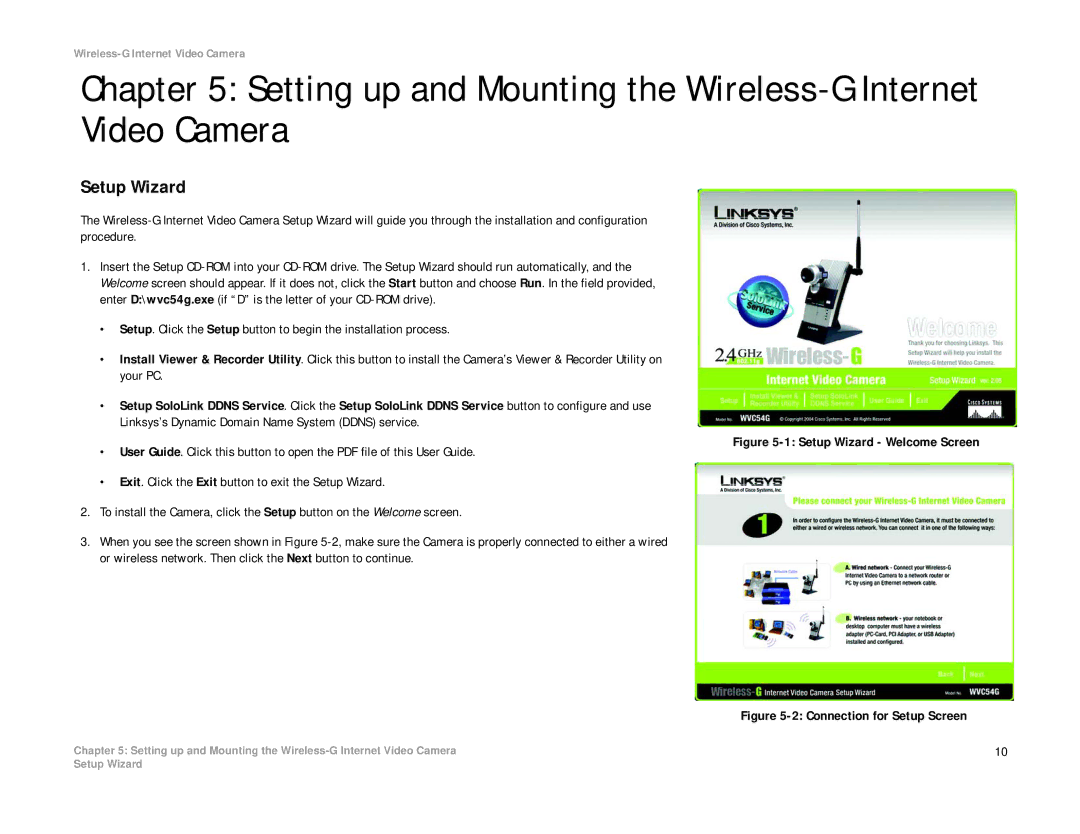
•Setup. Click the Setup button to begin the installation process.
•Install Viewer & Recorder Utility. Click this button to install the Camera’s Viewer & Recorder Utility on your PC.
•Setup SoloLink DDNS Service. Click the Setup SoloLink DDNS Service button to configure and use Linksys’s Dynamic Domain Name System (DDNS) service.
Figure 5-1: Setup Wizard - Welcome Screen
•User Guide. Click this button to open the PDF file of this User Guide.
•Exit. Click the Exit button to exit the Setup Wizard.
2.To install the Camera, click the Setup button on the Welcome screen.
3.When you see the screen shown in Figure 5-2, make sure the Camera is properly connected to either a wired or wireless network. Then click the Next button to continue.
Figure 5-2: Connection for Setup Screen
Chapter 5: Setting up and Mounting the | 10 |
Setup Wizard