Wireless-G Internet Video Camera
View
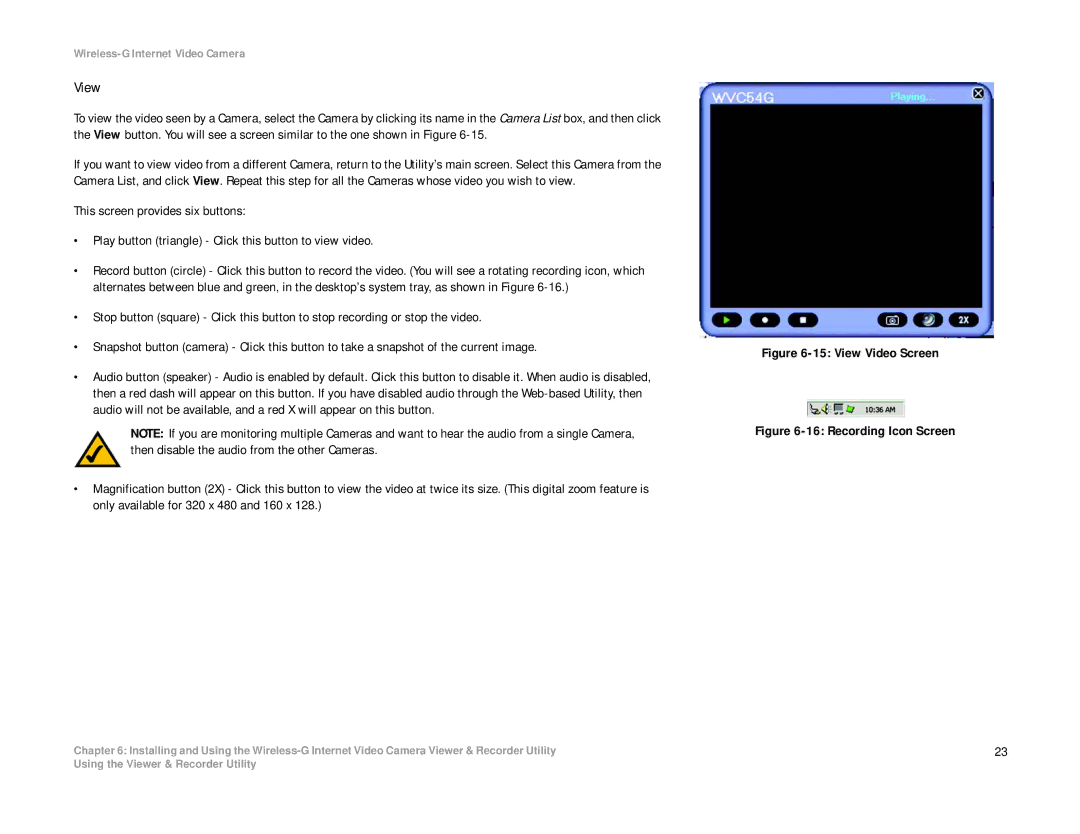
To view the video seen by a Camera, select the Camera by clicking its name in the Camera List box, and then click the View button. You will see a screen similar to the one shown in Figure
If you want to view video from a different Camera, return to the Utility’s main screen. Select this Camera from the Camera List, and click View. Repeat this step for all the Cameras whose video you wish to view.
This screen provides six buttons:
•Play button (triangle) - Click this button to view video.
•Record button (circle) - Click this button to record the video. (You will see a rotating recording icon, which alternates between blue and green, in the desktop’s system tray, as shown in Figure
•Stop button (square) - Click this button to stop recording or stop the video.
•Snapshot button (camera) - Click this button to take a snapshot of the current image.
•Audio button (speaker) - Audio is enabled by default. Click this button to disable it. When audio is disabled, then a red dash will appear on this button. If you have disabled audio through the
NOTE: If you are monitoring multiple Cameras and want to hear the audio from a single Camera, then disable the audio from the other Cameras.
•Magnification button (2X) - Click this button to view the video at twice its size. (This digital zoom feature is only available for 320 x 480 and 160 x 128.)
Chapter 6: Installing and Using the
Figure 6-15: View Video Screen
Figure 6-16: Recording Icon Screen
23
Using the Viewer & Recorder Utility
