Wireless-G Internet Video Camera
20.Set up port forwarding on your network router, so the SoloLink DDNS Service will be able to track the
For other routers, refer to your router’s documentation.
The SoloLink DDNS setup is complete. If you want to register more Cameras with your SoloLink account,
proceed to the “SoloLink Registration of Additional Cameras” section.
For more information about the Camera’s
SoloLink Registration of Additional Cameras
After you have set up your SoloLink account, you can add more Cameras to your SoloLink account using each Camera’s
1.To access a Camera’s
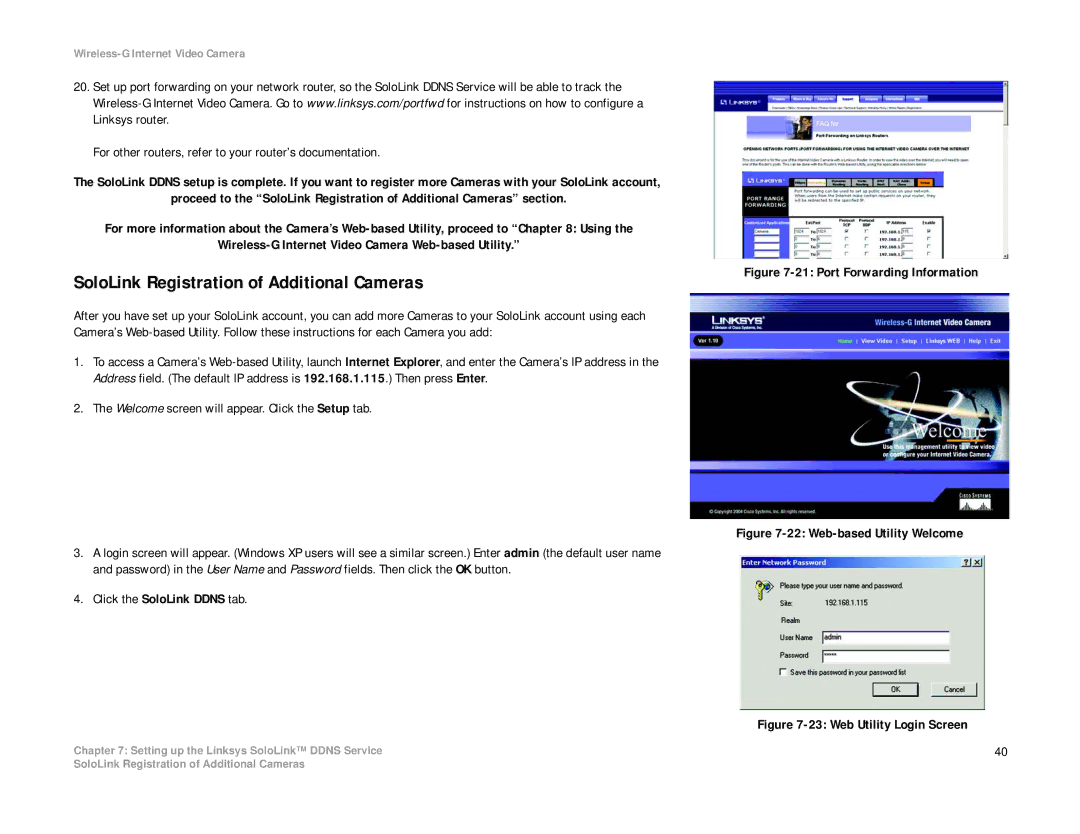
2.The Welcome screen will appear. Click the Setup tab.
3.A login screen will appear. (Windows XP users will see a similar screen.) Enter admin (the default user name and password) in the User Name and Password fields. Then click the OK button.
4.Click the SoloLink DDNS tab.
Chapter 7: Setting up the Linksys SoloLink™ DDNS Service
Figure 7-21: Port Forwarding Information
Figure 7-22: Web-based Utility Welcome
Figure 7-23: Web Utility Login Screen
40
SoloLink Registration of Additional Cameras