Wireless-G Internet Video Camera
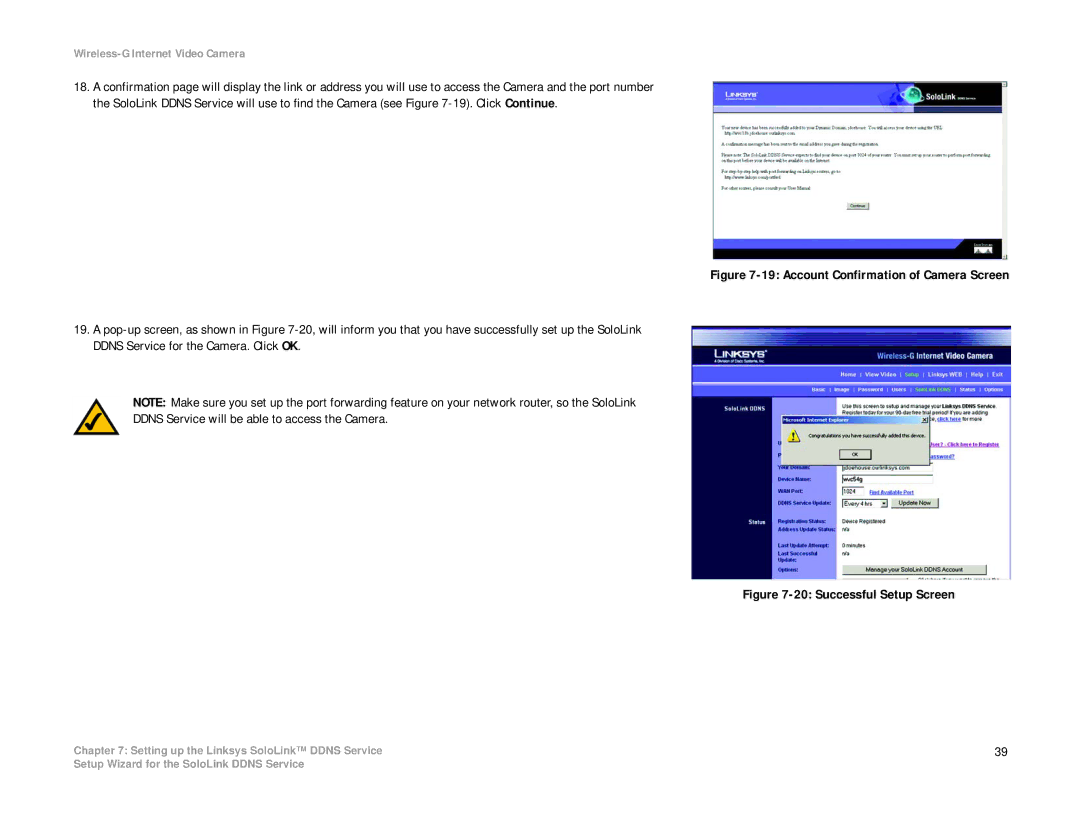
18.A confirmation page will display the link or address you will use to access the Camera and the port number the SoloLink DDNS Service will use to find the Camera (see Figure
Figure 7-19: Account Confirmation of Camera Screen
19.A pop-up screen, as shown in Figure 7-20, will inform you that you have successfully set up the SoloLink DDNS Service for the Camera. Click OK.
NOTE: Make sure you set up the port forwarding feature on your network router, so the SoloLink
DDNS Service will be able to access the Camera.
Figure 7-20: Successful Setup Screen
Chapter 7: Setting up the Linksys SoloLink™ DDNS Service | 39 |
Setup Wizard for the SoloLink DDNS Service