Wireless-G Internet Video Camera
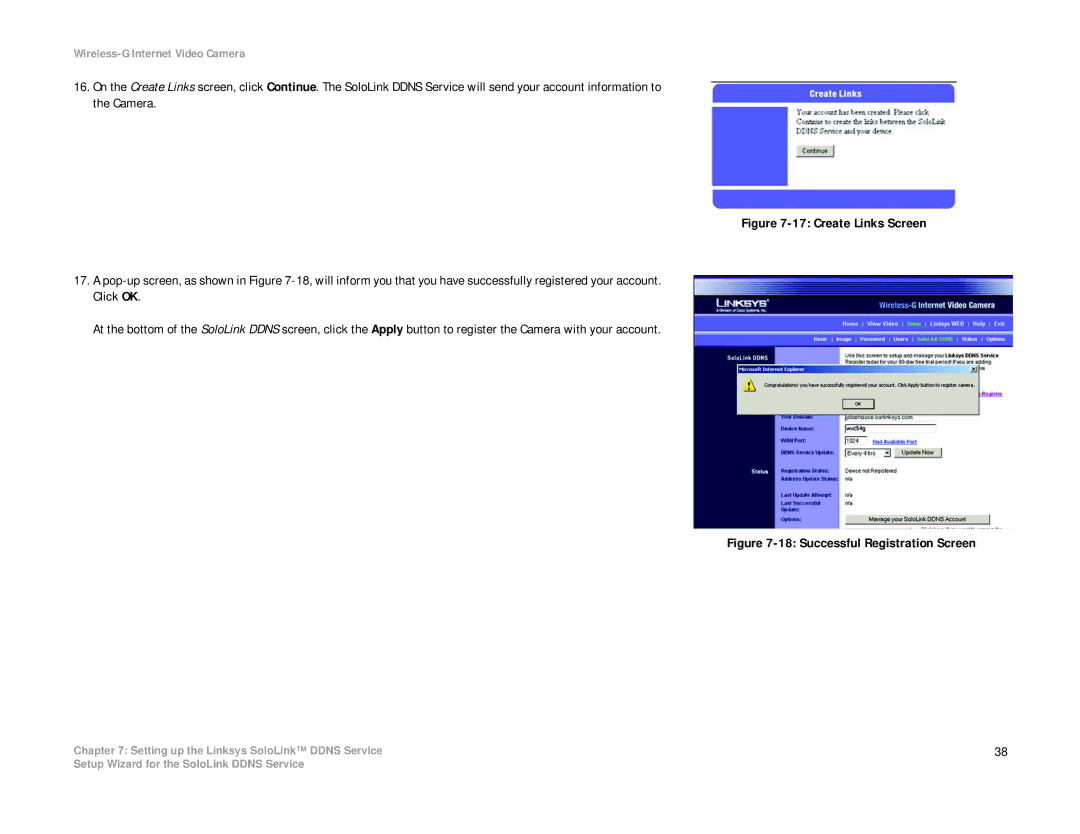
16.On the Create Links screen, click Continue. The SoloLink DDNS Service will send your account information to the Camera.
Figure 7-17: Create Links Screen
17.A pop-up screen, as shown in Figure 7-18, will inform you that you have successfully registered your account. Click OK.
At the bottom of the SoloLink DDNS screen, click the Apply button to register the Camera with your account.
Figure 7-18: Successful Registration Screen
Chapter 7: Setting up the Linksys SoloLink™ DDNS Service | 38 |
Setup Wizard for the SoloLink DDNS Service