16Chapter 2: Hardware installation
Installing Matrox Meteor-II /Camera Link
Before you install your board, some precautionary measures must be taken. Turn off the power to the computer and its peripherals, and drain static electricity from your body (by touching a metal part of the computer chassis). Next, follow the steps to install your board. Note that the Matrox
✁If you are not using Windows NT as your operating system, your board must be installed before you install the software (either MIL or one of its derivatives). If you are adding another Matrox
Installing Matrox
Use the following steps to install your Matrox
1.Remove the cover from your computer using the instructions from your computer manual.
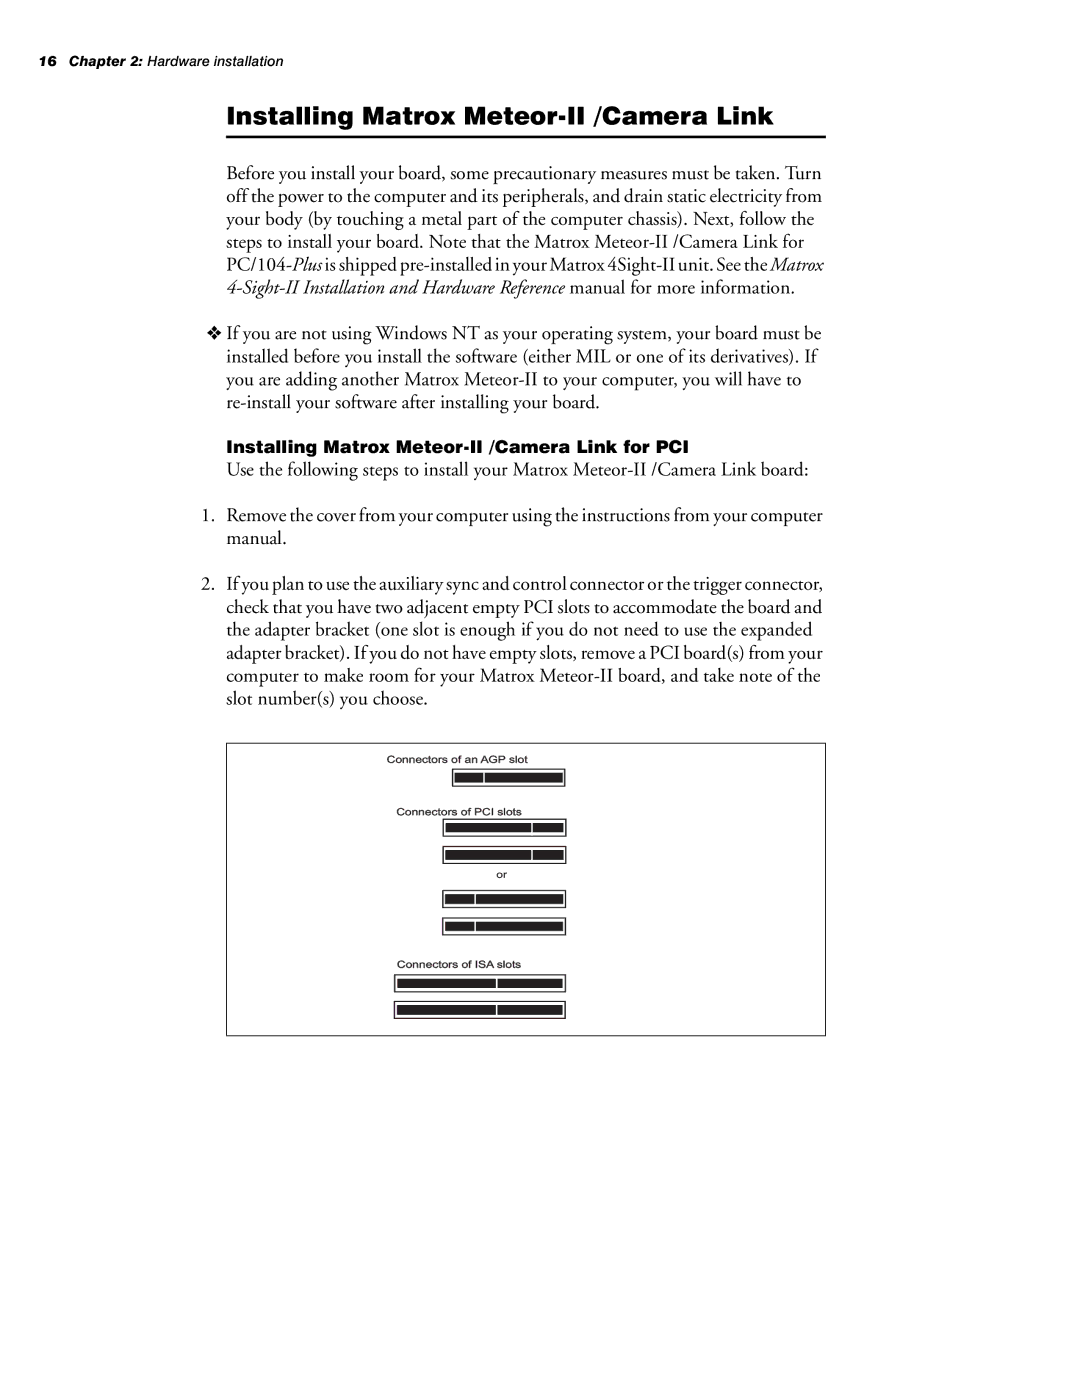
2.If you plan to use the auxiliary sync and control connector or the trigger connector, check that you have two adjacent empty PCI slots to accommodate the board and the adapter bracket (one slot is enough if you do not need to use the expanded adapter bracket). If you do not have empty slots, remove a PCI board(s) from your computer to make room for your Matrox
Connectors of an AGP slot
Connectors of PCI slots
or
Connectors of ISA slots