Disassembly Procedures

!WARNING

To avoid risk of electrical shock, personal injury, or death, disconnect power to unit before servicing.

Oven Light Bulb/Oven Light Socket

1.Turn off power to unit.

2.Open oven door to gain access to oven light.

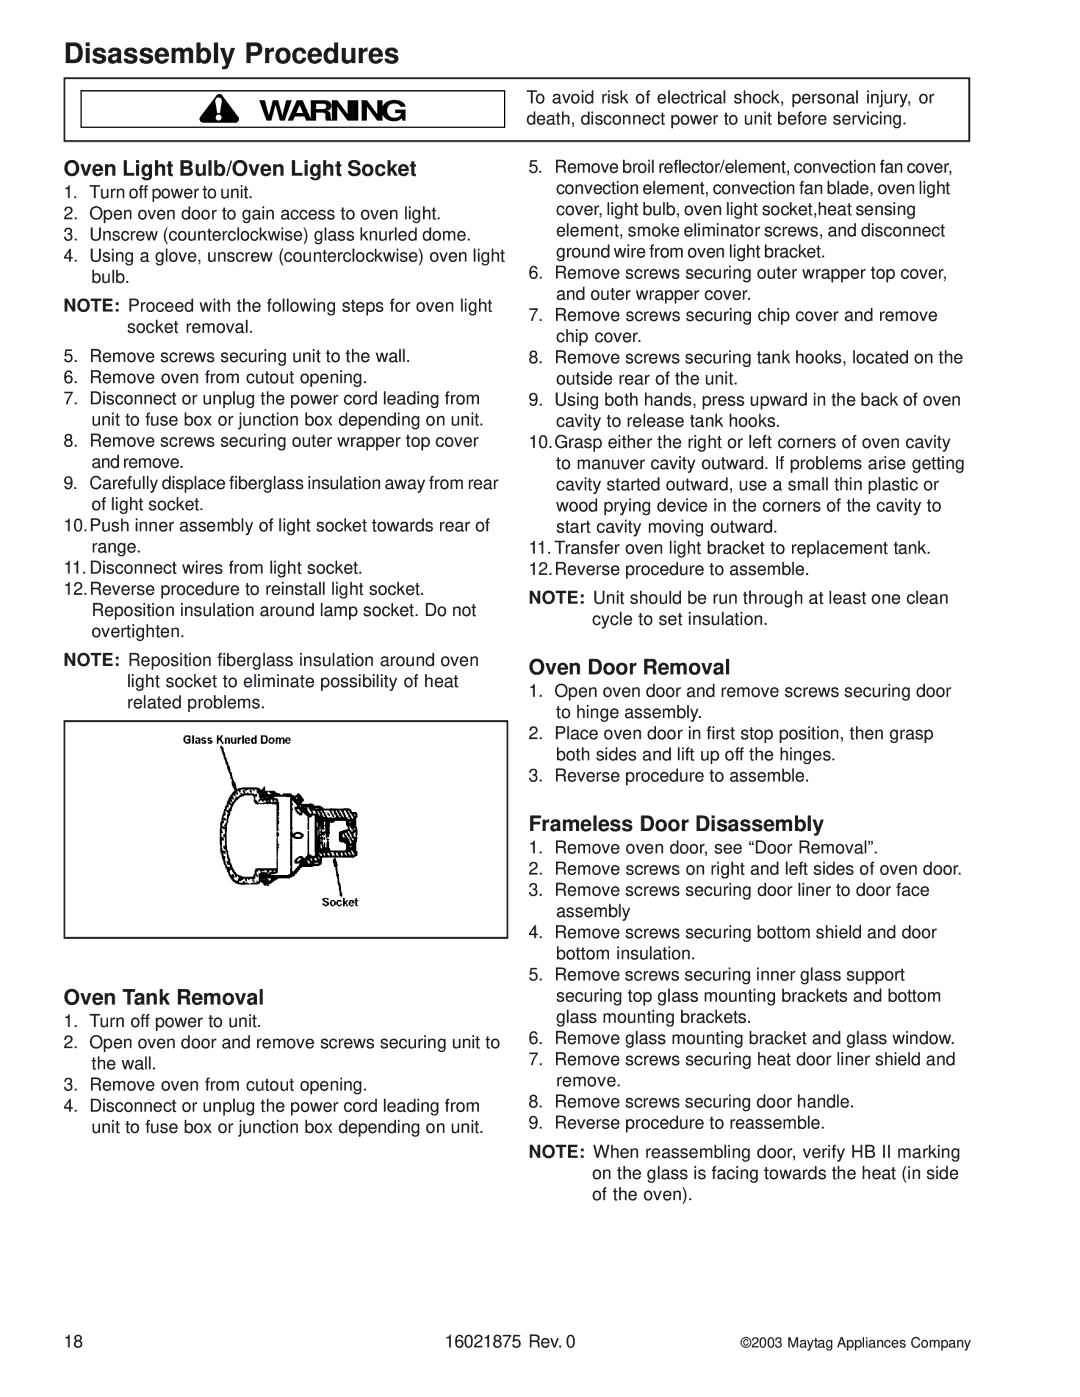
3.Unscrew (counterclockwise) glass knurled dome.

4.Using a glove, unscrew (counterclockwise) oven light bulb.

NOTE: Proceed with the following steps for oven light socket removal.

5.Remove screws securing unit to the wall.

6.Remove oven from cutout opening.

7.Disconnect or unplug the power cord leading from unit to fuse box or junction box depending on unit.

8.Remove screws securing outer wrapper top cover and remove.

9.Carefully displace fiberglass insulation away from rear of light socket.

10.Push inner assembly of light socket towards rear of range.

11.Disconnect wires from light socket.

12.Reverse procedure to reinstall light socket. Reposition insulation around lamp socket. Do not overtighten.

NOTE: Reposition fiberglass insulation around oven light socket to eliminate possibility of heat related problems.

Oven Tank Removal

1.Turn off power to unit.

2.Open oven door and remove screws securing unit to the wall.

3.Remove oven from cutout opening.

4.Disconnect or unplug the power cord leading from unit to fuse box or junction box depending on unit.

5.Remove broil reflector/element, convection fan cover, convection element, convection fan blade, oven light cover, light bulb, oven light socket,heat sensing element, smoke eliminator screws, and disconnect ground wire from oven light bracket.

6.Remove screws securing outer wrapper top cover, and outer wrapper cover.

7.Remove screws securing chip cover and remove chip cover.

8.Remove screws securing tank hooks, located on the outside rear of the unit.

9.Using both hands, press upward in the back of oven cavity to release tank hooks.

10.Grasp either the right or left corners of oven cavity to manuver cavity outward. If problems arise getting cavity started outward, use a small thin plastic or wood prying device in the corners of the cavity to start cavity moving outward.

11.Transfer oven light bracket to replacement tank.

12.Reverse procedure to assemble.

NOTE: Unit should be run through at least one clean cycle to set insulation.

Oven Door Removal

1.Open oven door and remove screws securing door to hinge assembly.

2.Place oven door in first stop position, then grasp both sides and lift up off the hinges.

3.Reverse procedure to assemble.

Frameless Door Disassembly

1.Remove oven door, see “Door Removal”.

2.Remove screws on right and left sides of oven door.

3.Remove screws securing door liner to door face assembly

4.Remove screws securing bottom shield and door bottom insulation.

5.Remove screws securing inner glass support securing top glass mounting brackets and bottom glass mounting brackets.

6.Remove glass mounting bracket and glass window.

7.Remove screws securing heat door liner shield and remove.

8.Remove screws securing door handle.

9.Reverse procedure to reassemble.

NOTE: When reassembling door, verify HB II marking on the glass is facing towards the heat (in side of the oven).

18

16021875 Rev. 0

©2003 Maytag Appliances Company

Page 18
Image 18
Maytag AOES3030 manual Oven Light Bulb/Oven Light Socket, Oven Tank Removal, Oven Door Removal, Frameless Door Disassembly

AOCS3040, AOES3030 specifications

The Maytag AOES3030 and AOCS3040 are two standout models in the Maytag lineup, offering robust performance and thoughtful design, making them ideal for modern households. These models reflect Maytag's commitment to durability, convenience, and user-friendly features.

The AOES3030 is known for its spaciousness, featuring a large oven capacity that allows home cooks to prepare multiple dishes at once, making it perfect for family gatherings or meal prepping. Its cooking surface is crafted with high-quality materials, ensuring durability and ease of cleaning. One of the key technologies incorporated into the AOES3030 is the Precision Cooking System. This innovation optimizes the cooking process by utilizing advanced sensors that monitor and adjust cooking times and temperatures, ensuring perfectly cooked meals every time.

In contrast, the AOCS3040 offers a versatile cooking solution with its unique range of features. The AOCS3040 is equipped with a powerful induction cooktop that allows for rapid heating and precise temperature control. Induction cooking is known for its energy efficiency as it directly heats pots and pans without heating the surrounding area, thus minimizing energy waste. Furthermore, the AOCS3040 includes a built-in oven with a self-cleaning feature, taking the hassle out of maintaining a pristine cooking environment.

Both models showcase Maytag's commitment to reliable performance, incorporating heavy-duty components that are built to last. They are designed with user-friendly controls that are intuitive, enhancing the overall cooking experience. Another noteworthy aspect of both models is their sleek, modern design, which includes stainless steel finishes that can seamlessly blend into any kitchen decor.

Safety features are also a priority, with each model incorporating child locks and automatic shut-off options, making them suitable for households with children. With their blend of innovative technologies, user-focused features, and robust construction, the Maytag AOES3030 and AOCS3040 set a high standard for kitchen appliances, offering both style and function for the modern chef. These models demonstrate that Maytag continues to innovate while honoring the brand's legacy of reliability.