Disassembly Procedures
!WARNING
To avoid risk of electrical shock, personal injury, or death: disconnect electrical and gas supply before servicing.
Oven Sensor
The oven sensor is located inside oven cavity, attached to the upper left rear wall of the cavity.
1.Disconnect power before servicing.
2.Open oven door and remove screws securing sensor to oven cavity.
NOTE: Gently pull wiring through cavity wall.
3.Disconnect sensor at connector block and remove.
4.Reverse procedures to reassemble.
NOTE: Verify connect is pushed through the insulation.
Electronic Clock
1.Disconnect power before servicing.
2.Remove vent deflector by removing screws located on the underside of the control panel.
3.Remove screws securing backguard panel to backguard housing. (Screws are located on the bottom and back side of control panel.)
4.Lift control panel up, tilt forward, and lay panel on a protected surface of the maintop for servicing.
5.Remove screw securing mounting plate to backguard.
6.Disconnect wiring and remove control.
7.Reverse procedures to reassemble.
Oven Light Replacement
The oven light used is a 120 volt, 20 watt Halogen bulb. The light automatically illuminates when the door is opened, or may be manually activated when the door is closed via the light pad. The light will not operate during a clean cycle. The oven light automatically illuminates one minute before the end of a
1.Disconnect power before servicing.
2.Open oven door and locate oven light.
3.Grasp lens cover and pull outward on one side to gain access to bulb.
4.Carefully remove old bulb, by lifting bulb straight out of ceramic base.
NOTE: To avoid damaging the new bulb and decreasing life of the bulb, do not touch new bulb with bare hands or fingers.
Hold with a cloth or paper towel.
5. Reverse procedures to reassemble.
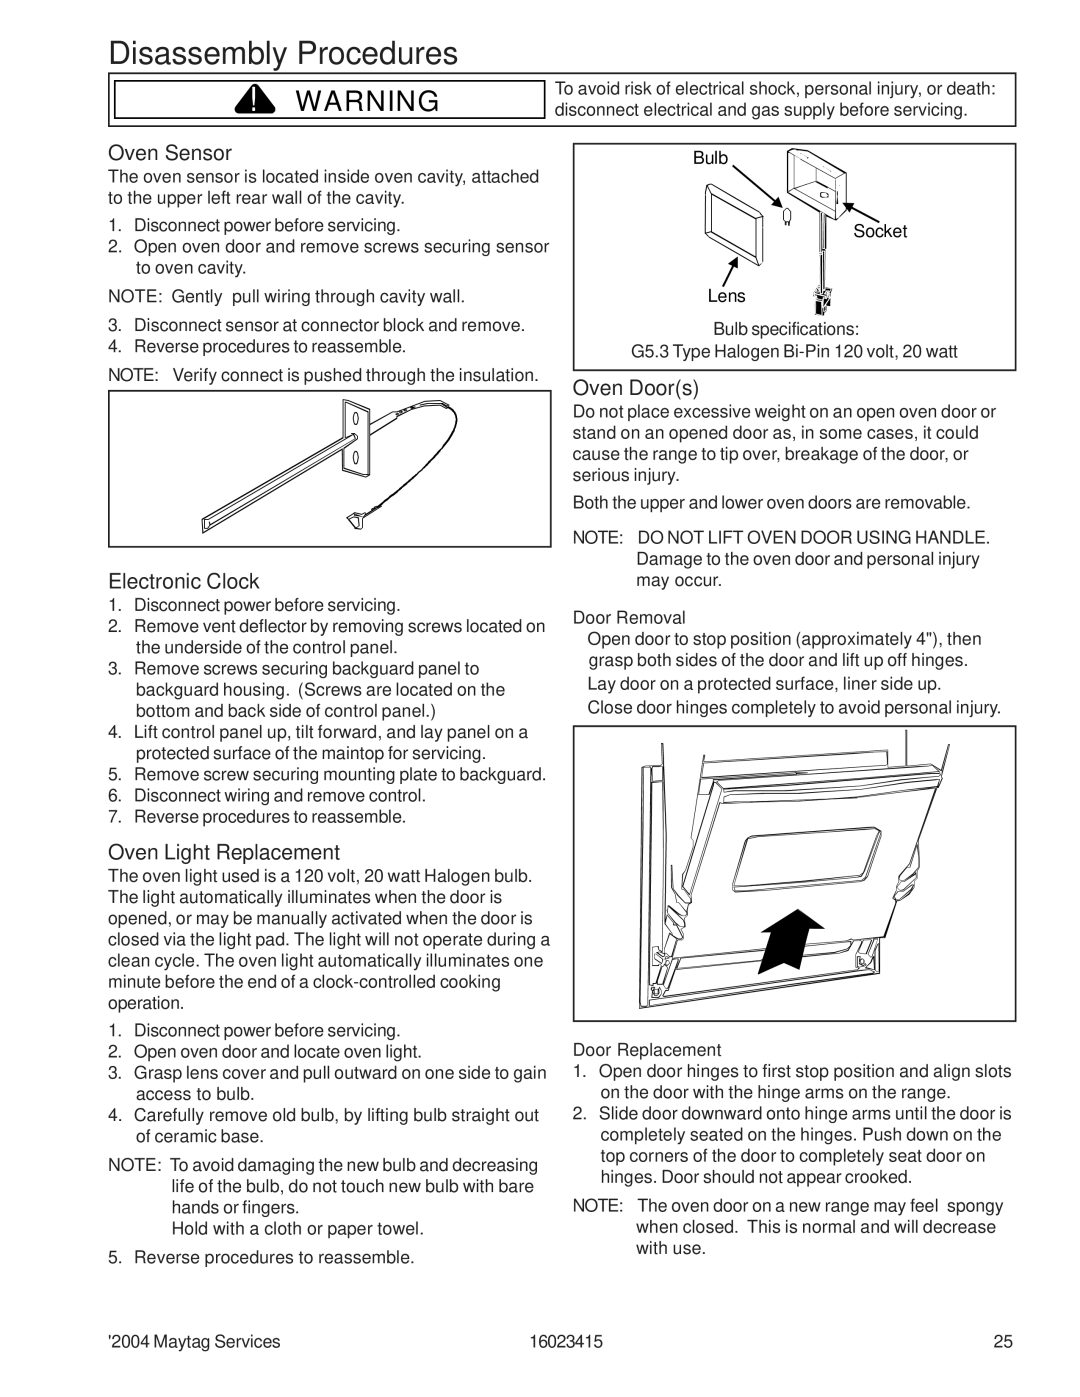
Bulb
Socket
Lens
Bulb specifications:
G5.3 Type Halogen
Oven Door(s)
Do not place excessive weight on an open oven door or stand on an opened door as, in some cases, it could cause the range to tip over, breakage of the door, or serious injury.
Both the upper and lower oven doors are removable.
NOTE: DO NOT LIFT OVEN DOOR USING HANDLE. Damage to the oven door and personal injury may occur.
Door Removal
•Open door to stop position (approximately 4"), then grasp both sides of the door and lift up off hinges.
•Lay door on a protected surface, liner side up.
•Close door hinges completely to avoid personal injury.
Door Replacement
1.Open door hinges to first stop position and align slots on the door with the hinge arms on the range.
2.Slide door downward onto hinge arms until the door is completely seated on the hinges. Push down on the top corners of the door to completely seat door on hinges. Door should not appear crooked.
NOTE: The oven door on a new range may feel “spongy” when closed. This is normal and will decrease with use.
©2004 Maytag Services | 16023415 | 25 |