SETUP, con’t
Note: The title of the icon
4.Return to the Video Setup Menu by pressing the Up directional
5.Next continue to the BLACK LEVEL Settings. If no other changes are to be made in Setup Mode at this
time, exit by pressing the Down directional Push- button to select the EXIT SETUP menu choice fol- lowed by the SELECT
Note: The SETUP
Black Level
The Black Level adjustment allows for changing the over- all light to dark video level range to match up with the Monitor/TV capabilities. To change from the default set- ting perform the following steps:
1. Press the SETUP
Note: If there is a Disc playing in the MVP861 press the STOP
2. Use the Down directional
3. To change from the default setting use the Up or Down directional
Note: The title of the icon
4.Return to the Video Setup Menu by pressing the Up directional
5.Next continue to the SQUEEZE MODE Settings. If no other changes are to be made in Setup Mode at this
time, exit by pressing the Down directional Push- button to select the EXIT SETUP menu choice fol- lowed by the SELECT
Note: The SETUP
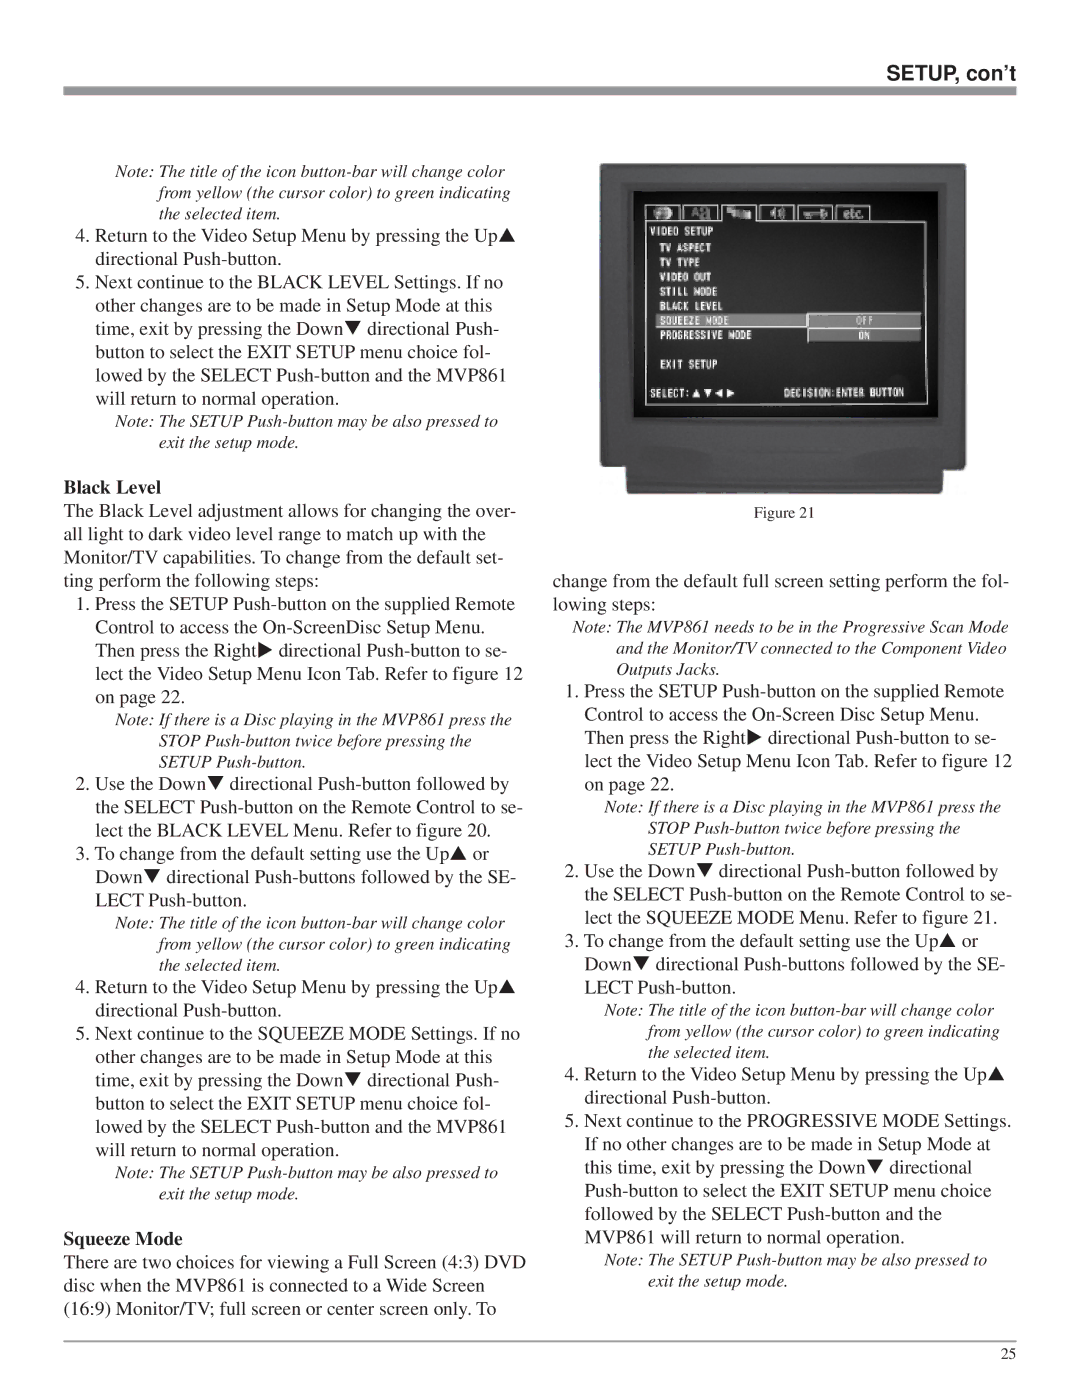
Squeeze Mode
There are two choices for viewing a Full Screen (4:3) DVD disc when the MVP861 is connected to a Wide Screen (16:9) Monitor/TV; full screen or center screen only. To
Figure 21
change from the default full screen setting perform the fol- lowing steps:
Note: The MVP861 needs to be in the Progressive Scan Mode and the Monitor/TV connected to the Component Video Outputs Jacks.
1.Press the SETUP
Then press the Right directional
Note: If there is a Disc playing in the MVP861 press the STOP
2. Use the Down directional
3. To change from the default setting use the Up or Down directional
Note: The title of the icon
4.Return to the Video Setup Menu by pressing the Up directional
5.Next continue to the PROGRESSIVE MODE Settings.
If no other changes are to be made in Setup Mode at this time, exit by pressing the Down directional
Note: The SETUP
25
