INSTALL THE DOOR LOCK AND SECURITY BRACKETS
7.Modify the lock plate at the top of the rear door. Remove the bolts and nuts from the lock plate. Rotate the plate so that the slot will be above the door. Reinstall the bolts and nuts and tighten firmly.
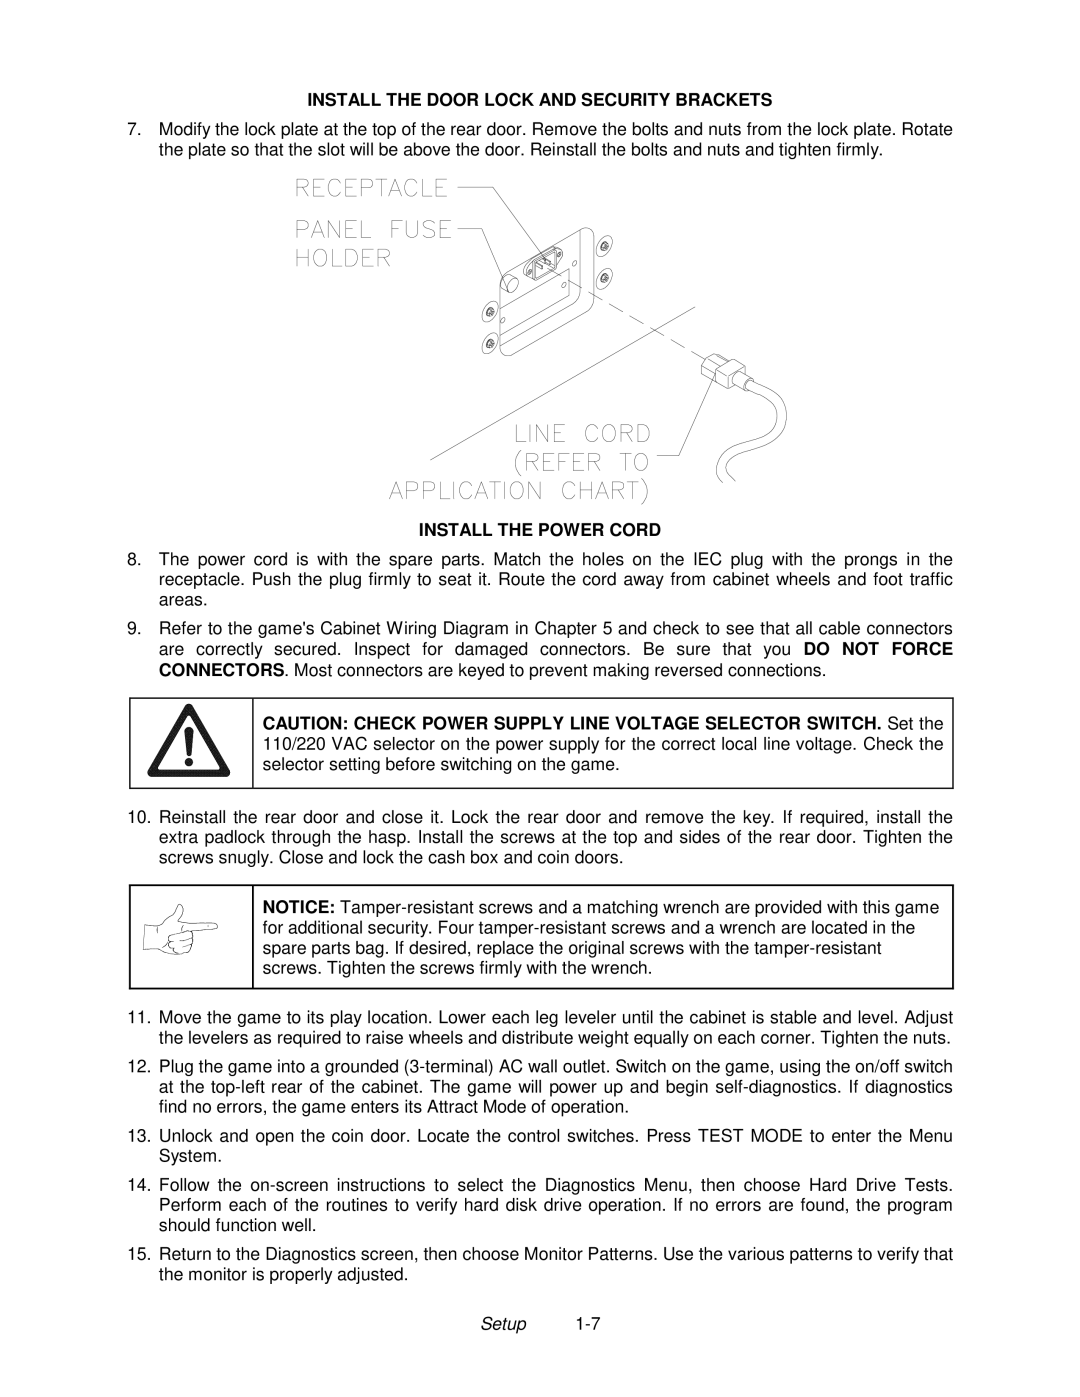
INSTALL THE POWER CORD
8.The power cord is with the spare parts. Match the holes on the IEC plug with the prongs in the receptacle. Push the plug firmly to seat it. Route the cord away from cabinet wheels and foot traffic areas.
9.Refer to the game's Cabinet Wiring Diagram in Chapter 5 and check to see that all cable connectors are correctly secured. Inspect for damaged connectors. Be sure that you DO NOT FORCE CONNECTORS. Most connectors are keyed to prevent making reversed connections.
CAUTION: CHECK POWER SUPPLY LINE VOLTAGE SELECTOR SWITCH. Set the 110/220 VAC selector on the power supply for the correct local line voltage. Check the selector setting before switching on the game.
10.Reinstall the rear door and close it. Lock the rear door and remove the key. If required, install the extra padlock through the hasp. Install the screws at the top and sides of the rear door. Tighten the screws snugly. Close and lock the cash box and coin doors.
NOTICE:
11.Move the game to its play location. Lower each leg leveler until the cabinet is stable and level. Adjust the levelers as required to raise wheels and distribute weight equally on each corner. Tighten the nuts.
12.Plug the game into a grounded
13.Unlock and open the coin door. Locate the control switches. Press TEST MODE to enter the Menu System.
14.Follow the
15.Return to the Diagnostics screen, then choose Monitor Patterns. Use the various patterns to verify that the monitor is properly adjusted.