User’s Manual
Select the desired screen layout using the layout toolbar. When changing the screen layout, the selected camera on the current screen will be located in the first cell of the new layout. When in one of the multi- view formats, selecting Previous Cameras or Next Cameras will move to the previous or next page. In other words, when viewing Cameras 1 to 4 in the quad format, selecting Previous Cameras will display Cameras 61 to 64 and selecting Next Cameras will display Cameras 5 to 8. Selecting Full Screen enters the
Frame Layout
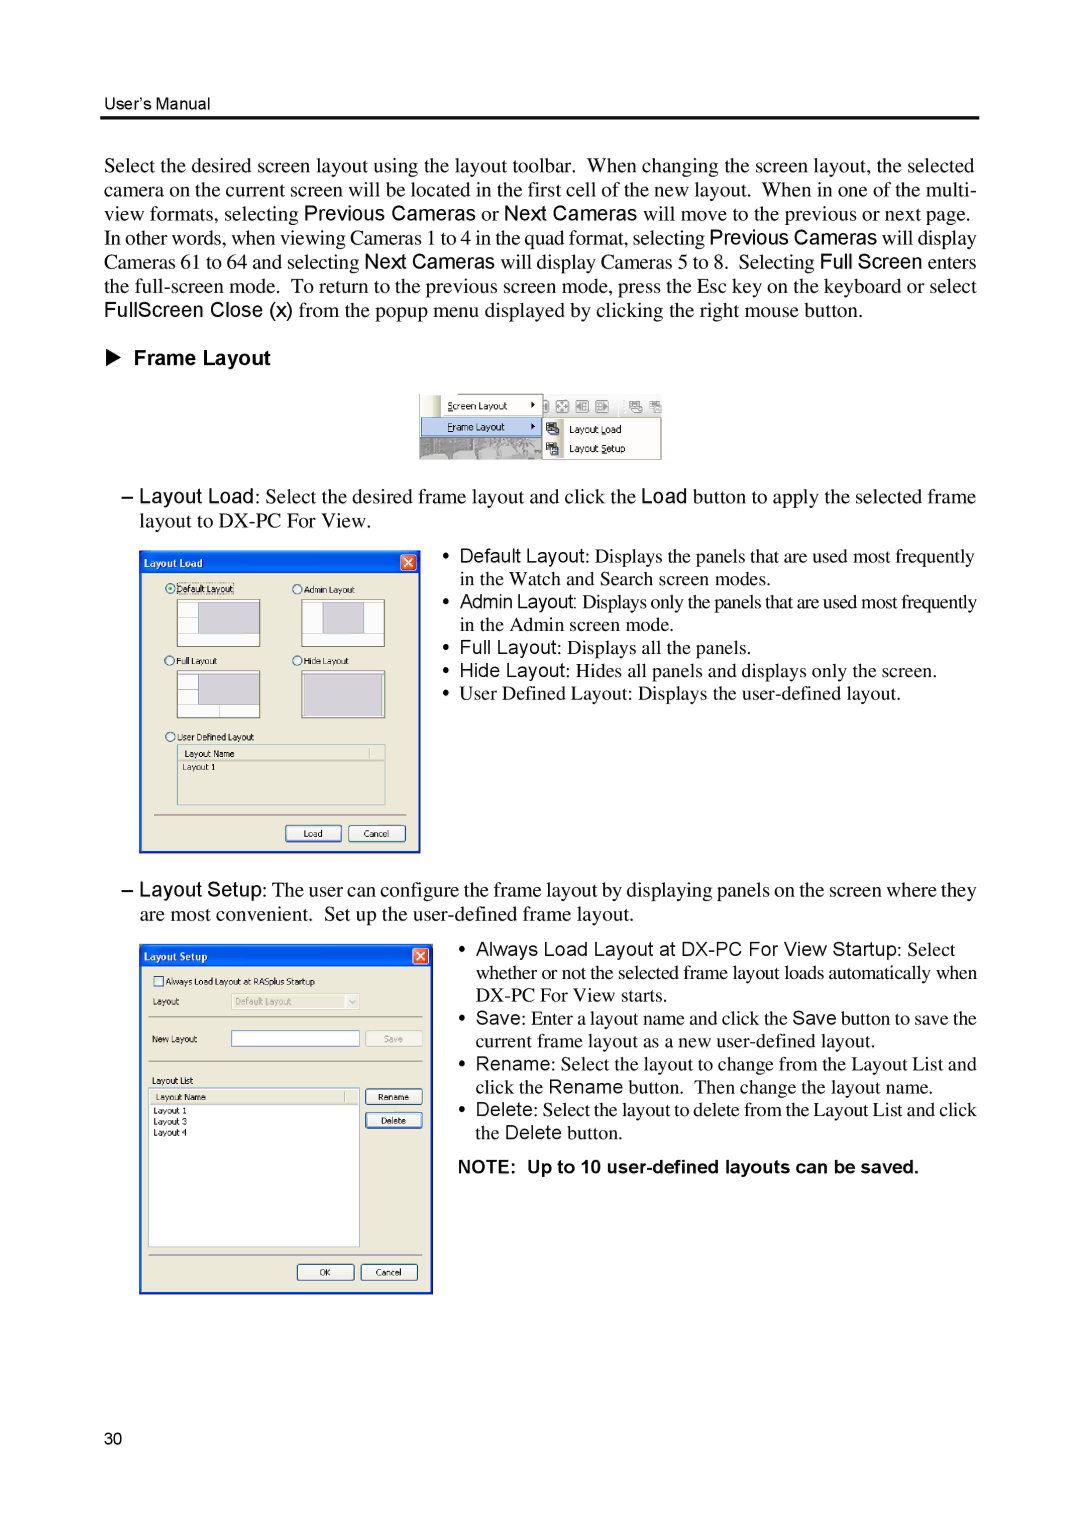
–Layout Load: Select the desired frame layout and click the Load button to apply the selected frame layout to
Default Layout: Displays the panels that are used most frequently in the Watch and Search screen modes.
Admin Layout: Displays only the panels that are used most frequently in the Admin screen mode.
Full Layout: Displays all the panels.
Hide Layout: Hides all panels and displays only the screen.
User Defined Layout: Displays the
–Layout Setup: The user can configure the frame layout by displaying panels on the screen where they are most convenient. Set up the
Always Load Layout at
Save: Enter a layout name and click the Save button to save the current frame layout as a new
Rename: Select the layout to change from the Layout List and click the Rename button. Then change the layout name.
Delete: Select the layout to delete from the Layout List and click the Delete button.
NOTE: Up to 10
30
