Chapter 5. TV Menu Settings | 61 |
Main Menu
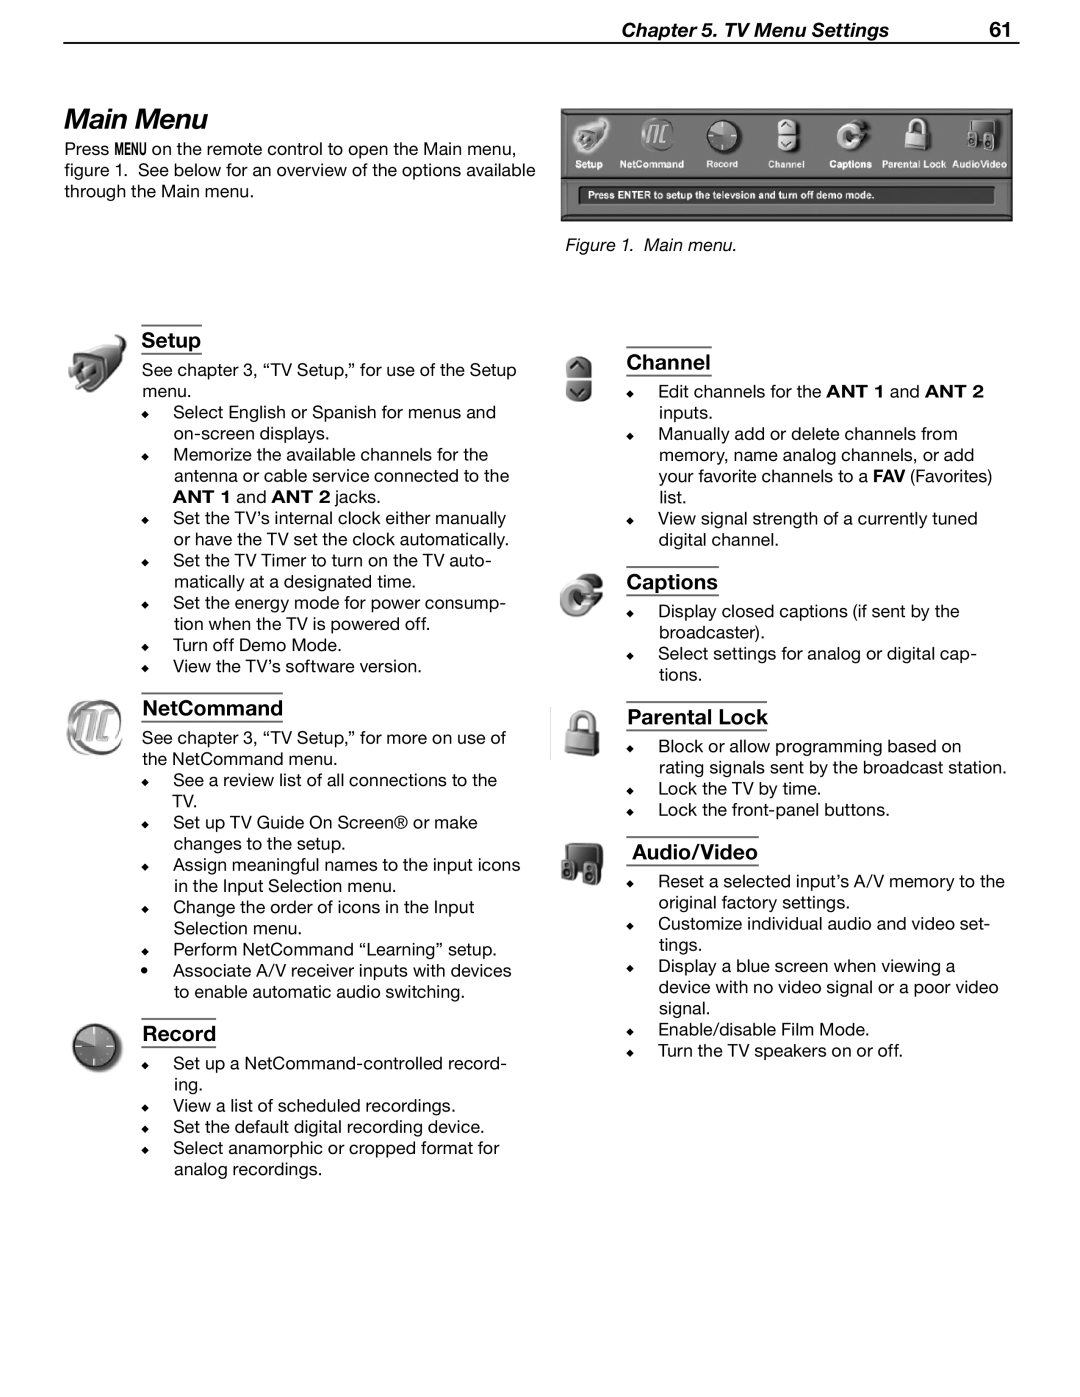
Press MENU on the remote control to open the Main menu, figure 1. See below for an overview of the options available through the Main menu.
Figure 1. Main menu.
 Setup
Setup
See chapter 3, “TV Setup,” for use of the Setup menu.
Select English or Spanish for menus and
Memorize the available channels for the antenna or cable service connected to the ANT 1 and ANT 2 jacks.
Set the TV’s internal clock either manually or have the TV set the clock automatically.
Set the TV Timer to turn on the TV auto- matically at a designated time.
Set the energy mode for power consump- tion when the TV is powered off.
Turn off Demo Mode.
View the TV’s software version.
NetCommand
See chapter 3, “TV Setup,” for more on use of the NetCommand menu.
See a review list of all connections to the TV.
Set up TV Guide On Screen® or make changes to the setup.
Assign meaningful names to the input icons in the Input Selection menu.
Change the order of icons in the Input Selection menu.
Perform NetCommand “Learning” setup.
•Associate A/V receiver inputs with devices to enable automatic audio switching.
Record
Set up a
View a list of scheduled recordings. Set the default digital recording device. Select anamorphic or cropped format for analog recordings.
Channel
Edit channels for the ANT 1 and ANT 2 inputs.
Manually add or delete channels from memory, name analog channels, or add your favorite channels to a FAV (Favorites) list.
View signal strength of a currently tuned digital channel.
Captions
Display closed captions (if sent by the broadcaster).
Select settings for analog or digital cap- tions.
Parental Lock
Block or allow programming based on rating signals sent by the broadcast station. Lock the TV by time.
Lock the
Audio/Video
Reset a selected input’s A/V memory to the original factory settings.
Customize individual audio and video set- tings.
Display a blue screen when viewing a device with no video signal or a poor video signal.
Enable/disable Film Mode. Turn the TV speakers on or off.
