KHLDV500, KHLDV400 specifications
The Monessen Hearth KHLDV400 is a high-performance gas fireplace designed to provide both warmth and aesthetic appeal to any living space. This unit is engineered with modern technology, making it an excellent choice for homeowners looking to enhance their home’s atmosphere while enjoying the benefits of efficient heating.One of the standout features of the KHLDV400 is its impressive heating capability. With an input of 40,000 BTUs, this gas fireplace is capable of heating spaces effectively, making it perfect for medium to large rooms. This fireplace utilizes a direct vent system, ensuring that combustion gases are efficiently expelled outside, while fresh air is drawn from the exterior to support the flame. This makes for a safe and environmentally friendly operation, as it minimizes indoor air pollution.
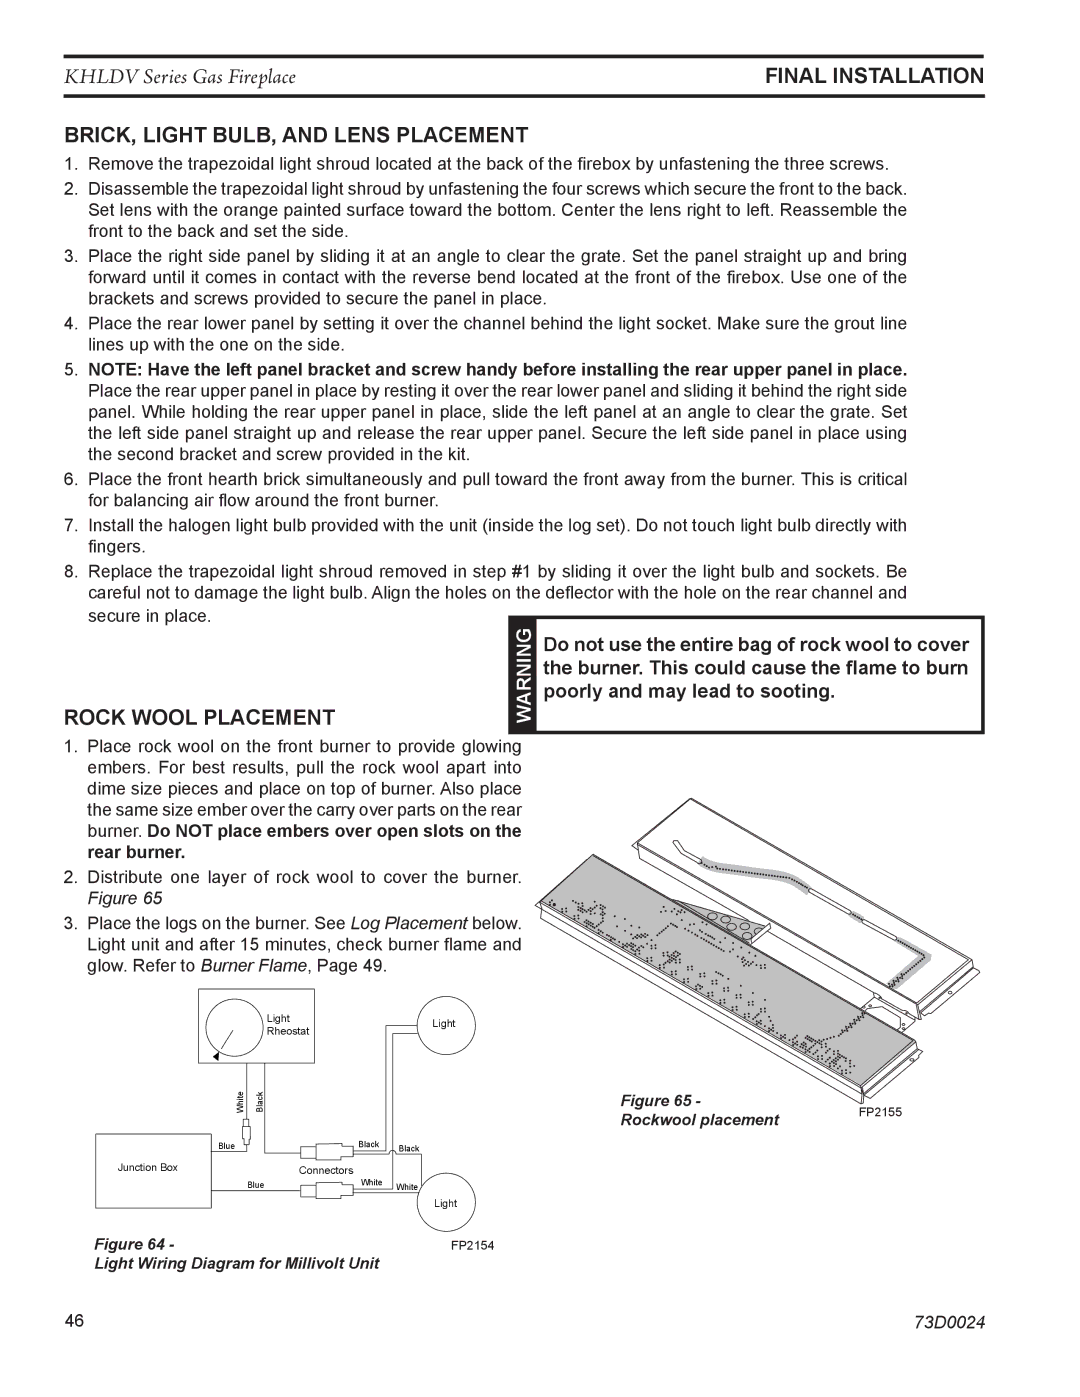
The KHLDV400 also boasts an innovative burner design that creates realistic flames, mimicking the look of traditional wood-burning fires. The fireplace comes with a choice of decorative media options, including glowing embers and fire glass, allowing homeowners to customize the look of their fireplace to match their personal style.
Another notable characteristic of the KHLDV400 is its intuitive control system. It can be operated via a handheld remote or wall switch, providing convenience and ease of use. Homeowners can adjust the flame height and heat output with simple controls, ensuring comfort at all times. Additionally, it features a standing pilot option that enhances its reliability and safety during operation.
Durability and quality craftsmanship are hallmarks of the Monessen brand, and the KHLDV400 is no exception. The fireplace is built with high-quality materials designed to withstand the test of time. Its sleek, contemporary design features a clean-face appearance that enhances any decor, while the glass front allows for an unobstructed view of the beautiful flame display.
With its combination of style, advanced technology, and efficient heating capabilities, the Monessen Hearth KHLDV400 is an exceptional choice for those looking to invest in a gas fireplace that delivers both performance and elegance to their home.