UC-7420/7410 User’s Manual | Getting Started |
Telnet Console
If you know at least one of the two IP addresses and netmasks, then you can use Telnet to connect to UC-7420/7410’s console utility. The default IP address and Netmask for each of the two ports are given below:
| Default IP Address | Netmask |
LAN 1 | 192.168.3.127 | 255.255.255.0 |
LAN 2 | 192.168.4.127 | 255.255.255.0 |
Use a cross-over Ethernet cable to connect directly from your PC to UC-7420/7410. You should first modify your PC’s IP address and netmask so that your PC is on the same subnet as one of UC-7420/7410’s two LAN ports. For example, if you connect to LAN 1, you can set your PC’s IP address to 192.168.3.126 and netmask to 255.255.255.0. If you connect to LAN 2, you can set your PC’s IP address to 192.168.4.126 and netmask to 255.255.255.0.
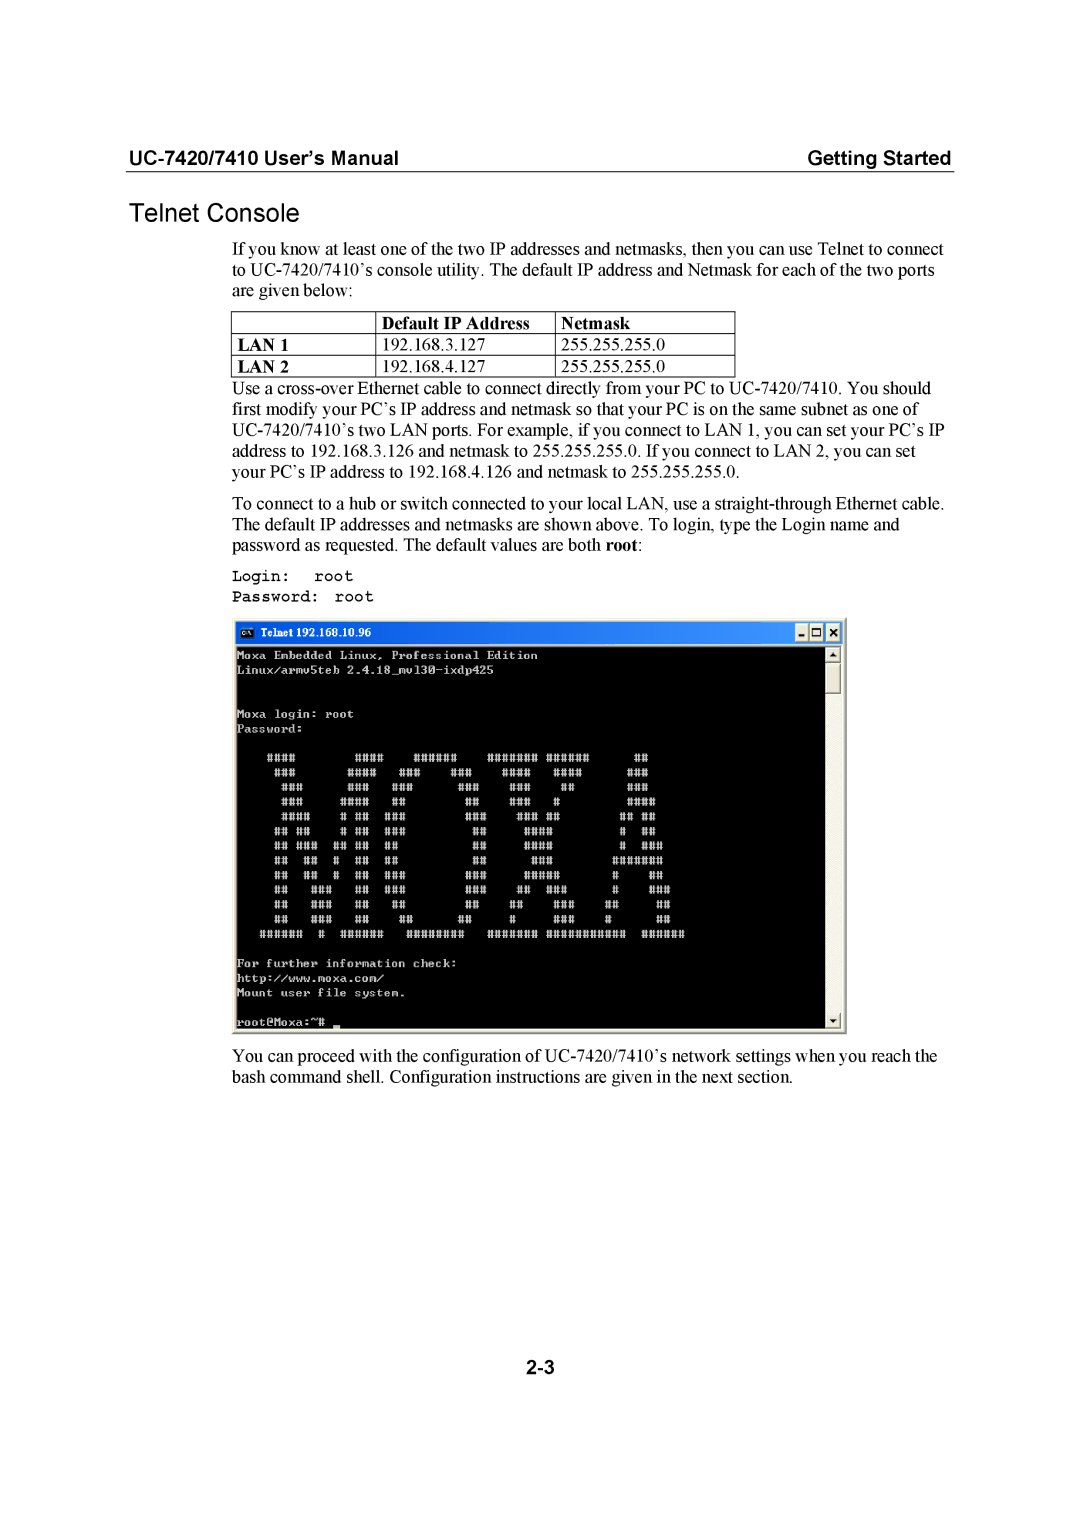
To connect to a hub or switch connected to your local LAN, use a straight-through Ethernet cable. The default IP addresses and netmasks are shown above. To login, type the Login name and password as requested. The default values are both root:
Login: root
Password: root
You can proceed with the configuration of UC-7420/7410’s network settings when you reach the bash command shell. Configuration instructions are given in the next section.
2-3