Installing Server Switch Unit on Rack
Mount the server switch unit on a proper rack in the following procedure:
1.Remove the console connection cable from the rear of the unit. Remove four shock absorbers from the bottom of the unit (if installed).
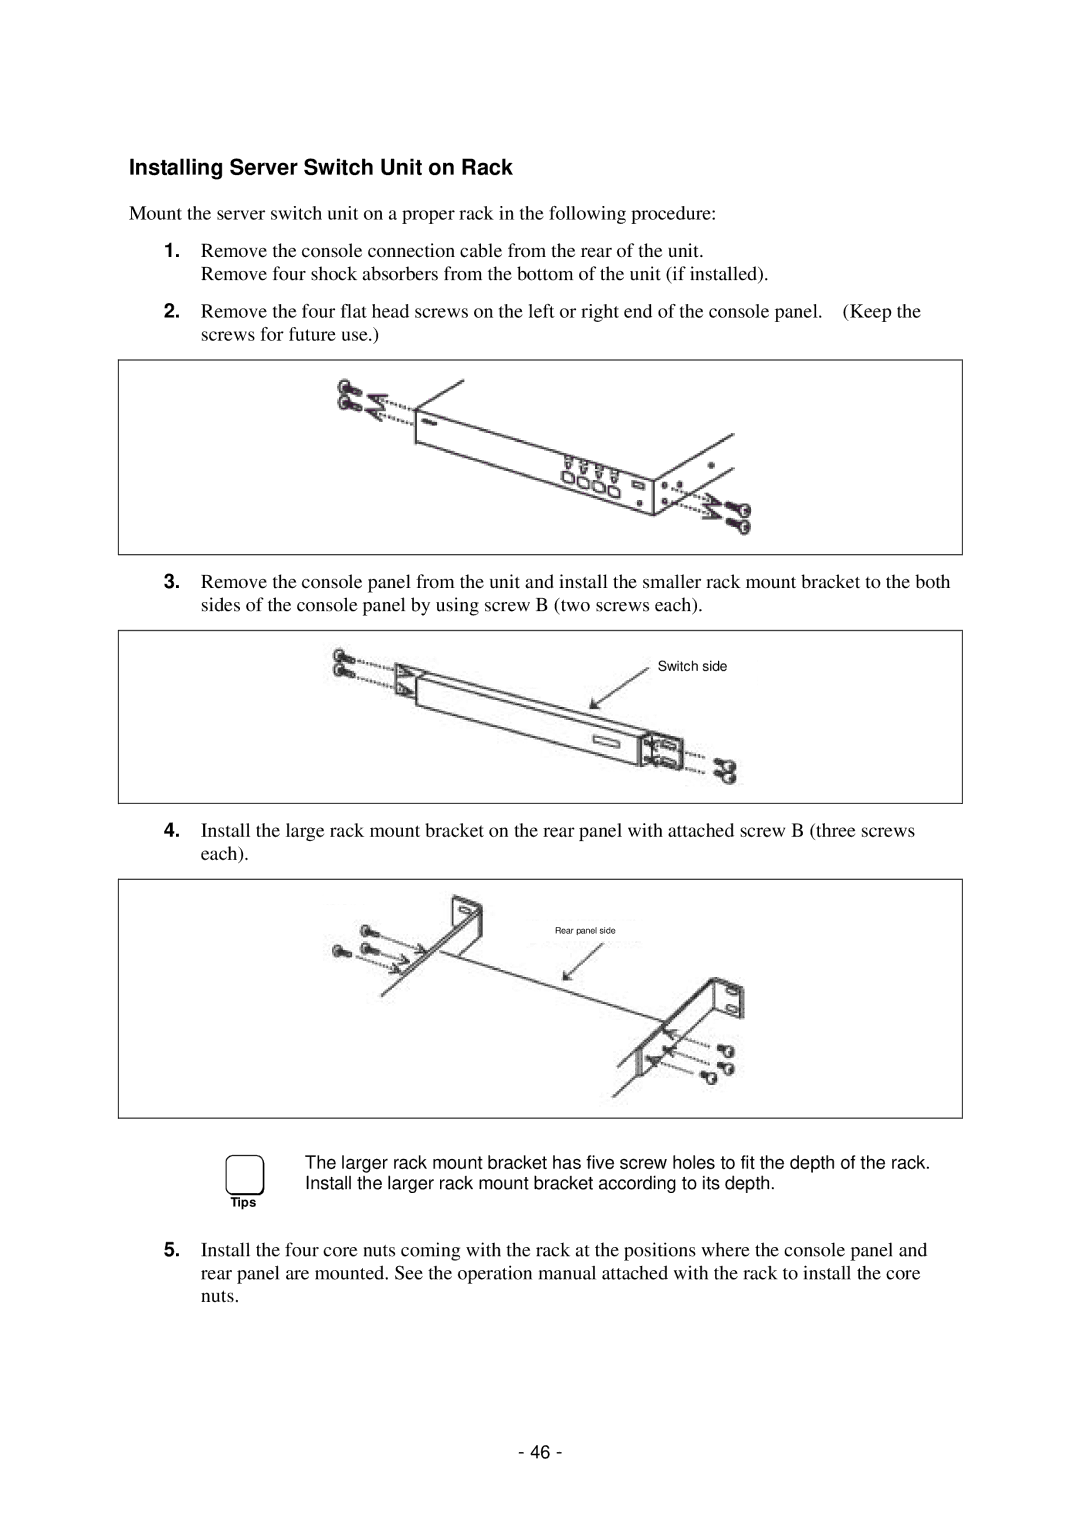
2.Remove the four flat head screws on the left or right end of the console panel. (Keep the screws for future use.)
3.Remove the console panel from the unit and install the smaller rack mount bracket to the both sides of the console panel by using screw B (two screws each).
Switch side
4.Install the large rack mount bracket on the rear panel with attached screw B (three screws each).
Rear panel side
The larger rack mount bracket has five screw holes to fit the depth of the rack. Install the larger rack mount bracket according to its depth.
Tips
5.Install the four core nuts coming with the rack at the positions where the console panel and rear panel are mounted. See the operation manual attached with the rack to install the core nuts.
-46 -
