4. Setting up your VoIP account
Once you have successfully connected to the Internet you are ready to setup your VoIP account to start making telephone calls over the Internet. This section will deal with setting up a single VoIP account with standard settings.
Note: Make sure you get all your necessary VoIP account details from your VSP (VoIP Service Provider) before you begin. These details are not your ADSL User Name and Password.
Your VoIP checklist includes:
•VoIP/DID Phone Number;
•VoIP account username (known as ‘Auth. ID’ in your NB9/NB9W);
•VoIP account password (known as ‘Auth. Password’ in your NB9/NB9W);
•SIP Proxy Server IP address;
•SIP Proxy Port;
•SIP Proxy Domain;
•Register Expire Time.
Once you have the above settings (crucial ones being VoIP/DID Phone Number, Auth. ID, Auth. Password and SIP proxy) you are ready to start setting up your VoIP service on your NB9/NB9W.
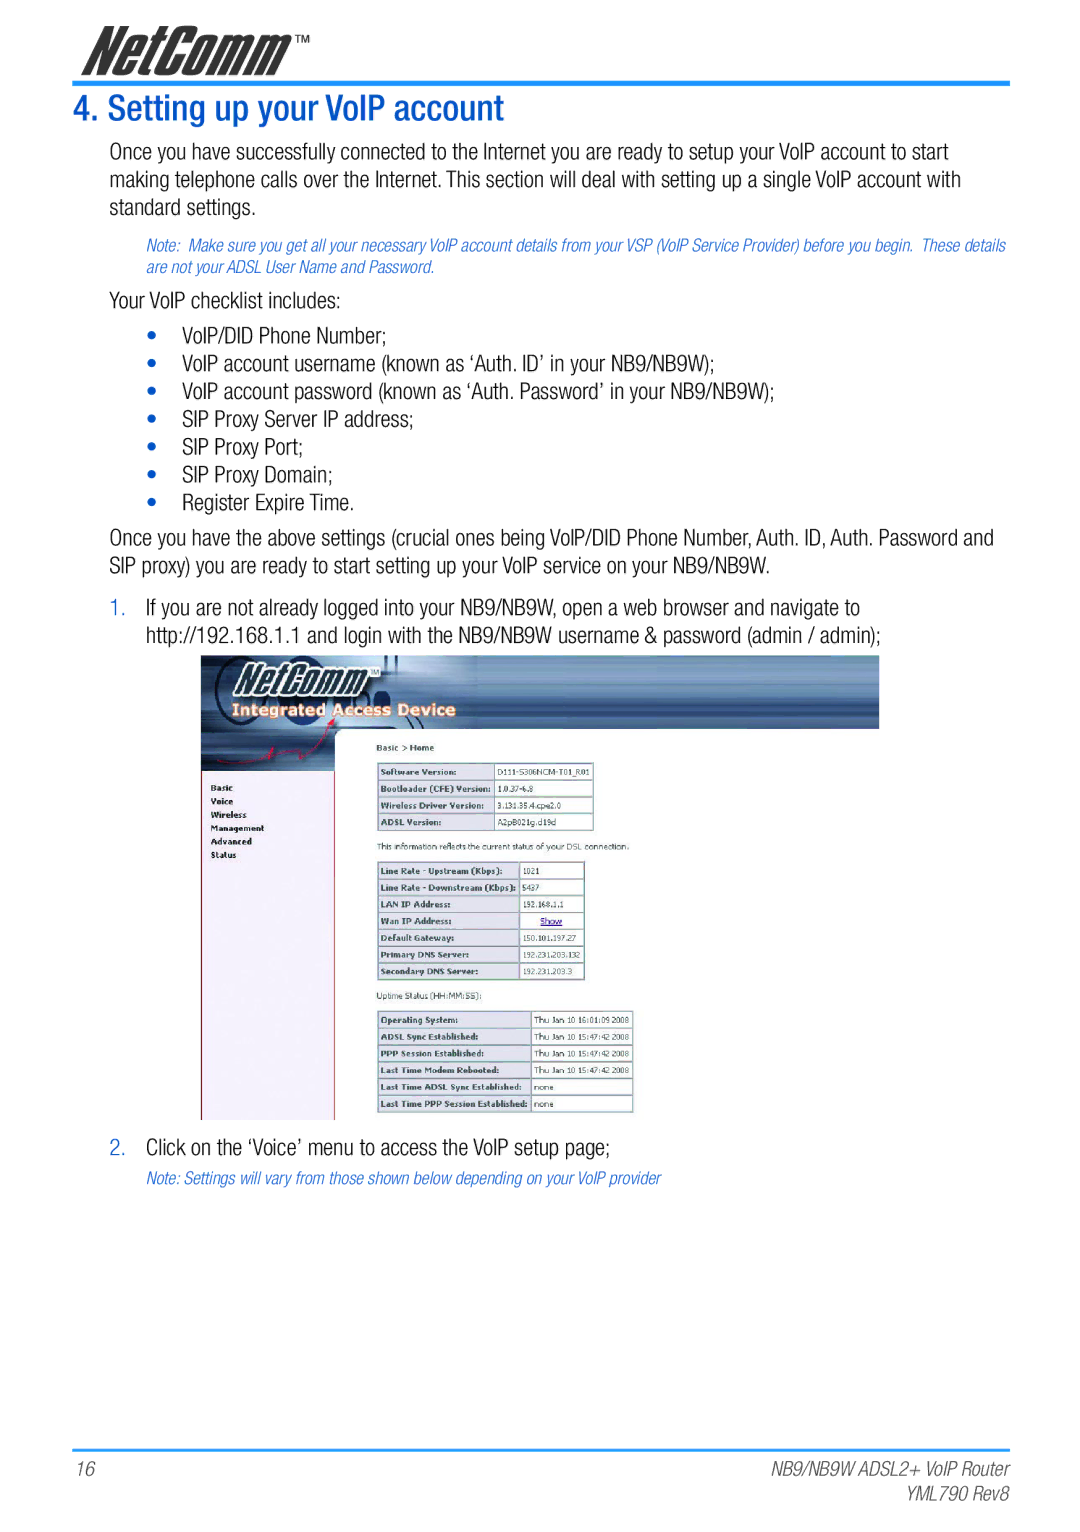
1.If you are not already logged into your NB9/NB9W, open a web browser and navigate to http://192.168.1.1 and login with the NB9/NB9W username & password (admin / admin);
2.Click on the ‘Voice’ menu to access the VoIP setup page;
Note: Settings will vary from those shown below depending on your VoIP provider
16 | NB9/NB9W ADSL2+ VoIP Router |
| YML790 Rev8 |
