Advanced
Advanced > WAN
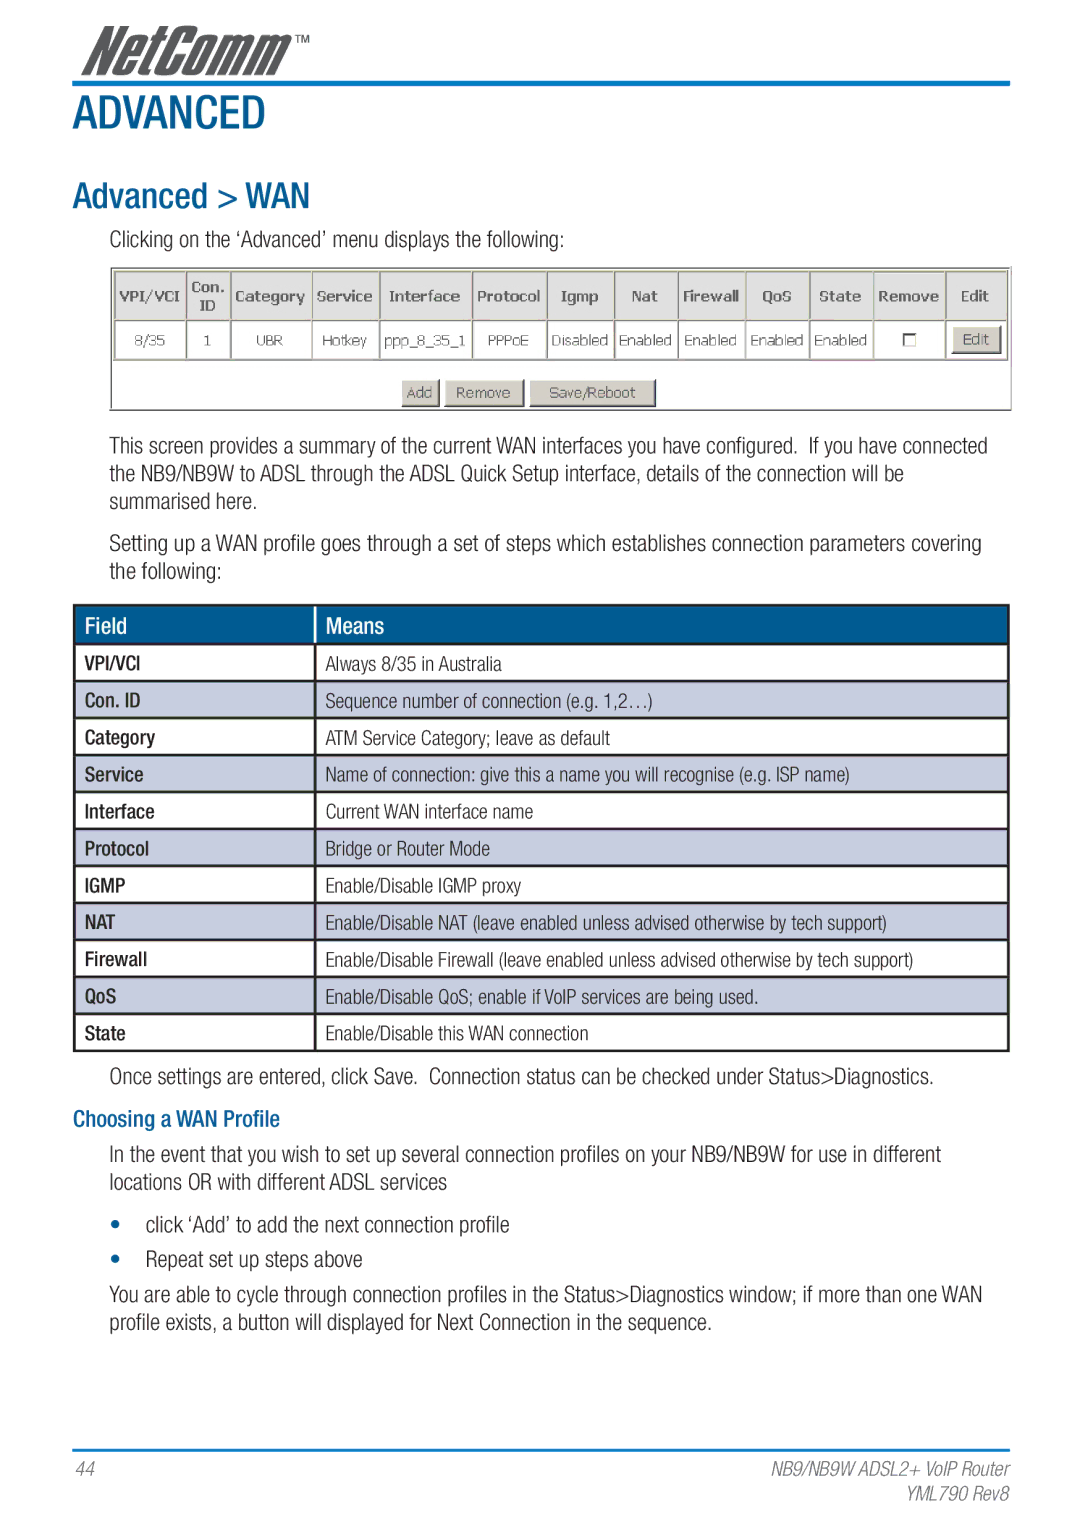
Clicking on the ‘Advanced’ menu displays the following:
This screen provides a summary of the current WAN interfaces you have configured. If you have connected the NB9/NB9W to ADSL through the ADSL Quick Setup interface, details of the connection will be summarised here.
Setting up a WAN profile goes through a set of steps which establishes connection parameters covering the following:
Field
VPI/VCI
Con. ID
Category
Service
Interface
Protocol
IGMP
NAT
Firewall
QoS
State
Means
Always 8/35 in Australia
Sequence number of connection (e.g. 1,2…)
ATM Service Category; leave as default
Name of connection: give this a name you will recognise (e.g. ISP name)
Current WAN interface name
Bridge or Router Mode
Enable/Disable IGMP proxy
Enable/Disable NAT (leave enabled unless advised otherwise by tech support)
Enable/Disable Firewall (leave enabled unless advised otherwise by tech support)
Enable/Disable QoS; enable if VoIP services are being used.
Enable/Disable this WAN connection
Once settings are entered, click Save. Connection status can be checked under Status>Diagnostics.
Choosing a WAN Profile
In the event that you wish to set up several connection profiles on your NB9/NB9W for use in different locations OR with different ADSL services
•click ‘Add’ to add the next connection profile
•Repeat set up steps above
You are able to cycle through connection profiles in the Status>Diagnostics window; if more than one WAN profile exists, a button will displayed for Next Connection in the sequence.
44 | NB9/NB9W ADSL2+ VoIP Router |
| YML790 Rev8 |