Chapter 4: Installing the Web Management Utility
Refer to the following instructions to install the Web Management Utility and set up your Switch.
1.Insert the provided NetComm CD in the
2.From the Start menu on the Windows desktop, choose Run.
3.In the Run dialog box, type D:\Web Management Utility\setup.exe (where D:\ is the letter of your
4.Follow the
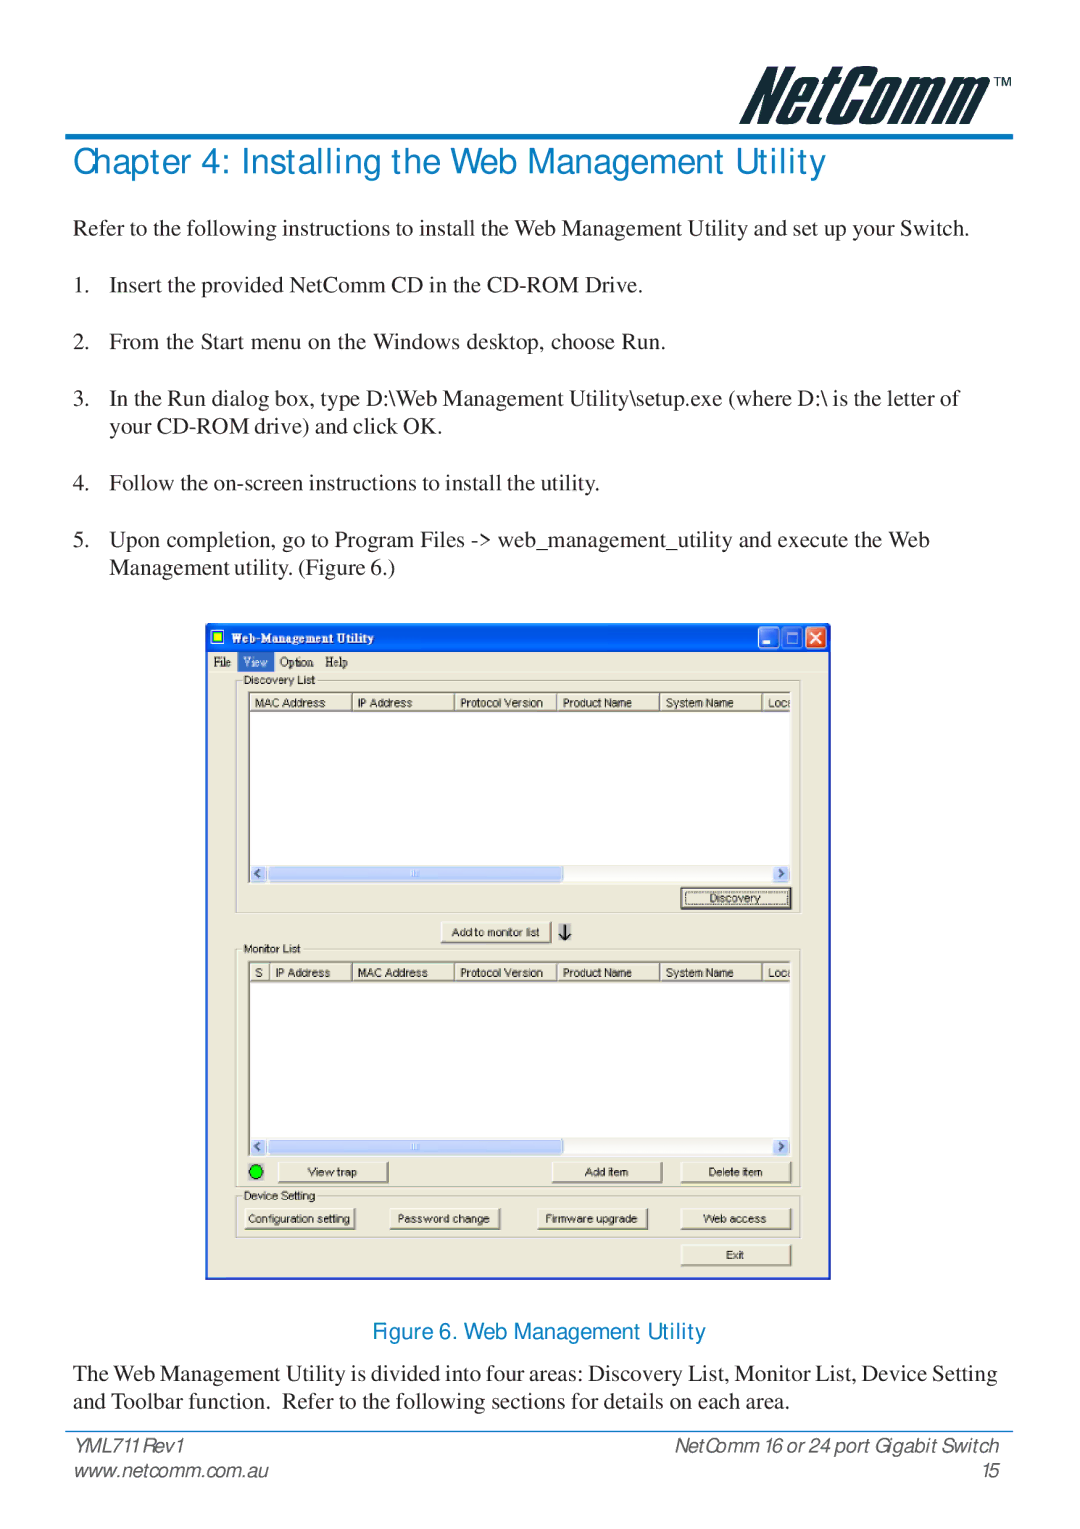
5.Upon completion, go to Program Files
Figure 6. Web Management Utility
The Web Management Utility is divided into four areas: Discovery List, Monitor List, Device Setting and Toolbar function. Refer to the following sections for details on each area.
YML711 Rev1 | NetComm 16 or 24 port Gigabit Switch |
www.netcomm.com.au | 15 |