5 Troubleshooting
Problem |
| Possible Meaning(s) | Solution(s) | |
|
|
|
|
|
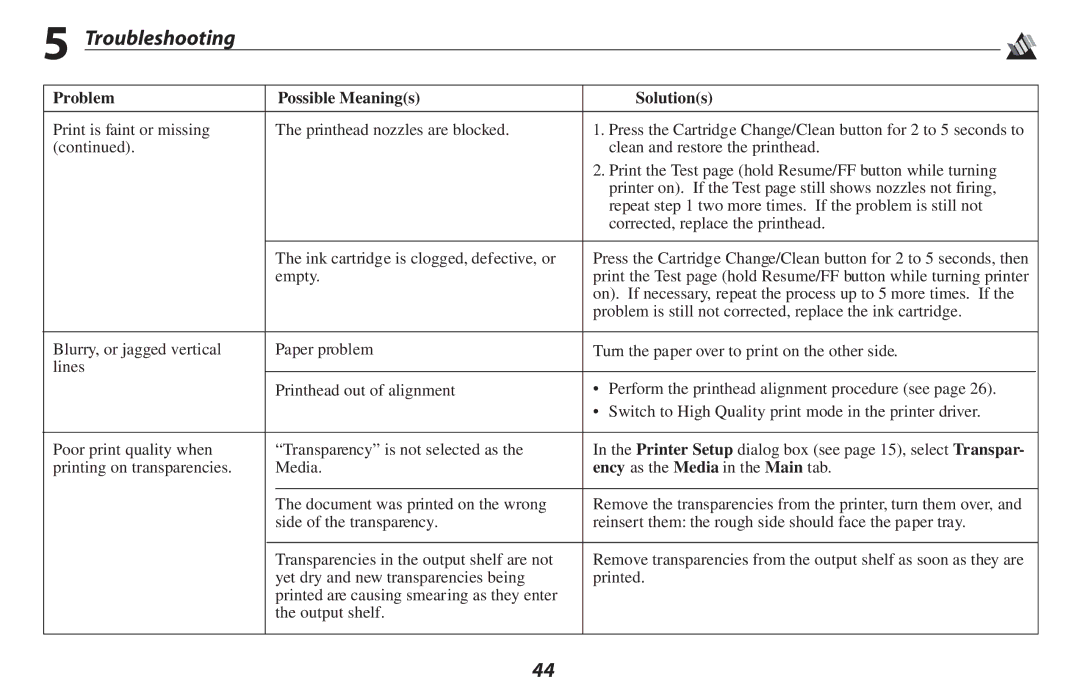
Print is faint or missing |
| The printhead nozzles are blocked. | 1. Press the Cartridge Change/Clean button for 2 to 5 seconds to | |
(continued). |
|
| clean and restore the printhead. | |
|
|
| 2. Print the Test page (hold Resume/FF button while turning | |
|
|
| printer on). If the Test page still shows nozzles not firing, | |
|
|
| repeat step 1 two more times. If the problem is still not | |
|
|
| corrected, replace the printhead. | |
|
|
|
| |
|
| The ink cartridge is clogged, defective, or | Press the Cartridge Change/Clean button for 2 to 5 seconds, then | |
|
| empty. | print the Test page (hold Resume/FF button while turning printer | |
|
|
| on). If necessary, repeat the process up to 5 more times. If the | |
|
|
| problem is still not corrected, replace the ink cartridge. | |
|
|
|
| |
Blurry, or jagged vertical |
| Paper problem | Turn the paper over to print on the other side. | |
lines |
|
|
|
|
|
| Printhead out of alignment | • Perform the printhead alignment procedure (see page 26). | |
|
|
| • Switch to High Quality print mode in the printer driver. | |
|
|
|
| |
Poor print quality when |
| “Transparency” is not selected as the | In the Printer Setup dialog box (see page 15), select Transpar- | |
printing on transparencies. |
| Media. | ency as the Media in the Main tab. | |
|
|
|
| |
|
| The document was printed on the wrong | Remove the transparencies from the printer, turn them over, and | |
|
| side of the transparency. | reinsert them: the rough side should face the paper tray. | |
|
|
|
| |
|
| Transparencies in the output shelf are not | Remove transparencies from the output shelf as soon as they are | |
|
| yet dry and new transparencies being | printed. | |
|
| printed are causing smearing as they enter |
|
|
|
| the output shelf. |
|
|
|
|
|
|
|
44
