1 Setup
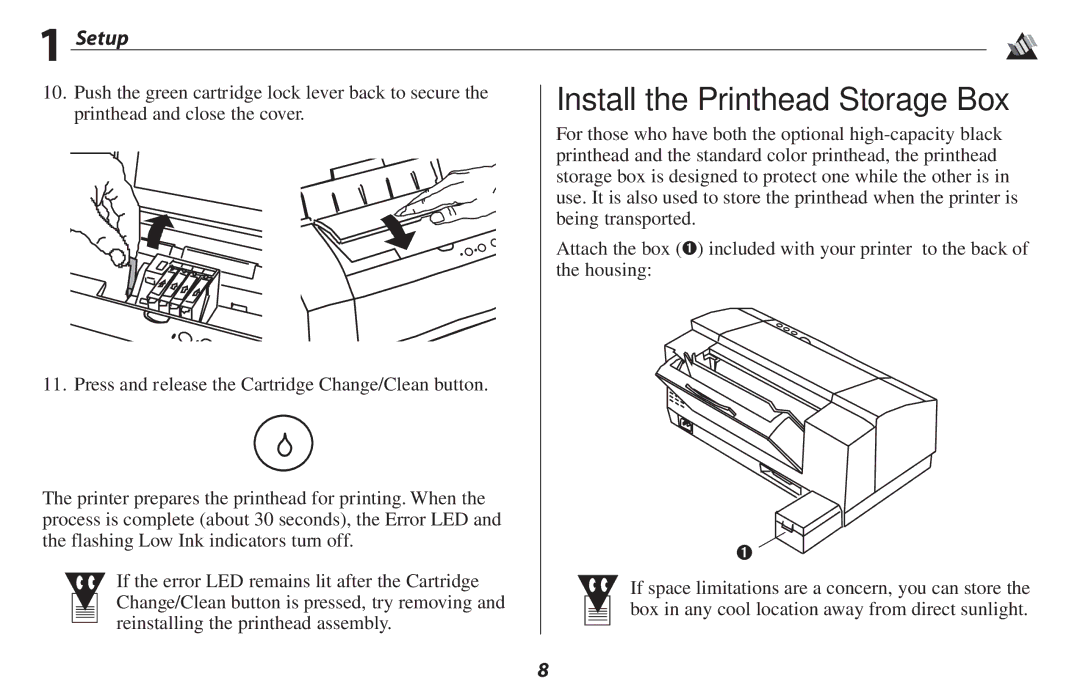
10. Push the green cartridge lock lever back to secure the | Install the Printhead Storage Box | |
printhead and close the cover. | ||
|
For those who have both the optional
Attach the box (➊) included with your printer to the back of the housing:
11. Press and release the Cartridge Change/Clean button.
The printer prepares the printhead for printing. When the |
| |
process is complete (about 30 seconds), the Error LED and |
| |
the flashing Low Ink indicators turn off. | ➊ | |
| ||
If the error LED remains lit after the Cartridge | If space limitations are a concern, you can store the | |
Change/Clean button is pressed, try removing and | ||
box in any cool location away from direct sunlight. | ||
reinstalling the printhead assembly. | ||
|
8
