This mode uses the standard NetWare print function (PSERVER.NLM). The existing print server can be used. For PSERVER.NLM, the file server functions as a print server.
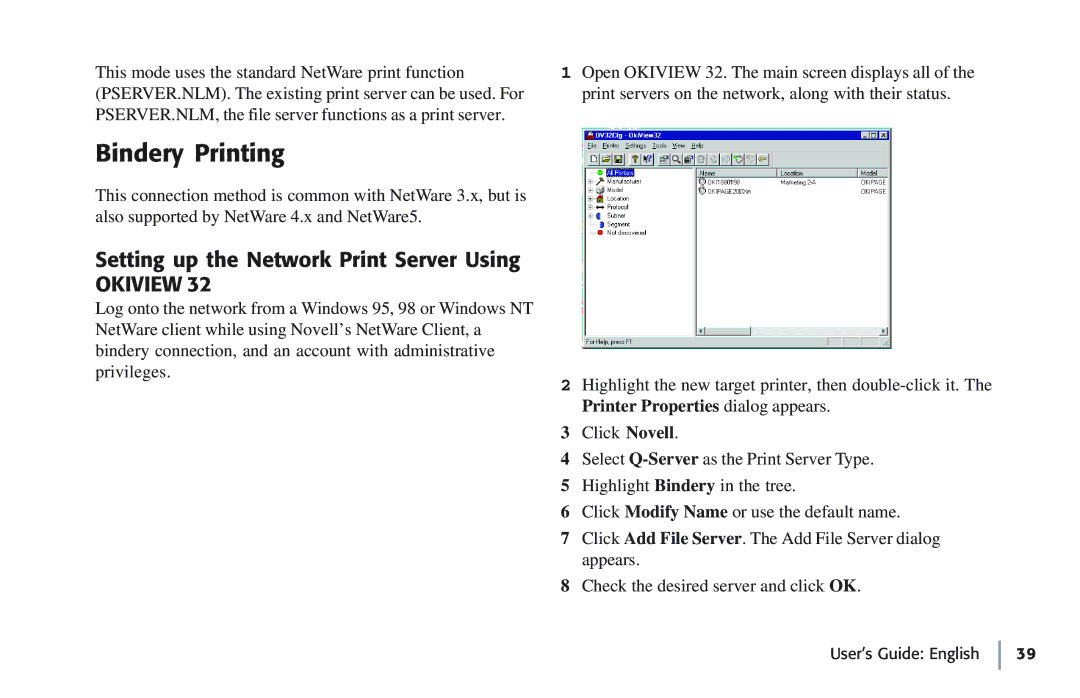
1Open OKIVIEW 32. The main screen displays all of the print servers on the network, along with their status.
Bindery Printing
This connection method is common with NetWare 3.x, but is also supported by NetWare 4.x and NetWare5.
Setting up the Network Print Server Using
OKIVIEW 32
Log onto the network from a Windows 95, 98 or Windows NT NetWare client while using Novell’s NetWare Client, a bindery connection, and an account with administrative
privileges.
2 Highlight the new target printer, then
3 Click Novell.
4 Select
5 Highlight Bindery in the tree.
6 Click Modify Name or use the default name.
7 Click Add File Server. The Add File Server dialog appears.
8 Check the desired server and click OK.