TO CONNECT THE TELEPHONE HANDSET
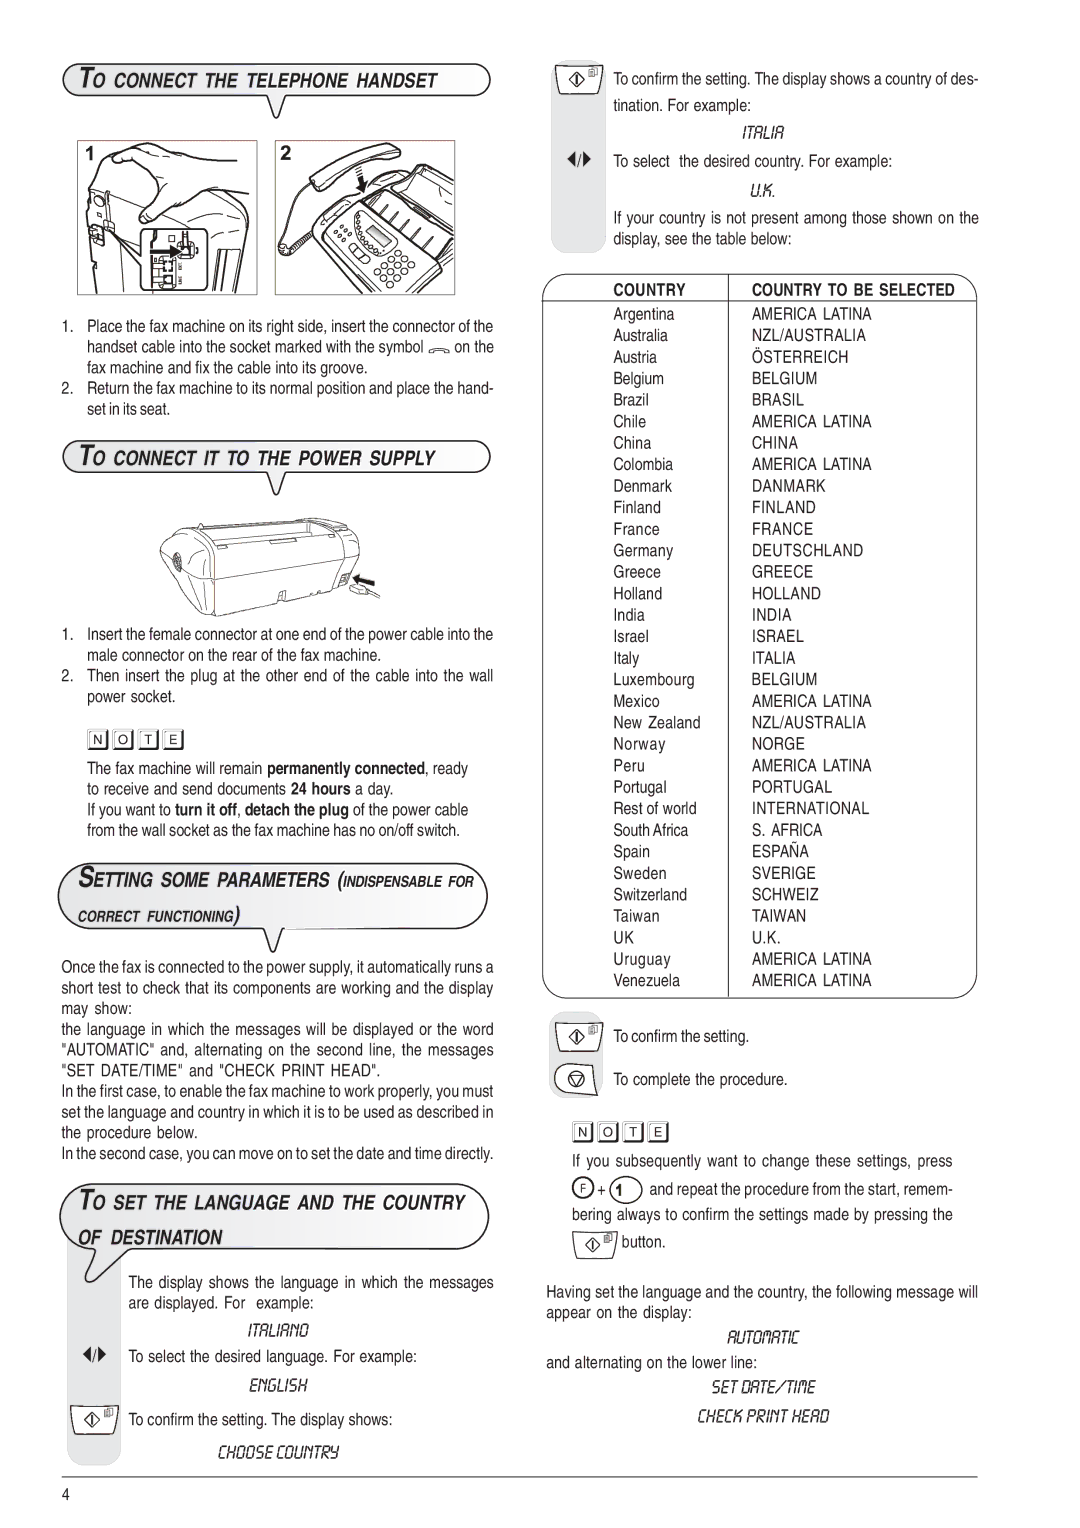
1.Place the fax machine on its right side, insert the connector of the handset cable into the socket marked with the symbol ![]() on the fax machine and fix the cable into its groove.
on the fax machine and fix the cable into its groove.
2.Return the fax machine to its normal position and place the hand- set in its seat.
TO CONNECT IT TO THE POWER SUPPLY
1.Insert the female connector at one end of the power cable into the male connector on the rear of the fax machine.
2.Then insert the plug at the other end of the cable into the wall power socket.
note
The fax machine will remain permanently connected, ready to receive and send documents 24 hours a day.
If you want to turn it off, detach the plug of the power cable from the wall socket as the fax machine has no on/off switch.
SETTING SOME PARAMETERS (INDISPENSABLE FOR
CORRECT FUNCTIONING)
Once the fax is connected to the power supply, it automatically runs a short test to check that its components are working and the display may show:
the language in which the messages will be displayed or the word "AUTOMATIC" and, alternating on the second line, the messages "SET DATE/TIME" and "CHECK PRINT HEAD".
In the first case, to enable the fax machine to work properly, you must set the language and country in which it is to be used as described in the procedure below.
In the second case, you can move on to set the date and time directly.
TO SET THE LANGUAGE AND THE COUNTRY
OF DESTINATION
The display shows the language in which the messages are displayed. For example:
ITALIANO
/} To select the desired language. For example:
ENGLISH
To confirm the setting. The display shows:
CHOOSE COUNTRY
To confirm the setting. The display shows a country of des-
tination. For example:
ITALIA
/} To select the desired country. For example:
U.K.
If your country is not present among those shown on the display, see the table below:
COUNTRY | COUNTRY TO BE SELECTED |
Argentina | AMERICA LATINA |
Australia | NZL/AUSTRALIA |
Austria | ÖSTERREICH |
Belgium | BELGIUM |
Brazil | BRASIL |
Chile | AMERICA LATINA |
China | CHINA |
Colombia | AMERICA LATINA |
Denmark | DANMARK |
Finland | FINLAND |
France | FRANCE |
Germany | DEUTSCHLAND |
Greece | GREECE |
Holland | HOLLAND |
India | INDIA |
Israel | ISRAEL |
Italy | ITALIA |
Luxembourg | BELGIUM |
Mexico | AMERICA LATINA |
New Zealand | NZL/AUSTRALIA |
Norway | NORGE |
Peru | AMERICA LATINA |
Portugal | PORTUGAL |
Rest of world | INTERNATIONAL |
South Africa | S. AFRICA |
Spain | ESPAÑA |
Sweden | SVERIGE |
Switzerland | SCHWEIZ |
Taiwan | TAIWAN |
UK | U.K. |
Uruguay | AMERICA LATINA |
Venezuela | AMERICA LATINA |
|
|
To confirm the setting.
To complete the procedure.
note
If you subsequently want to change these settings, press ![]() +
+ ![]() and repeat the procedure from the start, remem- bering always to confirm the settings made by pressing the
and repeat the procedure from the start, remem- bering always to confirm the settings made by pressing the
![]() button.
button.
Having set the language and the country, the following message will appear on the display:
AUTOMATIC
and alternating on the lower line:
SET DATE/TIME
CHECK PRINT HEAD
4
