4.3.4 | Java Policy | ||||||||
To activate data logging and save graphs from the Java applets, it is necessary | |||||||||
to create a Java Policy file and copy it onto a folder. | |||||||||
1) | Open a Notepad file and using the IP address of the Meter type the | ||||||||
|
| following: | |||||||
grant codeBase "http://192.168.1.200/" | |||||||||
{ | permission java.security.AllPermission "*", "*"; | ||||||||
}; | |||||||||
This file should have the IP address of the Meter; in this case the default | |||||||||
|
| IP address is 192.168.1.200. If the IP address is changed, then the IP | |||||||
|
| ||||||||
|
| address shown in the file needs to be changed; otherwise, it will not work. | |||||||
|
| If more than one Meter is being monitored from the same computer, it is | |||||||
|
| necessary to repeat the above for each of the Meters in the same | |||||||
|
| "java_policy.txt" file. | |||||||
If DHCP/DNS is enabled, the unique Meter’s name using DNS should replace | |||||||||
the IP address. Example: "http:\\zSrvTEST". Make sure the DHCP server | |||||||||
updates the DNS table to keep track of the Meter’s name and IP addresses | |||||||||
(consult with your network administrator). | |||||||||
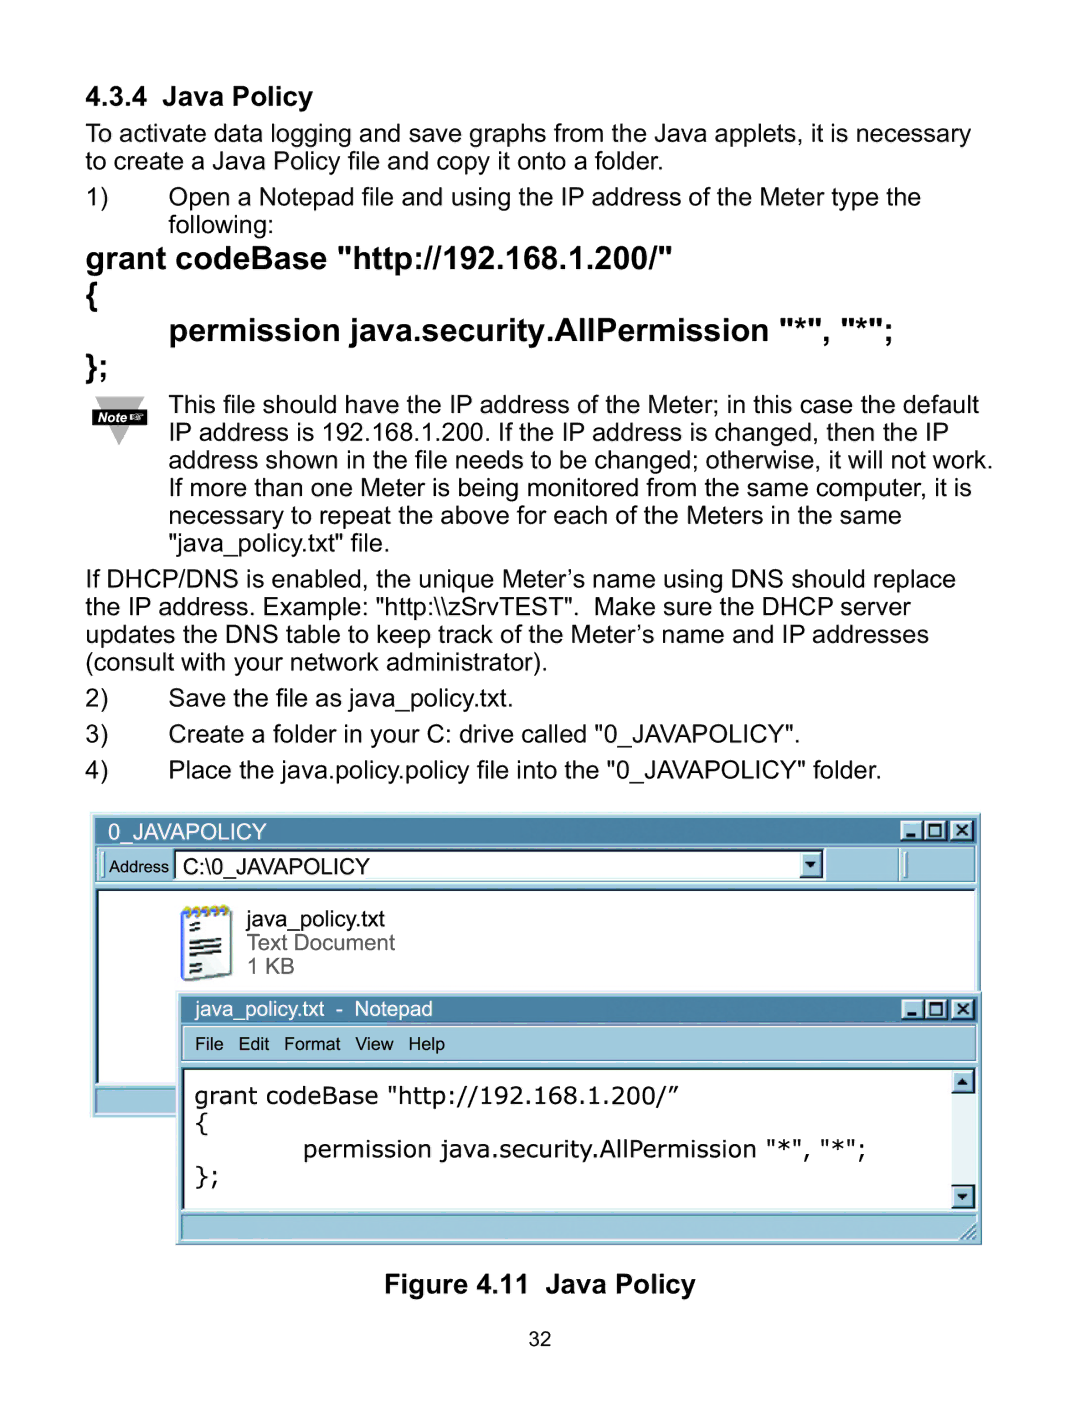
2) | Save the file as java_policy.txt. | ||||||||
3) | Create a folder in your C: drive called "0_JAVAPOLICY". | ||||||||
4) | Place the java.policy.policy file into the "0_JAVAPOLICY" folder. | ||||||||
|
|
|
|
|
|
|
|
| |
|
|
|
|
|
|
|
|
| |
|
|
|
|
|
|
|
|
| |
|
|
|
|
|
|
|
|
| |
|
|
|
|
|
|
|
|
| |
|
|
|
|
|
|
|
|
| |
Figure 4.11 Java Policy
32
