Setup (initial settings)
3 Press the
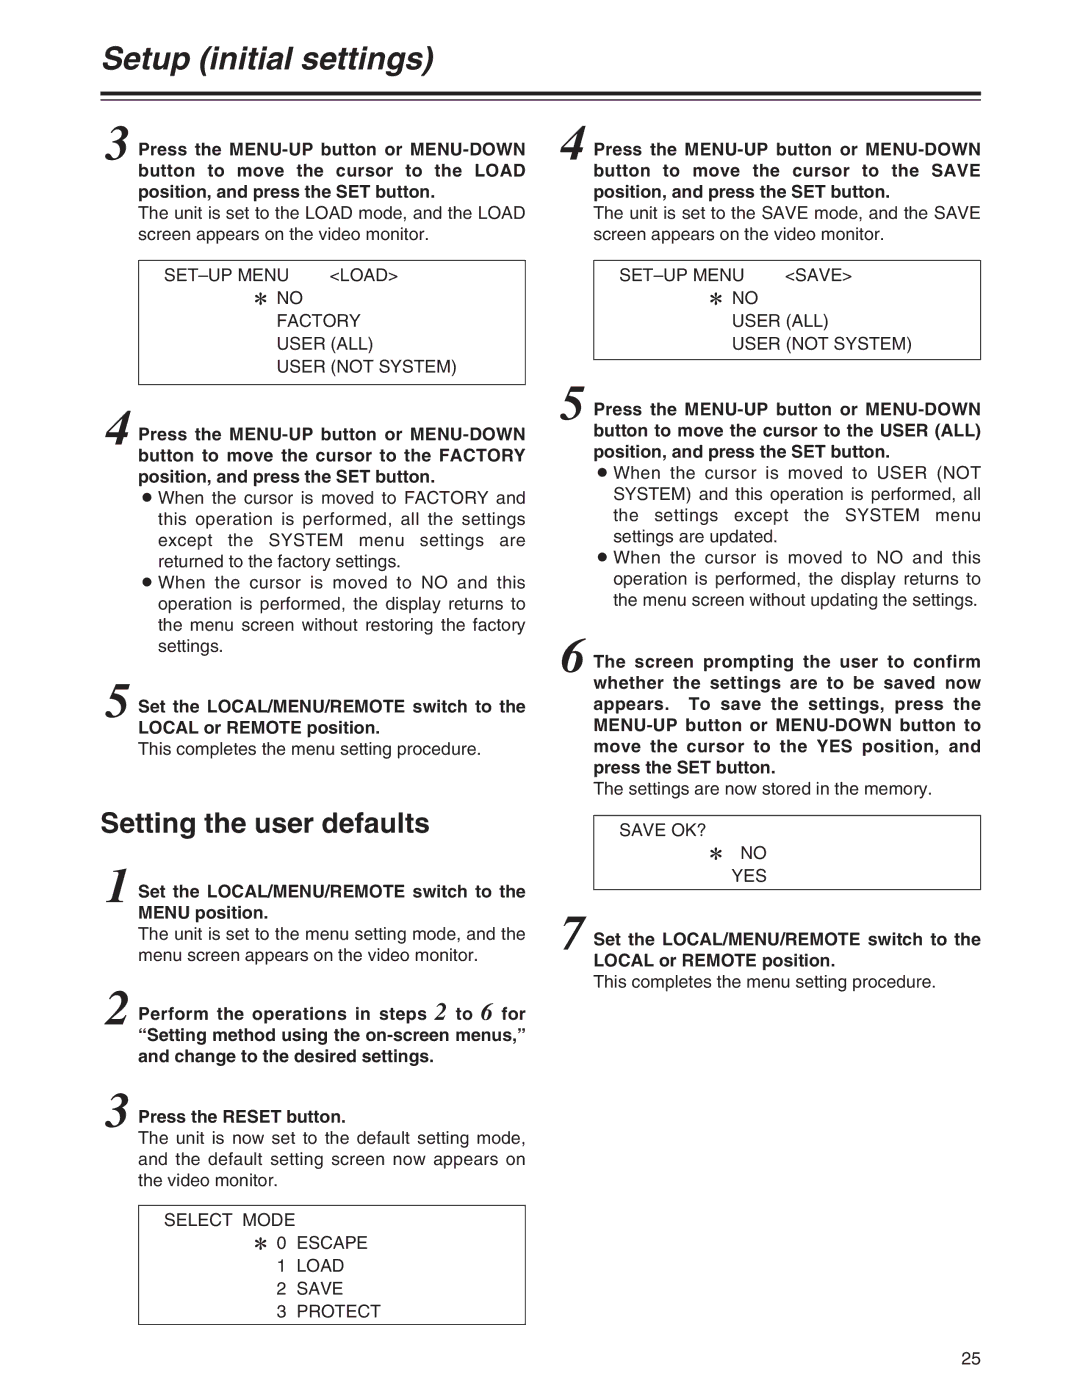
The unit is set to the LOAD mode, and the LOAD screen appears on the video monitor.
<LOAD> |
2NO FACTORY USER (ALL)
USER (NOT SYSTEM)
4 Press the
O When the cursor is moved to FACTORY and this operation is performed, all the settings except the SYSTEM menu settings are returned to the factory settings.
O When the cursor is moved to NO and this operation is performed, the display returns to the menu screen without restoring the factory settings.
5 Set the LOCAL/MENU/REMOTE switch to the LOCAL or REMOTE position.
This completes the menu setting procedure.
Setting the user defaults
1 Set the LOCAL/MENU/REMOTE switch to the MENU position.
The unit is set to the menu setting mode, and the menu screen appears on the video monitor.
2 Perform the operations in steps 2 to 6 for “Setting method using the
3 Press the RESET button.
The unit is now set to the default setting mode, and the default setting screen now appears on the video monitor.
SELECT MODE
2 0 ESCAPE
1LOAD
2SAVE
3PROTECT
4
5
6
7
Press the
The unit is set to the SAVE mode, and the SAVE screen appears on the video monitor.
<SAVE> |
2NO
USER (ALL)
USER (NOT SYSTEM)
Press the
O When the cursor is moved to USER (NOT SYSTEM) and this operation is performed, all the settings except the SYSTEM menu settings are updated.
O When the cursor is moved to NO and this operation is performed, the display returns to the menu screen without updating the settings.
The screen prompting the user to confirm whether the settings are to be saved now appears. To save the settings, press the
The settings are now stored in the memory.
SAVE OK?
2NO YES
Set the LOCAL/MENU/REMOTE switch to the LOCAL or REMOTE position.
This completes the menu setting procedure.
25