Setup (initial settings)
This unit’s main settings can be performed and checked using the
It is also possible to perform and check the settings using the item numbers and setting numbers which are indicated on the front panel display.
Furthermore, a user setting memory in which to store one set of settings is provided, enabling the desired settings to be stored for future use.
Setting method using the on- screen menus
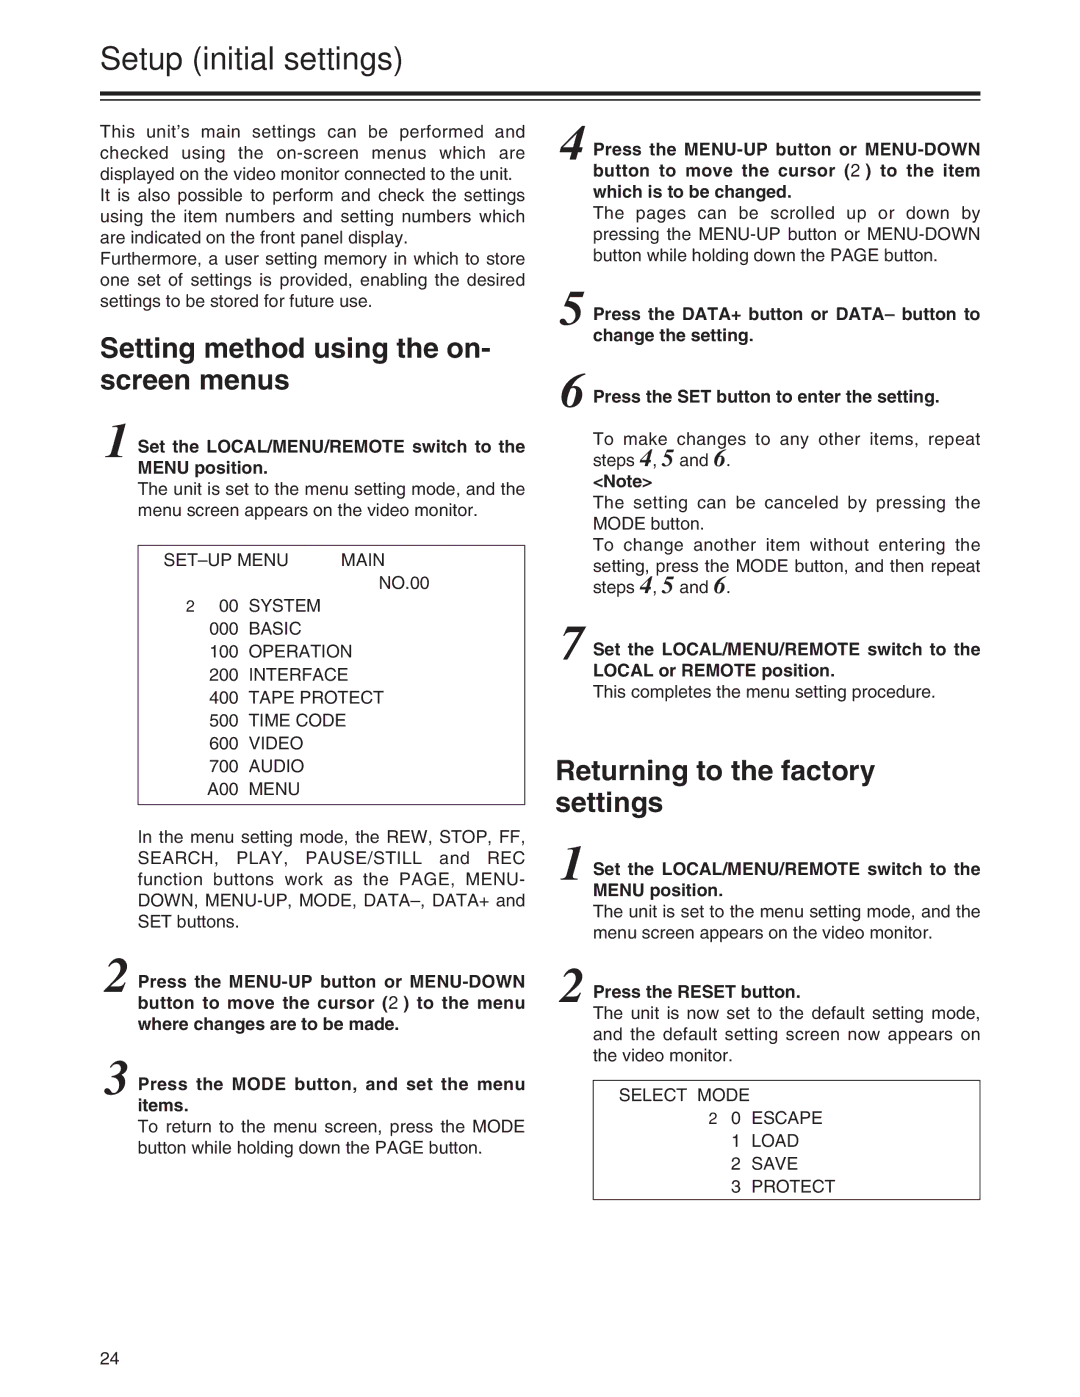
1 Set the LOCAL/MENU/REMOTE switch to the MENU position.
The unit is set to the menu setting mode, and the menu screen appears on the video monitor.
MAIN | ||
|
| NO.00 |
2 00 | SYSTEM |
|
000 | BASIC |
|
100 | OPERATION | |
200 | INTERFACE | |
400 | TAPE PROTECT | |
500 | TIME CODE | |
600 | VIDEO |
|
700 | AUDIO |
|
A00 | MENU |
|
|
|
|
In the menu setting mode, the REW, STOP, FF, SEARCH, PLAY, PAUSE/STILL and REC function buttons work as the PAGE, MENU- DOWN,
2 Press the
3 Press the MODE button, and set the menu items.
To return to the menu screen, press the MODE button while holding down the PAGE button.
4 Press the
The pages can be scrolled up or down by pressing the
5 Press the DATA+ button or DATA– button to change the setting.
6 Press the SET button to enter the setting.
To make changes to any other items, repeat steps 4, 5 and 6.
<Note>
The setting can be canceled by pressing the MODE button.
To change another item without entering the setting, press the MODE button, and then repeat steps 4, 5 and 6.
7 Set the LOCAL/MENU/REMOTE switch to the LOCAL or REMOTE position.
This completes the menu setting procedure.
Returning to the factory settings
1 Set the LOCAL/MENU/REMOTE switch to the MENU position.
The unit is set to the menu setting mode, and the menu screen appears on the video monitor.
2 Press the RESET button.
The unit is now set to the default setting mode, and the default setting screen now appears on the video monitor.
SELECT MODE
2 0 ESCAPE
1LOAD
2SAVE
3PROTECT
24