4. Input/output signal settings
4-3. Setting the DVI input signals (option)
4-3-1. Setting the DVI input signals
The user can set the DVI input signals when the DVI input board (option) has been connected. Signals with the following resolutions can be input. If signals with any other resolution or frequency are input, the picture will turn black.
XGA (1024768), 60 Hz
WXGA (1280768), 60 Hz
SXGA (12841024), 60 Hz
1Press the [FUNC] button to light its indicator, and press the [IN/OUT] button to display the IN/OUT menu.
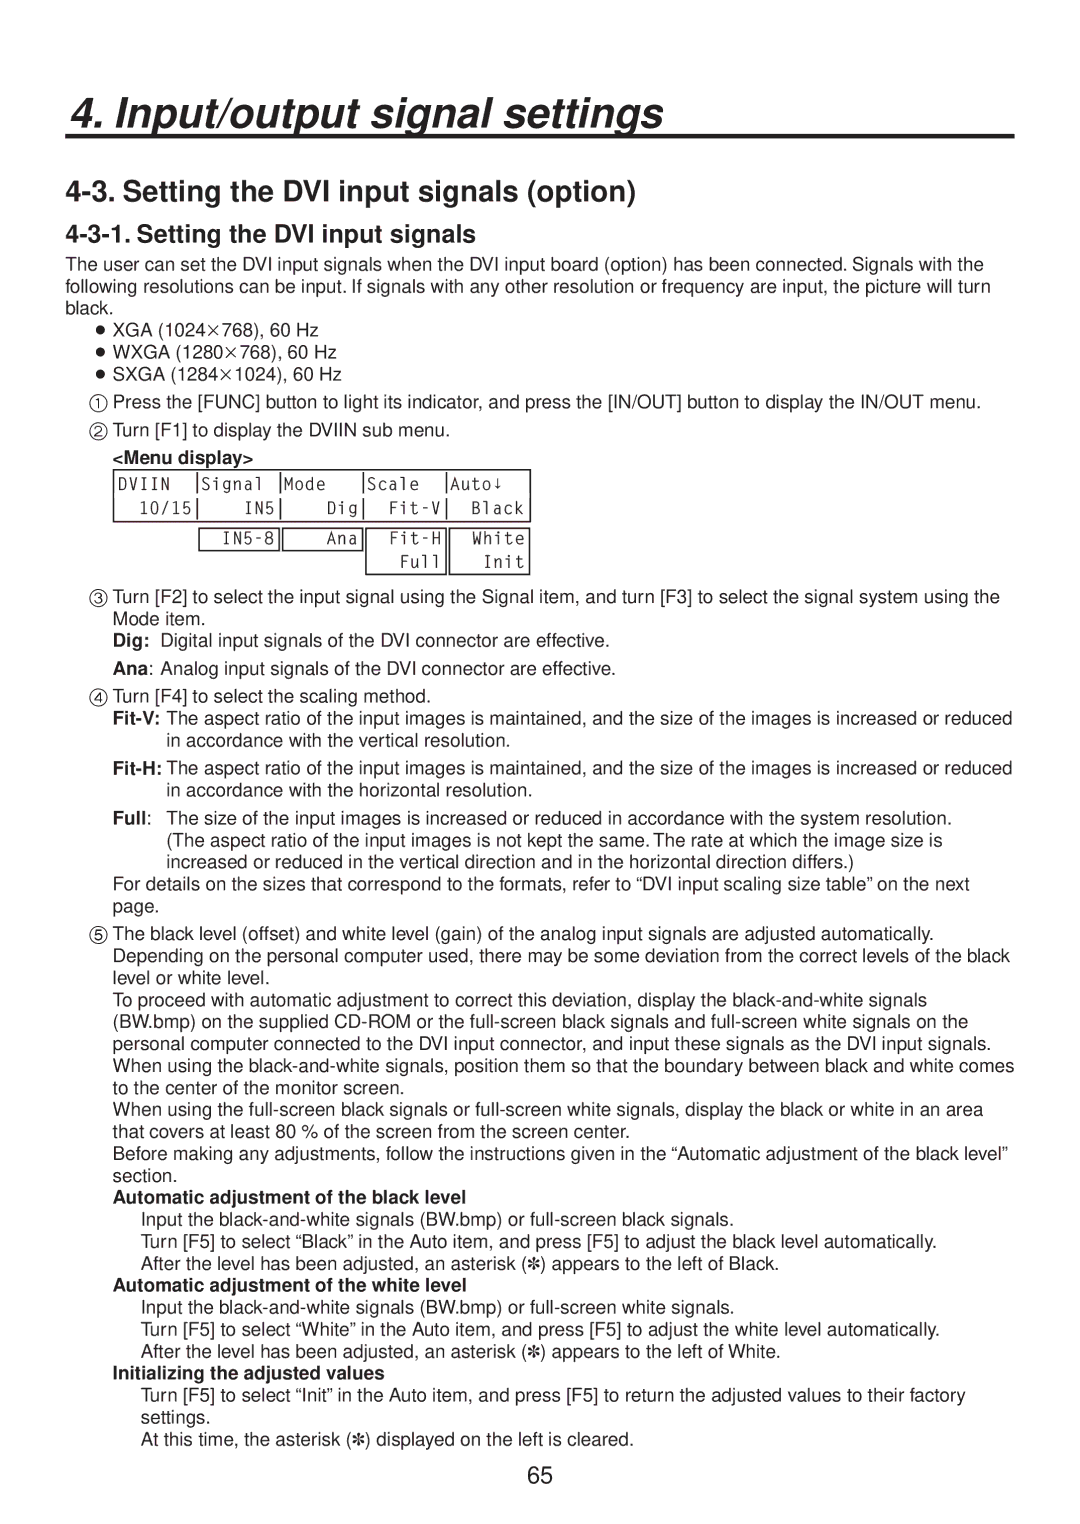
2 Turn [F1] to display the DVIIN sub menu.
<Menu display>
DVIIN |
| Signal |
|
|
| Mode |
|
|
| Scale |
|
| Auto↓ |
| ||
10/15 |
| IN5 |
|
|
|
| Dig |
|
|
|
| Black |
| |||
|
|
|
|
|
| |||||||||||
|
|
|
|
|
|
|
|
|
|
|
|
|
|
| ||
|
|
|
| Ana |
|
| White |
| ||||||||
|
|
|
|
|
|
|
|
|
|
| Full |
|
| Init |
|
|
3Turn [F2] to select the input signal using the Signal item, and turn [F3] to select the signal system using the Mode item.
Dig: Digital input signals of the DVI connector are effective.
Ana: Analog input signals of the DVI connector are effective.
4Turn [F4] to select the scaling method.
Full: The size of the input images is increased or reduced in accordance with the system resolution. (The aspect ratio of the input images is not kept the same. The rate at which the image size is increased or reduced in the vertical direction and in the horizontal direction differs.)
For details on the sizes that correspond to the formats, refer to “DVI input scaling size table” on the next page.
5The black level (offset) and white level (gain) of the analog input signals are adjusted automatically. Depending on the personal computer used, there may be some deviation from the correct levels of the black level or white level.
To proceed with automatic adjustment to correct this deviation, display the
When using the
Before making any adjustments, follow the instructions given in the “Automatic adjustment of the black level” section.
Automatic adjustment of the black level
Input the
Turn [F5] to select “Black” in the Auto item, and press [F5] to adjust the black level automatically. After the level has been adjusted, an asterisk (]) appears to the left of Black.
Automatic adjustment of the white level
Input the
Turn [F5] to select “White” in the Auto item, and press [F5] to adjust the white level automatically. After the level has been adjusted, an asterisk (]) appears to the left of White.
Initializing the adjusted values
Turn [F5] to select “Init” in the Auto item, and press [F5] to return the adjusted values to their factory settings.
At this time, the asterisk (]) displayed on the left is cleared.
65