Changing the unit’s settings
Others
(All factory default settings are indicated with underlined text.)
Remote Control
Change the remote control code on the main unit and the remote control (the two must match) if you place other Panasonic products close together.
[DVD 1][DVD 2][DVD 3]
Use “DVD 1”, the factory set code, under normal circumstances.
1Press [e, r] to select the code (“DVD 1”, “DVD 2” or “DVD 3”) and press [OK].
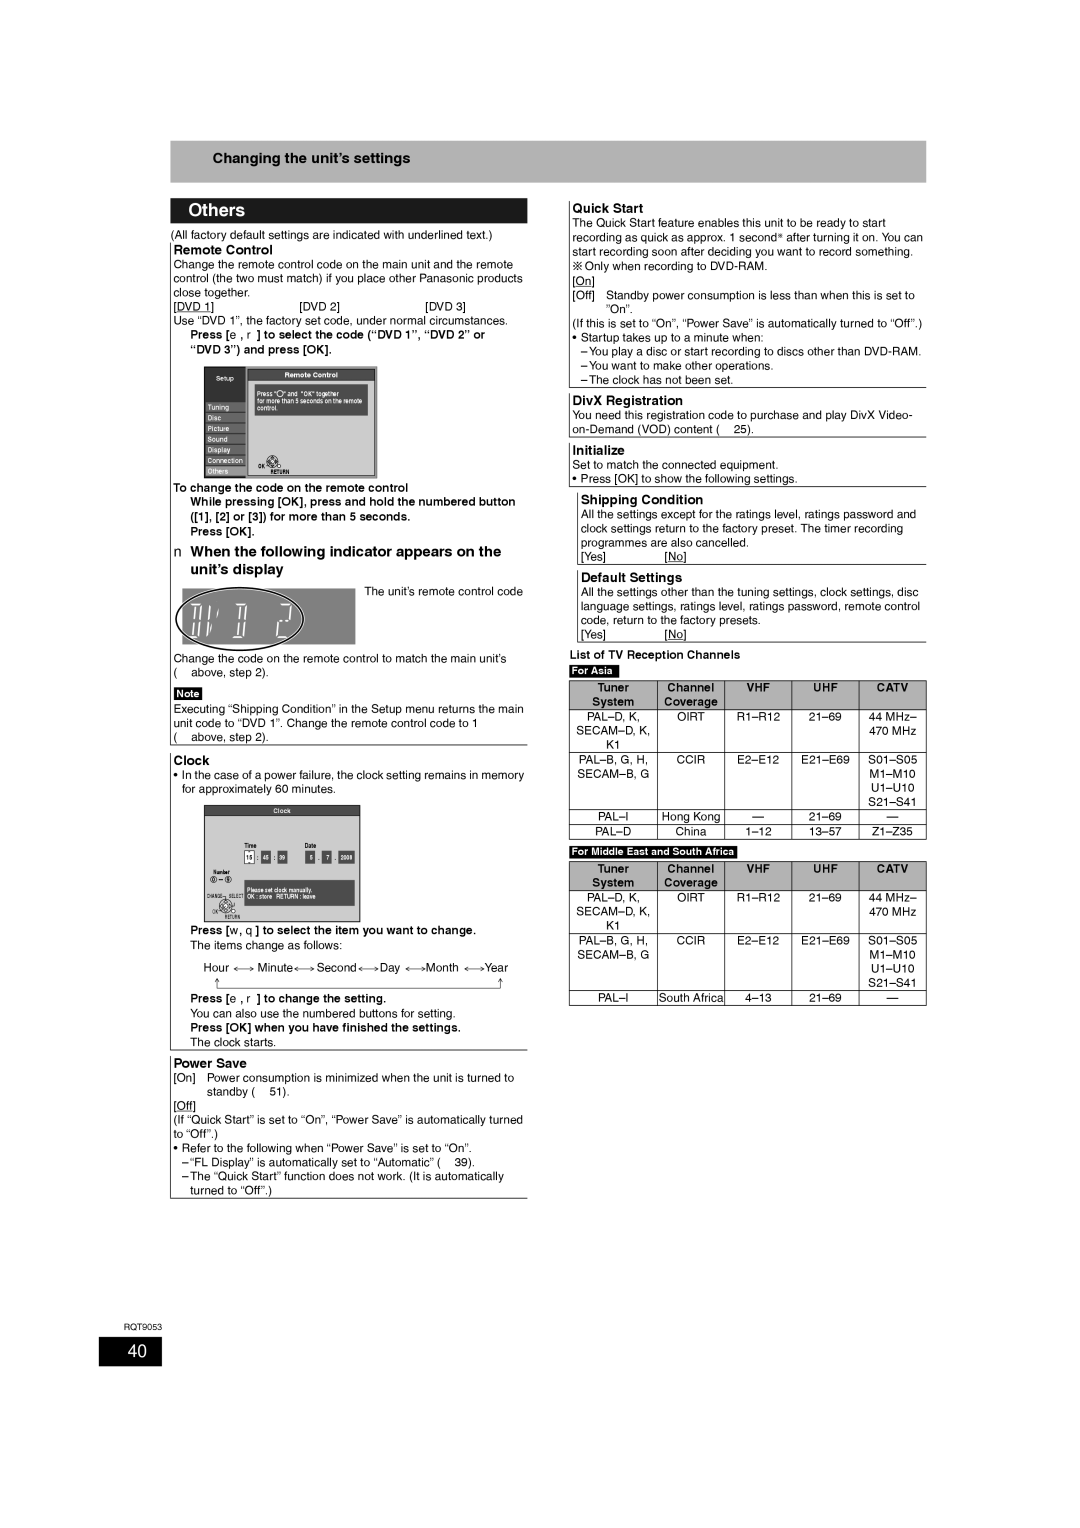
Setup |
| Remote Control | |
|
| Press " " and "OK" together |
|
|
| for more than 5 seconds on the remote |
|
Tuning |
| control. |
|
Disc |
|
|
|
Picture |
|
|
|
Sound |
|
|
|
Display |
|
|
|
Connection |
| OK RETURN | |
Others |
| ||
|
|
|
|
To change the code on the remote control
2While pressing [OK], press and hold the numbered button
([1], [2] or [3]) for more than 5 seconds.
3Press [OK].
nWhen the following indicator appears on the unit’s display
The unit’s remote control code
Change the code on the remote control to match the main unit’s (Ô above, step 2).
Note
Executing “Shipping Condition” in the Setup menu returns the main unit code to “DVD 1”. Change the remote control code to 1
(Ô above, step 2).
Clock
•In the case of a power failure, the clock setting remains in memory for approximately 60 minutes.
Clock
Time | Date | |||||||||
15 | : | 45 | : | 39 |
| 5 | . | 7 | . | 2008 |
Number 0
Please set clock manually.
CHANGE SELECT OK : store RETURN : leave
OK
RETURN
1Press [w, q] to select the item you want to change. The items change as follows:
Hour Minute Second Day Month Year
2Press [e, r] to change the setting.
You can also use the numbered buttons for setting.
3Press [OK] when you have finished the settings. The clock starts.
Power Save
[On] Power consumption is minimized when the unit is turned to standby (Ô 51).
[Off]
(If “Quick Start” is set to “On”, “Power Save” is automatically turned to “Off”.)
•Refer to the following when “Power Save” is set to “On”.
–“FL Display” is automatically set to “Automatic” (Ô 39).
–The “Quick Start” function does not work. (It is automatically turned to “Off”.)
Quick Start
The Quick Start feature enables this unit to be ready to start recording as quick as approx. 1 second![]() after turning it on. You can start recording soon after deciding you want to record something.
after turning it on. You can start recording soon after deciding you want to record something. ![]() Only when recording to
Only when recording to
[On]
[Off] Standby power consumption is less than when this is set to ”On”.
(If this is set to “On”, “Power Save” is automatically turned to “Off”.)
•Startup takes up to a minute when:
–You play a disc or start recording to discs other than
–You want to make other operations.
–The clock has not been set.
DivX Registration
You need this registration code to purchase and play DivX Video-
Initialize
Set to match the connected equipment.
•Press [OK] to show the following settings.
Shipping Condition
All the settings except for the ratings level, ratings password and clock settings return to the factory preset. The timer recording programmes are also cancelled.
[Yes] [No]
Default Settings
All the settings other than the tuning settings, clock settings, disc
| language settings, ratings level, ratings password, remote control | ||||||
| code, return to the factory presets. |
|
| ||||
| [Yes] | [No] |
|
|
| ||
List of TV Reception Channels |
|
| |||||
|
|
|
|
|
|
| |
For Asia |
|
|
|
|
| ||
|
|
|
|
|
|
|
|
| Tuner | Channel |
| VHF | UHF | CATV | |
| System | Coverage |
|
|
|
| |
| OIRT |
| 44 MHz– | ||||
|
|
|
| 470 MHz | |||
| K1 |
|
|
|
|
| |
| CCIR |
| |||||
|
|
|
| ||||
|
|
|
|
|
|
| |
|
|
|
|
|
|
| |
| Hong Kong |
| — | — | |||
| China |
| |||||
|
|
|
| ||||
For Middle East and South Africa |
|
|
| ||||
|
|
|
|
|
|
|
|
| Tuner | Channel |
| VHF | UHF | CATV | |
| System | Coverage |
|
|
|
| |
| OIRT |
| 44 MHz– | ||||
|
|
|
| 470 MHz | |||
| K1 |
|
|
|
|
| |
| CCIR |
| |||||
|
|
|
| ||||
|
|
|
|
|
|
| |
|
|
|
|
|
|
| |
| South Africa |
| — | ||||
RQT9053
40