Before using | 2 | Parts identification and |
| ||
| handling | |
|
|
|
3 4 5 6 | 7 |
2
1 |
|
11 |
|
12 |
|
13 | 17 |
14 15 16 | |
8
9
![]() 10
10
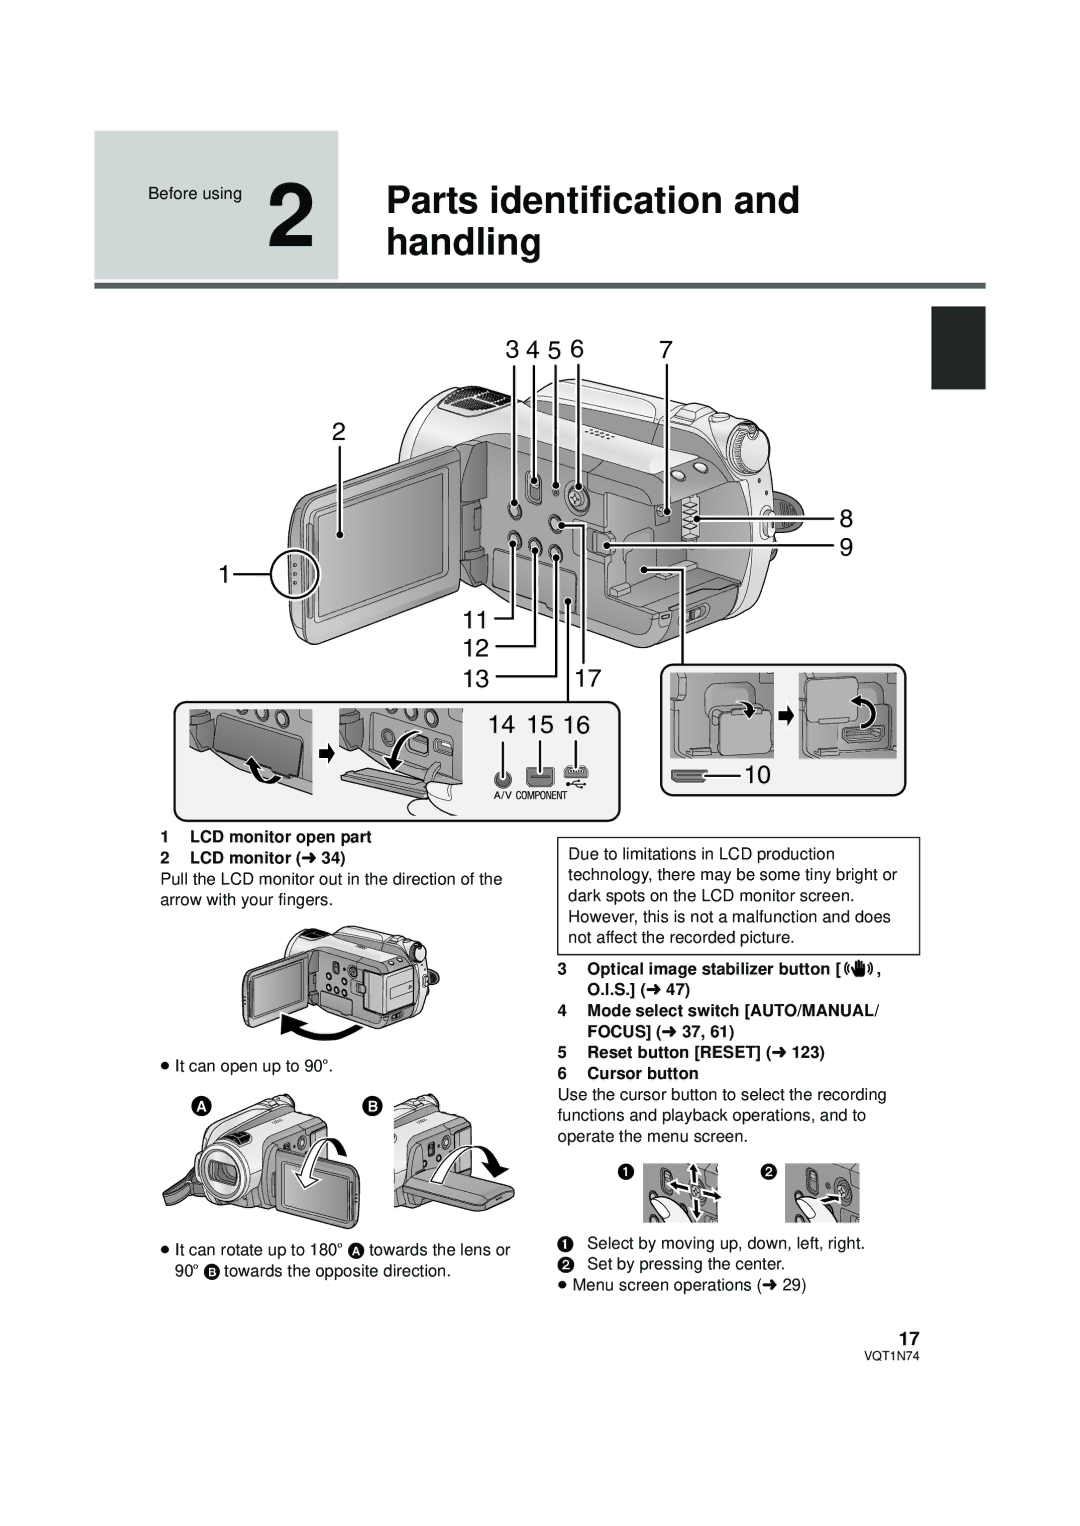
1LCD monitor open part
2LCD monitor (l 34)
Pull the LCD monitor out in the direction of the arrow with your fingers.
≥It can open up to 90o.
≥It can rotate up to 180o A towards the lens or 90o B towards the opposite direction.
Due to limitations in LCD production technology, there may be some tiny bright or dark spots on the LCD monitor screen. However, this is not a malfunction and does not affect the recorded picture.
3Optical image stabilizer button [ ![]()
![]()
![]() , O.I.S.] (l 47)
, O.I.S.] (l 47)
4Mode select switch [AUTO/MANUAL/ FOCUS] (l 37, 61)
5Reset button [RESET] (l 123)
6Cursor button
Use the cursor button to select the recording functions and playback operations, and to operate the menu screen.
1Select by moving up, down, left, right.
2 Set by pressing the center.
≥ Menu screen operations (l 29)
17
VQT1N74