Others
ªLCD Monitor/Viewfinder/Lens Hood
LCD Monitor
≥In a place with drastic temperature changes, condensation may form on the LCD Monitor. Wipe it with soft dry cloth.
≥If your Movie Camera is extremely cold when you turn its power on, the image on the LCD Monitor is slightly darker than usual at first.
However, as the internal temperature increases, it goes back to the normal brightness.
Extremely high precision technology is employed to produce the LCD Monitor screen featuring a total of approximately 200,000 pixels. The result is more than 99.99% effective pixels with a mere 0.01% of the pixels inactive or always lit. However, this is not a malfunction and does not affect the recorded picture.
Viewfinder
≥Do not direct the Viewfinder or Lens to the sun. Internal components may be seriously damaged.
≥To clean the inside of the Viewfinder, keep pressing 1 and hold the Eyecup 2 and pull it out.
2![]()
![]()
1
Extremely high precision technology is employed to produce the Viewfinder screen featuring a total of approximately 123,000 pixels. The result is more than 99.99% effective pixels with a mere 0.01% of the pixels inactive or always lit. However, this is not a malfunction and does not affect the recorded picture.
Lens Hood
≥When attaching the ND Filter or MC Protector of the Filter Kit
≥Do not attach other conversion lenses in front of the Lens Hood; there is no mount to be used for the attachment.
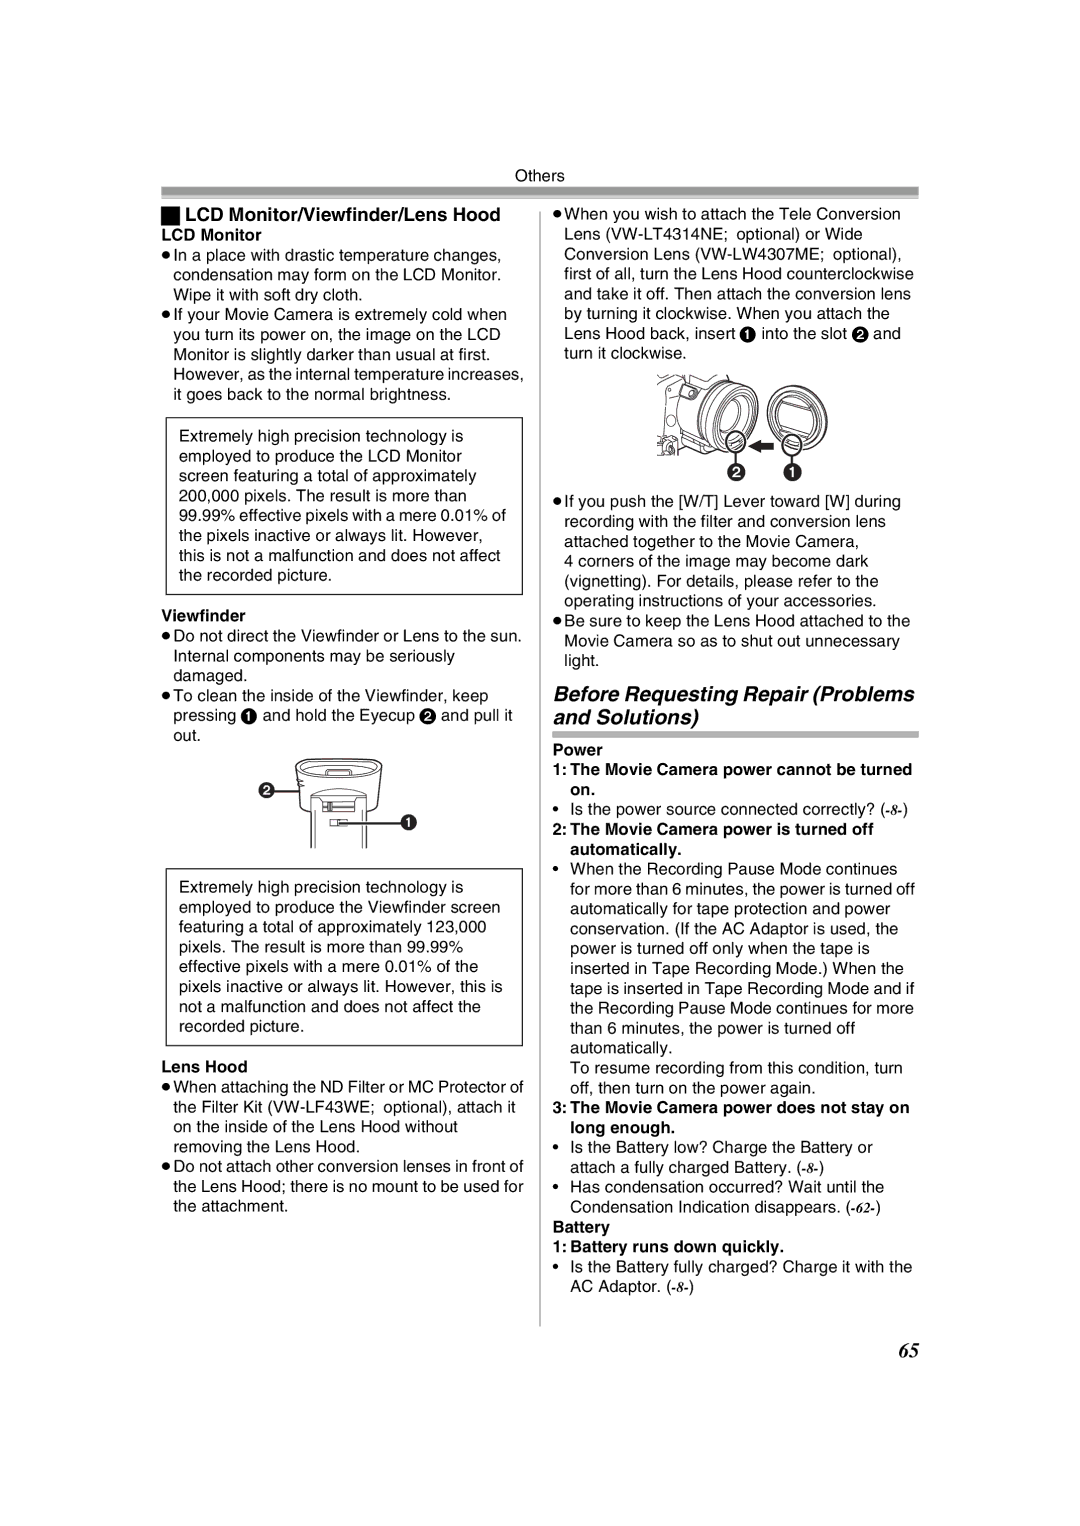
≥When you wish to attach the Tele Conversion Lens
2 1
≥If you push the [W/T] Lever toward [W] during recording with the filter and conversion lens attached together to the Movie Camera,
4 corners of the image may become dark (vignetting). For details, please refer to the
operating instructions of your accessories. ≥Be sure to keep the Lens Hood attached to the
Movie Camera so as to shut out unnecessary light.
Before Requesting Repair (Problems and Solutions)
Power
1:The Movie Camera power cannot be turned on.
•Is the power source connected correctly?
2: The Movie Camera power is turned off automatically.
•When the Recording Pause Mode continues for more than 6 minutes, the power is turned off automatically for tape protection and power conservation. (If the AC Adaptor is used, the power is turned off only when the tape is inserted in Tape Recording Mode.) When the tape is inserted in Tape Recording Mode and if the Recording Pause Mode continues for more than 6 minutes, the power is turned off automatically.
To resume recording from this condition, turn
off, then turn on the power again.
3: The Movie Camera power does not stay on long enough.
•Is the Battery low? Charge the Battery or attach a fully charged Battery.
•Has condensation occurred? Wait until the
Condensation Indication disappears.
Battery
1: Battery runs down quickly.
•Is the Battery fully charged? Charge it with the AC Adaptor.
65