Setting the Time Data
Setting the Time Code
When using both the user bit and the time code, set the user bit first. If the time code is set first, the time code generator will stop while the user bit is being set, causing the set time code to become inaccurate. The time code can be set within the range of 00:00:00:00 to 23:59:59:29.
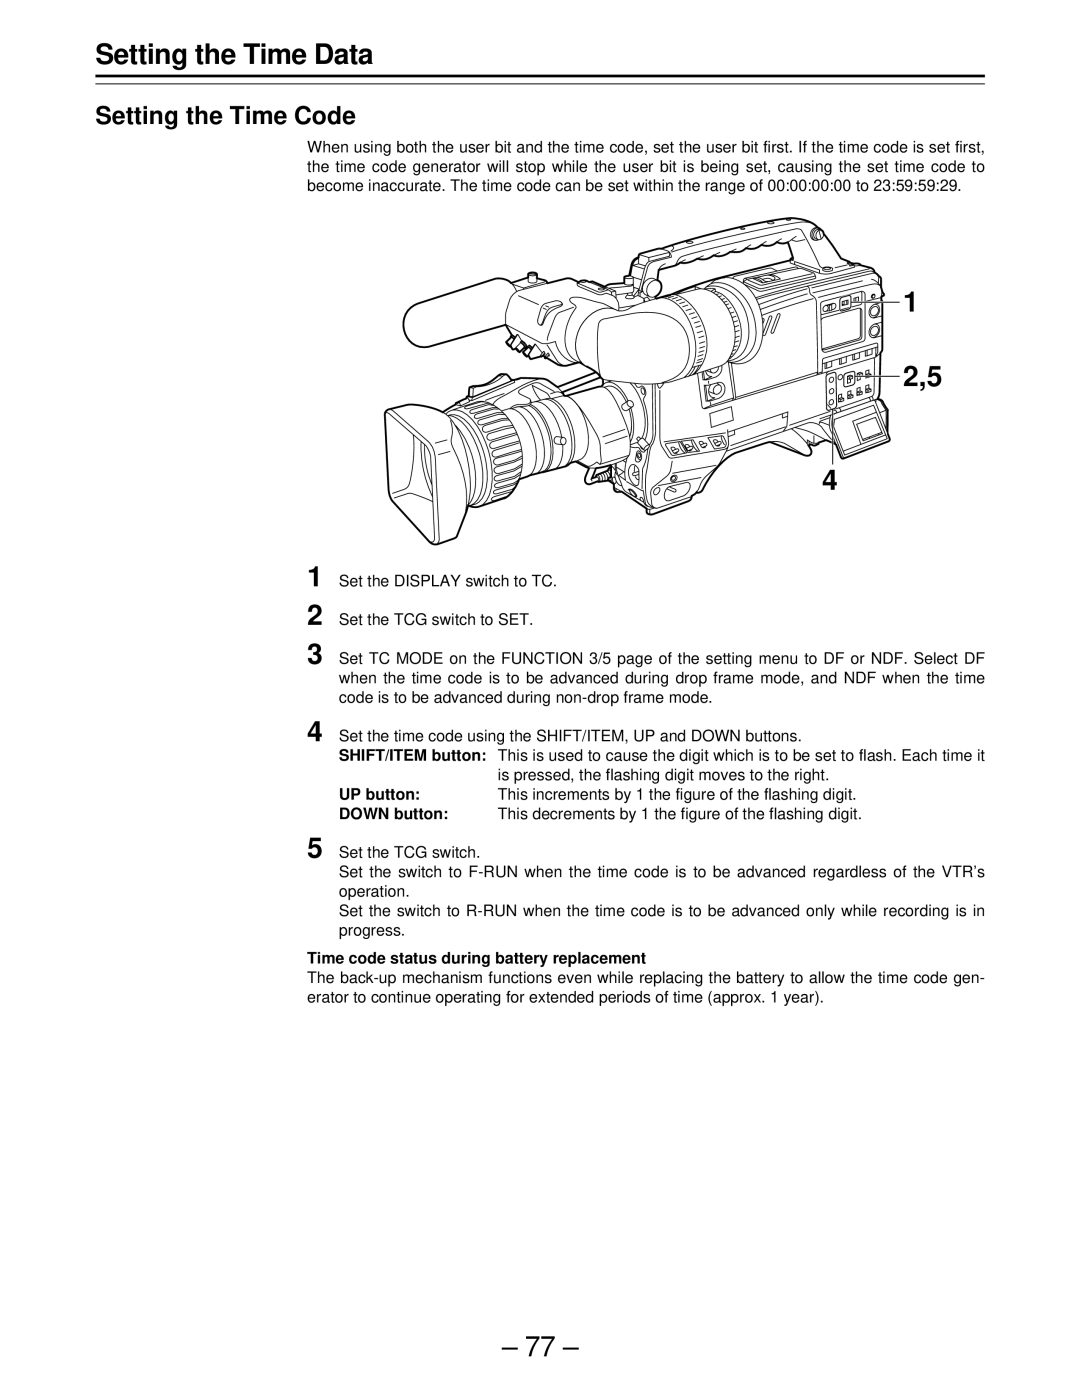
![]() 1
1
![]() 2,5
2,5
4
1
2
3 Set TC MODE on the FUNCTION 3/5 page of the setting menu to DF or NDF. Select DF when the time code is to be advanced during drop frame mode, and NDF when the time code is to be advanced during
4 Set the time code using the SHIFT/ITEM, UP and DOWN buttons.
SHIFT/ITEM button: This is used to cause the digit which is to be set to flash. Each time it
is pressed, the flashing digit moves to the right.
UP button:This increments by 1 the figure of the flashing digit.
DOWN button: This decrements by 1 the figure of the flashing digit.
5 Set the TCG switch.
Set the switch to
Set the switch to
Time code status during battery replacement
The
– 77 –
