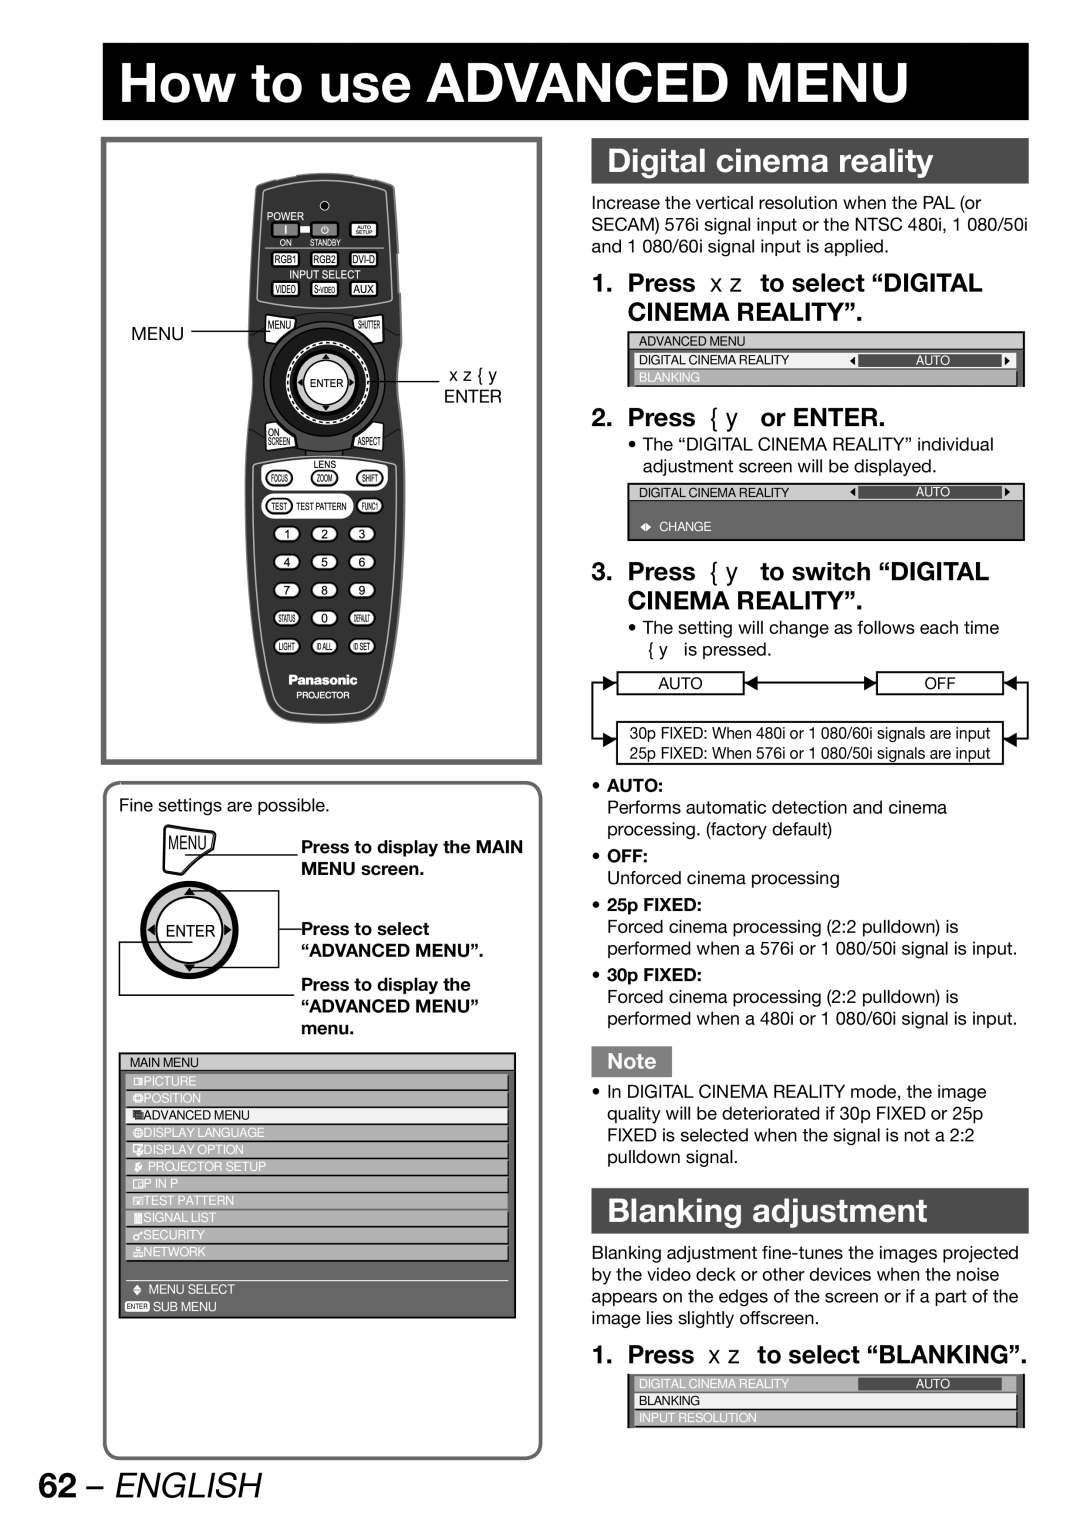
How to use ADVANCED MENU
MENU
▲▼◄►
ENTER
Fine settings are possible.
MENU | Press to display the MAIN | |
|
| MENU screen. |
Press to select |
“ADVANCED MENU”. |
Press to display the
“ADVANCED MENU” menu.
MAIN MENU
![]() PICTURE
PICTURE
![]() POSITION
POSITION
![]() ADVANCED MENU
ADVANCED MENU
![]() DISPLAY LANGUAGE
DISPLAY LANGUAGE
![]() DISPLAY OPTION
DISPLAY OPTION
![]() PROJECTOR SETUP
PROJECTOR SETUP
![]() P IN P
P IN P
![]() TEST PATTERN
TEST PATTERN
![]() SIGNAL LIST
SIGNAL LIST
![]() SECURITY
SECURITY
![]() NETWORK
NETWORK
MENU SELECT
ENTER SUB MENU
Digital cinema reality
Increase the vertical resolution when the PAL (or SECAM) 576i signal input or the NTSC 480i, 1 080/50i and 1 080/60i signal input is applied.
1. Press ▲▼ to select “DIGITAL CINEMA REALITY”.
ADVANCED MENU
DIGITAL CINEMA REALITY | AUTO |
|
|
|
|
BLANKING
2.Press ◄► or ENTER.
•The “DIGITAL CINEMA REALITY” individual adjustment screen will be displayed.
DIGITAL CINEMA REALITY | AUTO |
|
![]() CHANGE
CHANGE
3.Press ◄► to switch “DIGITAL CINEMA REALITY”.
•The setting will change as follows each time ◄► is pressed.
| AUTO |
| OFF |
|
|
|
|
30p FIXED: When 480i or 1 080/60i signals are input
25p FIXED: When 576i or 1 080/50i signals are input
•AUTO:
Performs automatic detection and cinema processing. (factory default)
•OFF:
Unforced cinema processing
•25p FIXED:
Forced cinema processing (2:2 pulldown) is performed when a 576i or 1 080/50i signal is input.
•30p FIXED:
Forced cinema processing (2:2 pulldown) is performed when a 480i or 1 080/60i signal is input.
Note
•In DIGITAL CINEMA REALITY mode, the image quality will be deteriorated if 30p FIXED or 25p FIXED is selected when the signal is not a 2:2 pulldown signal.
Blanking adjustment
Blanking adjustment
1. Press ▲▼ to select “BLANKING”.
| DIGITAL CINEMA REALITY | AUTO |
|
| BLANKING |
|
|
| INPUT RESOLUTION |
|
|
|
|
|
|
