Playback
Enjoying BD-LIVE or BONUSVIEW in BD-Video
[BD-V]
What is BONUSVIEW?
BONUSVIEW allows you to enjoy functions such as
What is BD-Live?
In addition to the BONUSVIEW function,
≥These discs may not be on sale in certain regions.
≥The usable functions and the operating method may vary with each disc, please refer to the instructions on the disc and/or visit their website.
![]()
![]() Playing secondary video
Playing secondary video
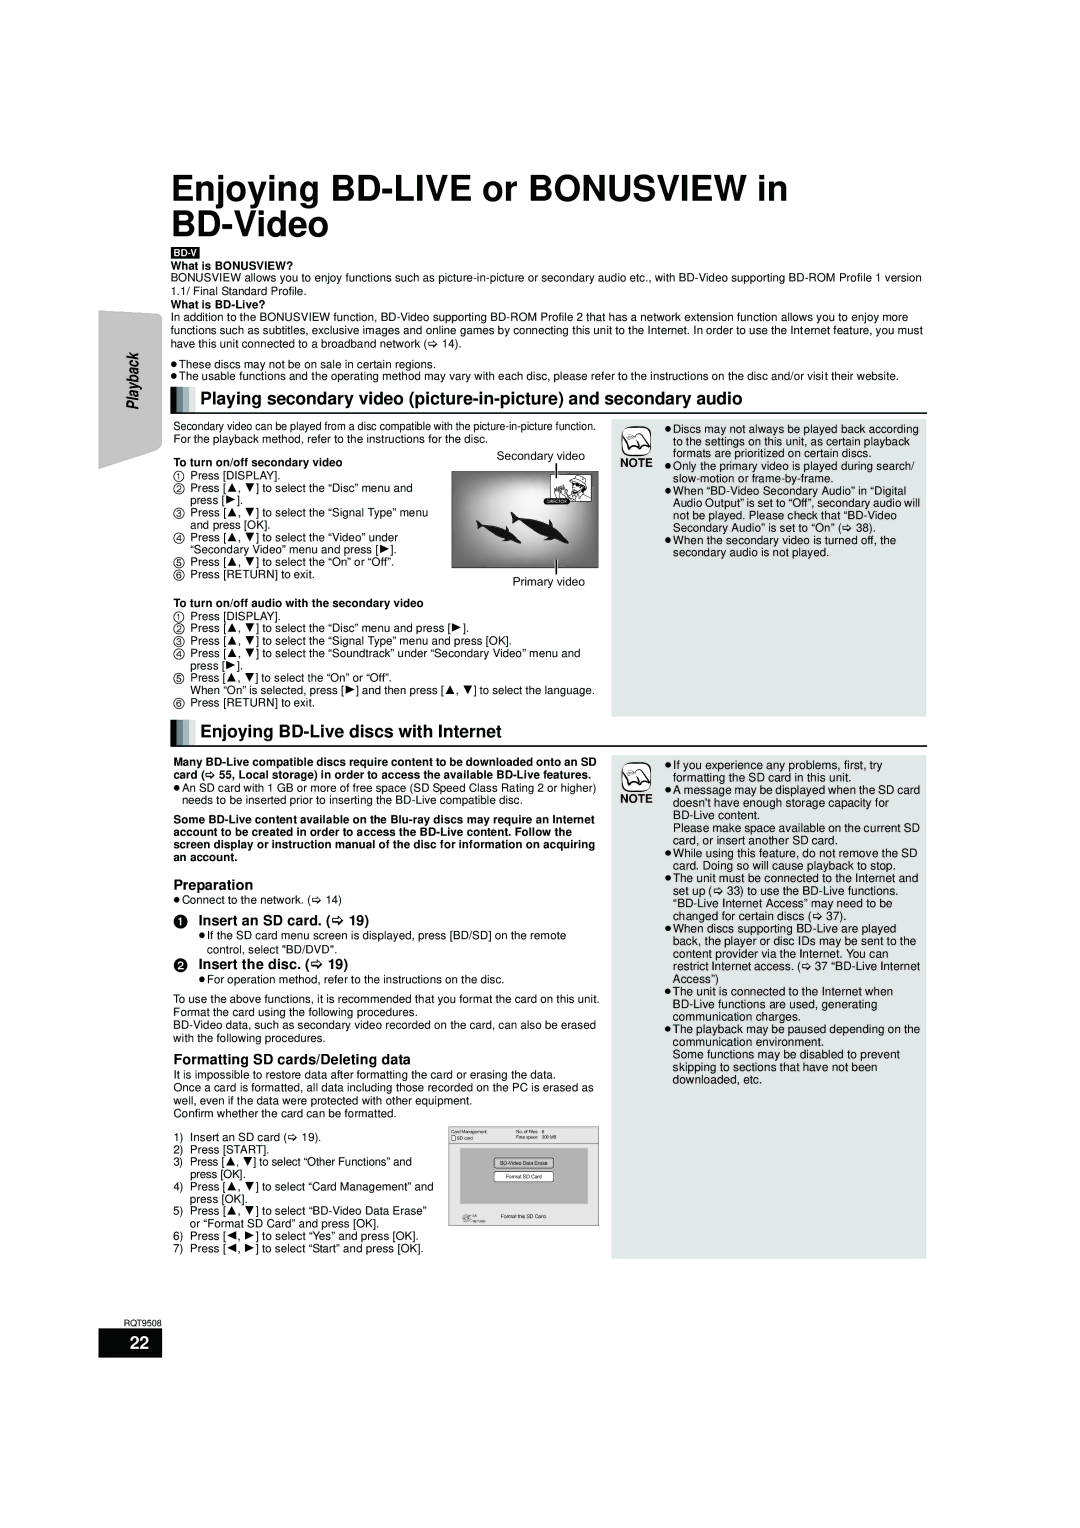
Secondary video can be played from a disc compatible with the
≥Discs may not always be played back according
to the settings on this unit, as certain playback
To turn on/off secondary video
1Press [DISPLAY].
2Press [3, 4] to select the “Disc” menu and press [1].
3Press [3, 4] to select the “Signal Type” menu and press [OK].
4Press [3, 4] to select the “Video” under “Secondary Video” menu and press [1].
5Press [3, 4] to select the “On” or “Off”.
6 Press [RETURN] to exit.
To turn on/off audio with the secondary video
Secondary video
Primary video
formats are prioritized on certain discs.
NOTE ≥Only the primary video is played during search/
≥When
≥When the secondary video is turned off, the secondary audio is not played.
1Press [DISPLAY].
2Press [3, 4] to select the “Disc” menu and press [1].
3Press [3, 4] to select the “Signal Type” menu and press [OK].
4Press [3, 4] to select the “Soundtrack” under “Secondary Video” menu and
press [1].
5Press [3, 4] to select the “On” or “Off”.
When “On” is selected, press [1] and then press [3, 4] to select the language.
6Press [RETURN] to exit.

 Enjoying
 BD-Live discs with Internet
Many | ≥If you experience any problems, first, try | |
card (> 55, Local storage) in order to access the available | formatting the SD card in this unit. | |
≥An SD card with 1 GB or more of free space (SD Speed Class Rating 2 or higher) | ≥A message may be displayed when the SD card | |
needs to be inserted prior to inserting the | NOTE doesn't have enough storage capacity for | |
Some |
| |
Please make space available on the current SD | ||
account to be created in order to access the | ||
card, or insert another SD card. | ||
screen display or instruction manual of the disc for information on acquiring | ||
≥While using this feature, do not remove the SD | ||
an account. | ||
card. Doing so will cause playback to stop. | ||
| ||
Preparation | ≥The unit must be connected to the Internet and | |
set up (> 33) to use the | ||
≥Connect to the network. (> 14) | ||
1 Insert an SD card. (> 19) | changed for certain discs (> 37). | |
≥If the SD card menu screen is displayed, press [BD/SD] on the remote | ≥When discs supporting | |
back, the player or disc IDs may be sent to the | ||
control, select "BD/DVD". | ||
content provider via the Internet. You can | ||
2 Insert the disc. (> 19) | restrict Internet access. (> 37 | |
≥For operation method, refer to the instructions on the disc. | Access”) | |
To use the above functions, it is recommended that you format the card on this unit. | ≥The unit is connected to the Internet when | |
Format the card using the following procedures. | ||
communication charges. | ||
≥The playback may be paused depending on the | ||
with the following procedures. | communication environment. | |
Formatting SD cards/Deleting data | Some functions may be disabled to prevent | |
It is impossible to restore data after formatting the card or erasing the data. | skipping to sections that have not been | |
downloaded, etc. | ||
Once a card is formatted, all data including those recorded on the PC is erased as | ||
| ||
well, even if the data were protected with other equipment. |
| |
Confirm whether the card can be formatted. |
|
1)Insert an SD card (> 19).
2)Press [START].
3)Press [3, 4] to select “Other Functions” and press [OK].
4)Press [3, 4] to select “Card Management” and press [OK].
5)Press [3, 4] to select
6)Press [2, 1] to select “Yes” and press [OK].
7)Press [2, 1] to select “Start” and press [OK].
Card Management | No. of Files | 6 |
SD card | Free space | 300 MB |
| ||
| Format SD Card |
|
OK | Format this SD Card. | |
RETURN |
|
|
RQT9508
22