Changing settings with the on-screen menu


On-screen menu operations
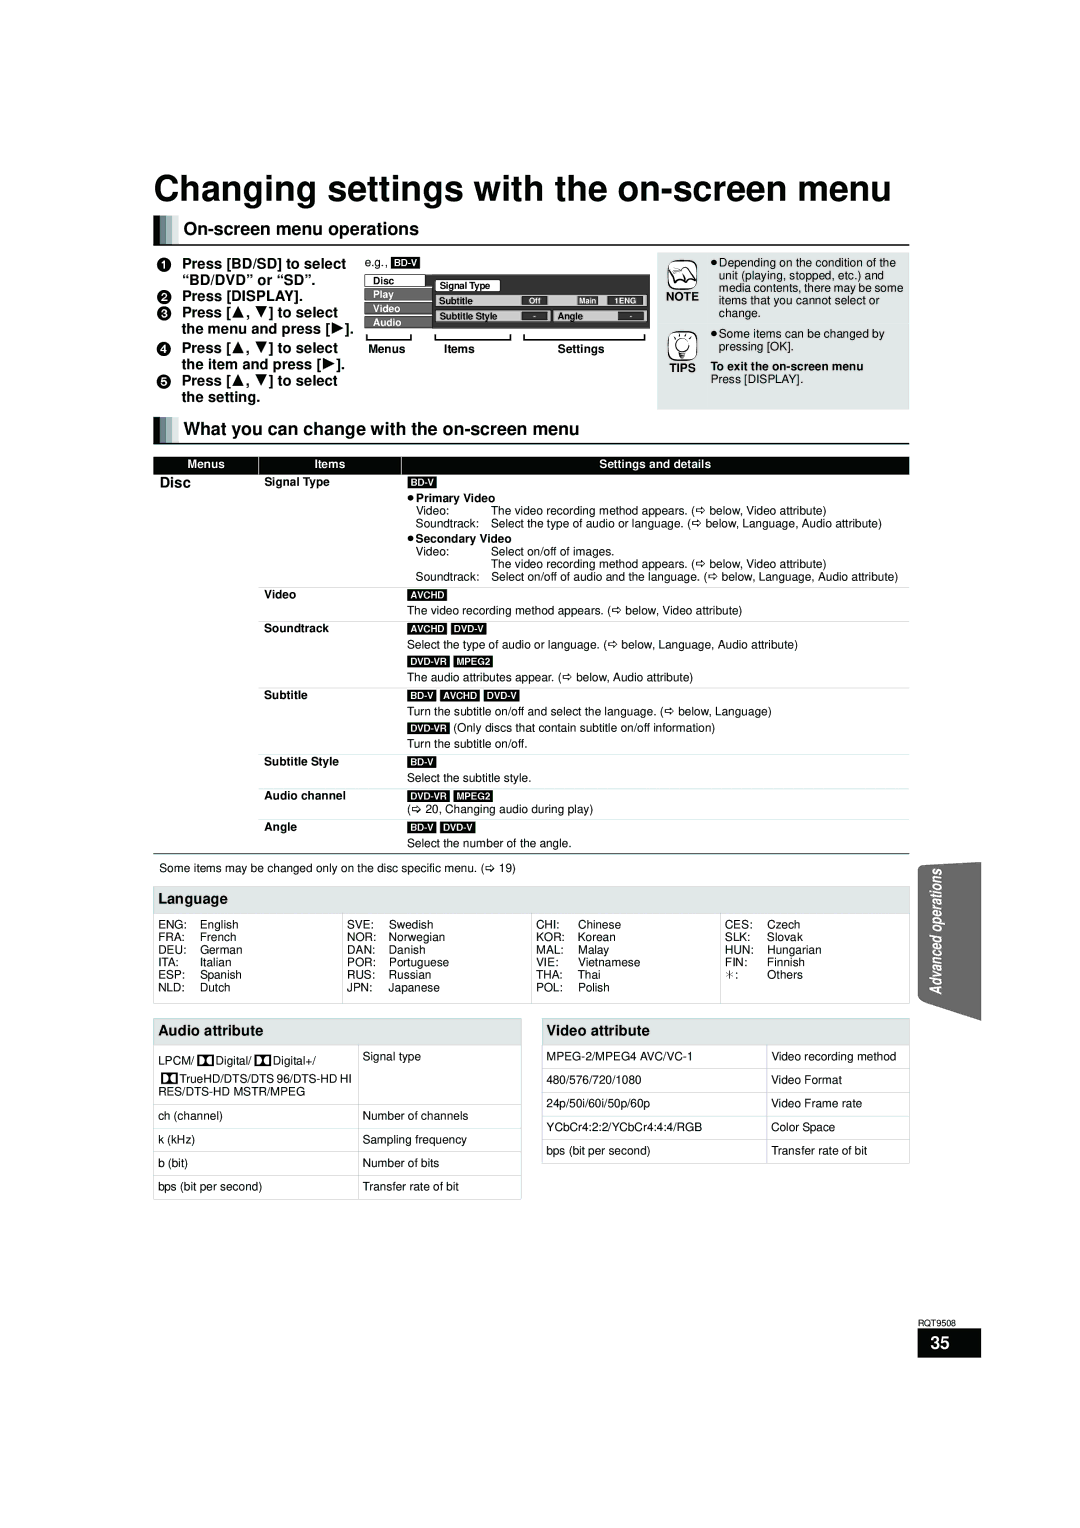
1Press [BD/SD] to select
“BD/DVD” or “SD”.
2Press [DISPLAY].
3Press [3, 4] to select the menu and press [1].
4Press [3, 4] to select the item and press [1].
5Press [3, 4] to select the setting.
e.g., [BD-V]
Disc
Play
Video
Audio
Menus
Signal Type
| Subtitle | Off |
| Main |
| 1ENG |
| ||
|
|
|
|
|
|
|
| ||
| Subtitle Style | - | Angle |
| - |
| |||
|
|
|
|
|
|
|
|
|
|
|
|
|
|
|
|
|
| ||
|
|
|
|
|
|
|
| ||
| Items |
| Settings |
|
|
| |||
NOTE
TIPS
≥Depending on the condition of the unit (playing, stopped, etc.) and media contents, there may be some items that you cannot select or change.
≥Some items can be changed by pressing [OK].
To exit the
Press [DISPLAY].

 What you can change with the
 on-screen menu
Menus | Items |
| Settings and details |
Disc | Signal Type |
|
|
|
| ≥Primary Video | |
|
| Video: | The video recording method appears. (D below, Video attribute) |
|
| Soundtrack: Select the type of audio or language. (D below, Language, Audio attribute) | |
|
| ≥Secondary Video | |
|
| Video: | Select on/off of images. |
|
|
| The video recording method appears. (D below, Video attribute) |
|
| Soundtrack: Select on/off of audio and the language. (D below, Language, Audio attribute) | |
| Video | [AVCHD] |
|
|
| The video recording method appears. (D below, Video attribute) | |
|
|
|
|
| Soundtrack | [AVCHD] |
|
|
| Select the type of audio or language. (D below, Language, Audio attribute) | |
|
| ||
|
| The audio attributes appear. (D below, Audio attribute) | |
|
|
| |
| Subtitle |
| |
|
| Turn the subtitle on/off and select the language. (D below, Language) | |
|
| ||
|
| Turn the subtitle on/off. | |
|
|
|
|
| Subtitle Style |
|
|
|
| Select the subtitle style. | |
|
|
| |
| Audio channel | ||
|
| (> 20, Changing audio during play) | |
|
|
|
|
| Angle |
| |
|
| Select the number of the angle. | |
|
|
|
|
Some items may be changed only on the disc specific menu. (> 19)
Language
ENG: | English | SVE: | Swedish | CHI: | Chinese | CES: | Czech |
FRA: | French | NOR: | Norwegian | KOR: | Korean | SLK: | Slovak |
DEU: | German | DAN: | Danish | MAL: | Malay | HUN: | Hungarian |
ITA: | Italian | POR: | Portuguese | VIE: | Vietnamese | FIN: | Finnish |
ESP: | Spanish | RUS: | Russian | THA: | Thai | ¢: | Others |
NLD: | Dutch | JPN: | Japanese | POL: | Polish |
|
|
|
|
|
|
|
|
|
|
Advanced operations
Audio attribute
LPCM/ Digital/ | Digital+/ | Signal type |
| ||
TrueHD/DTS/DTS |
| |
|
| |
|
|
|
ch (channel) |
| Number of channels |
|
|
|
k (kHz) |
| Sampling frequency |
|
|
|
b (bit) |
| Number of bits |
|
|
|
bps (bit per second) |
| Transfer rate of bit |
|
|
|
Video attribute
| Video recording method |
|
|
480/576/720/1080 | Video Format |
|
|
24p/50i/60i/50p/60p | Video Frame rate |
|
|
YCbCr4:2:2/YCbCr4:4:4/RGB | Color Space |
|
|
bps (bit per second) | Transfer rate of bit |
|
|
RQT9508
35