WINDOW BLANKING
PELCO EXSITE IPSXM
LANGUAGE | ENGLISH |
| |||
UNIT INVERSION | OFF |
| |||
<SYSTEM INFORMATION> |
|
| |||
<DISPLAY SETUP> |
|
| |||
<UNIT SETTINGS> |
|
| |||
<POSITION CALIBRATION> |
|
| |||
RESET CAMERA |
|
| |||
CYCLE CAMERA POWER |
|
| |||
REBOOT SYSTEM |
|
| |||
EXIT |
|
| |||
|
|
|
|
| |
|
|
|
|
|
|
UNIT SETTINGS |
|
| |||
|
|
| |||
<CAMERA> |
|
| |||
<MOTION> |
|
| |||
<POWER UP> |
|
| |||
<LINE SYNC> |
|
| |||
<PRESETS> |
|
| |||
<PATTERNS> |
|
| |||
<ZONES> |
|
| |||
<WINDOW BLANKING> |
|
| |||
<ALARMS> |
|
| |||
<WIPER> |
|
| |||
<AUX> |
|
| |||
<CLEAR> |
|
| |||
<PASSWORD> |
|
| |||
BACK |
|
| |||
EXIT |
|
| |||
|
|
| |||
|
|
|
|
|
|
|
|
| |||
WINDOW BLANKING |
|
| |||
|
|
| |||
STYLE | GRAY |
| |||
BLANK ALL ABOVE | OFF |
| |||
BLANK ALL BELOW | OFF |
| |||
|
|
| |||
<SET WINDOWS> |
|
| |||
BACK |
|
| |||
EXIT |
|
| |||
|
|
| |||
|
|
|
|
|
|
SET WINDOWS |
|
| |||
|
|
| |||
|
|
|
|
|
|
WINDOW NUMBER | 1 |
| |||
<EDIT WINDOW LOCATION> |
|
| |||
<EDIT WINDOW ZOOM> |
|
| |||
ENABLE WINDOW | NO |
| |||
REVERSE |
|
| |||
CLEAR WINDOW |
|
| |||
BACK |
|
| |||
EXIT |
|
| |||
Window blanking allows a user to program up to eight,
ExSite IPSXM has two style modes for window blanking, GRAY and SMEAR. If style is set to gray, the blanked area is covered with a solid gray window. If smear is selected images behind the window will be noticeable but not distinguishable.
To set a window blanking area:
1.Use the joystick to position the cursor beside WINDOW BLANKING. Press Iris Open. The WINDOW BLANKING menu appears on the screen.
2.Move the joystick to position the cursor beside SET WINDOWS. Press Iris Open to enter.
3.Position the cursor beside WINDOW NUMBER. Press Iris Open. The cursor moves to the right.
4.Move the joystick up or down to view selections. Press Iris Open to enter selection.
5.Use the joystick to position the cursor beside EDIT WINDOW LOCATION. Press Iris Open, and then follow the instructions that appear on the screen.
NOTE: Use the inside corner of the window selection tool as a guide when selecting the upper left, upper right, bottom right, and bottom left corners of the window.
INSIDE CORNER
Set windows are not visible when editing a new window location.
When all four corners are set, the SET WINDOWS menu reappears, the blanked area is displayed, and the ENABLE WINDOW option is set to YES.
6.The blanked area can be programmed to turn on or off at a specified zoom point. To set the zoom point:
a.Use the joystick to position the cursor beside EDIT WINDOW ZOOM, and then press Iris Open.
b.Zoom in to the point where you want window blanking to turn on. Press Iris Open to set the zoom point.
NOTES:
•Since the area is already blanked out, it may be difficult to determine when you want window blanking to turn on. Reverse the window before setting the zoom point. When finished reverse the window again to blank out the area.
•Increase the size of the window if any part of the blanked area is revealed during pan, tilt, and zoom operations.
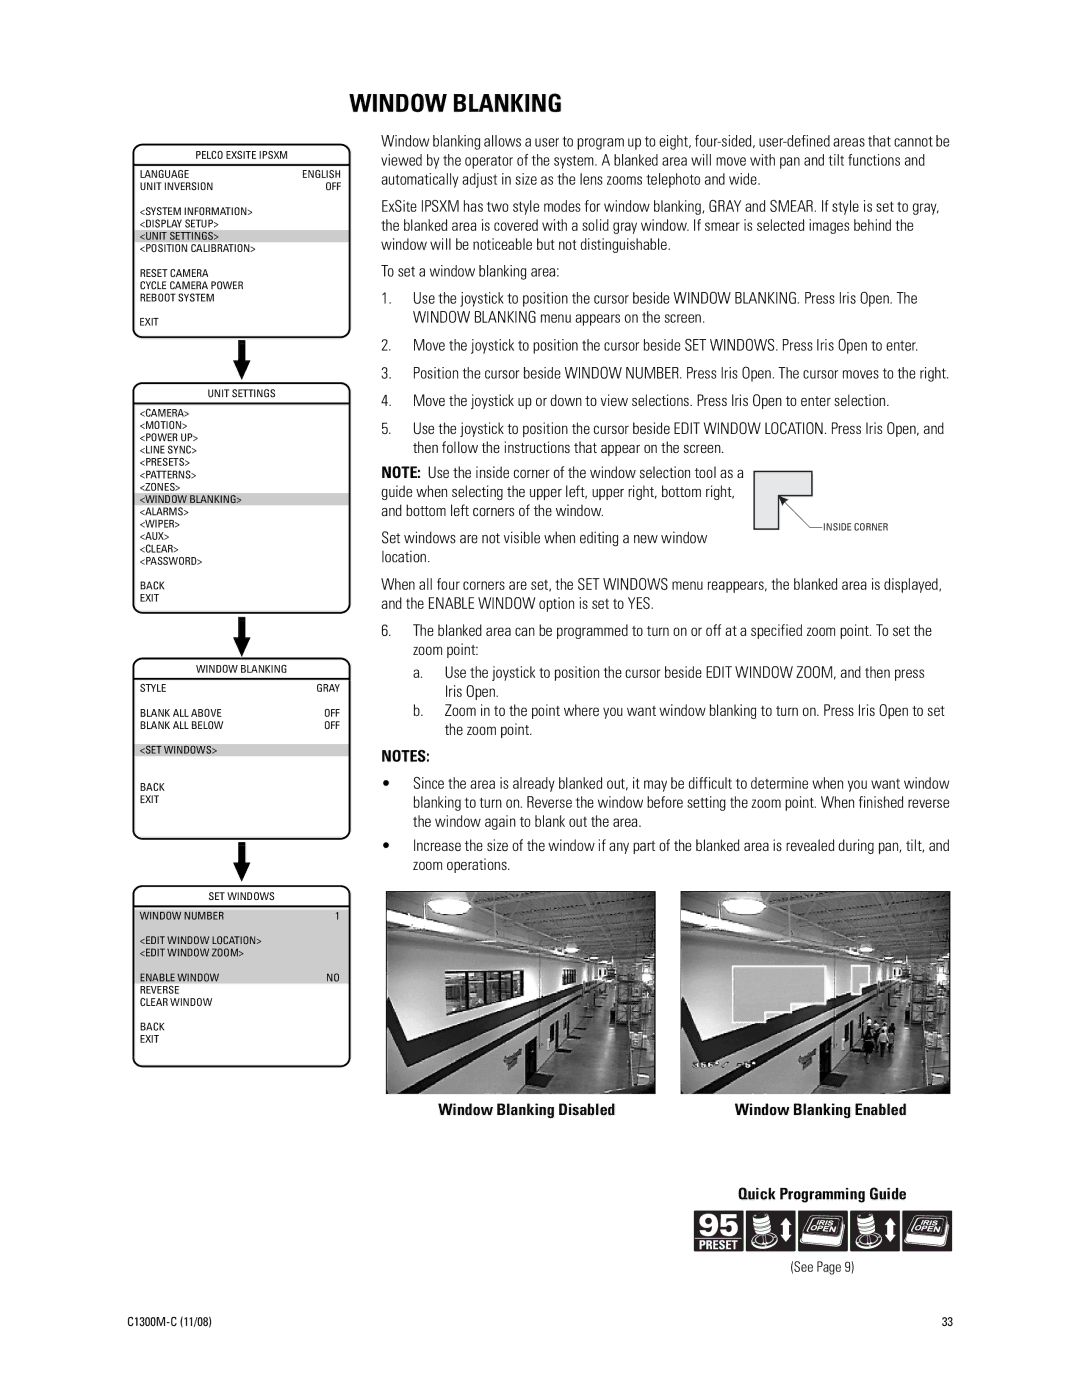
Window Blanking Disabled | Window Blanking Enabled |
Quick Programming Guide
(See Page 9)
33 |