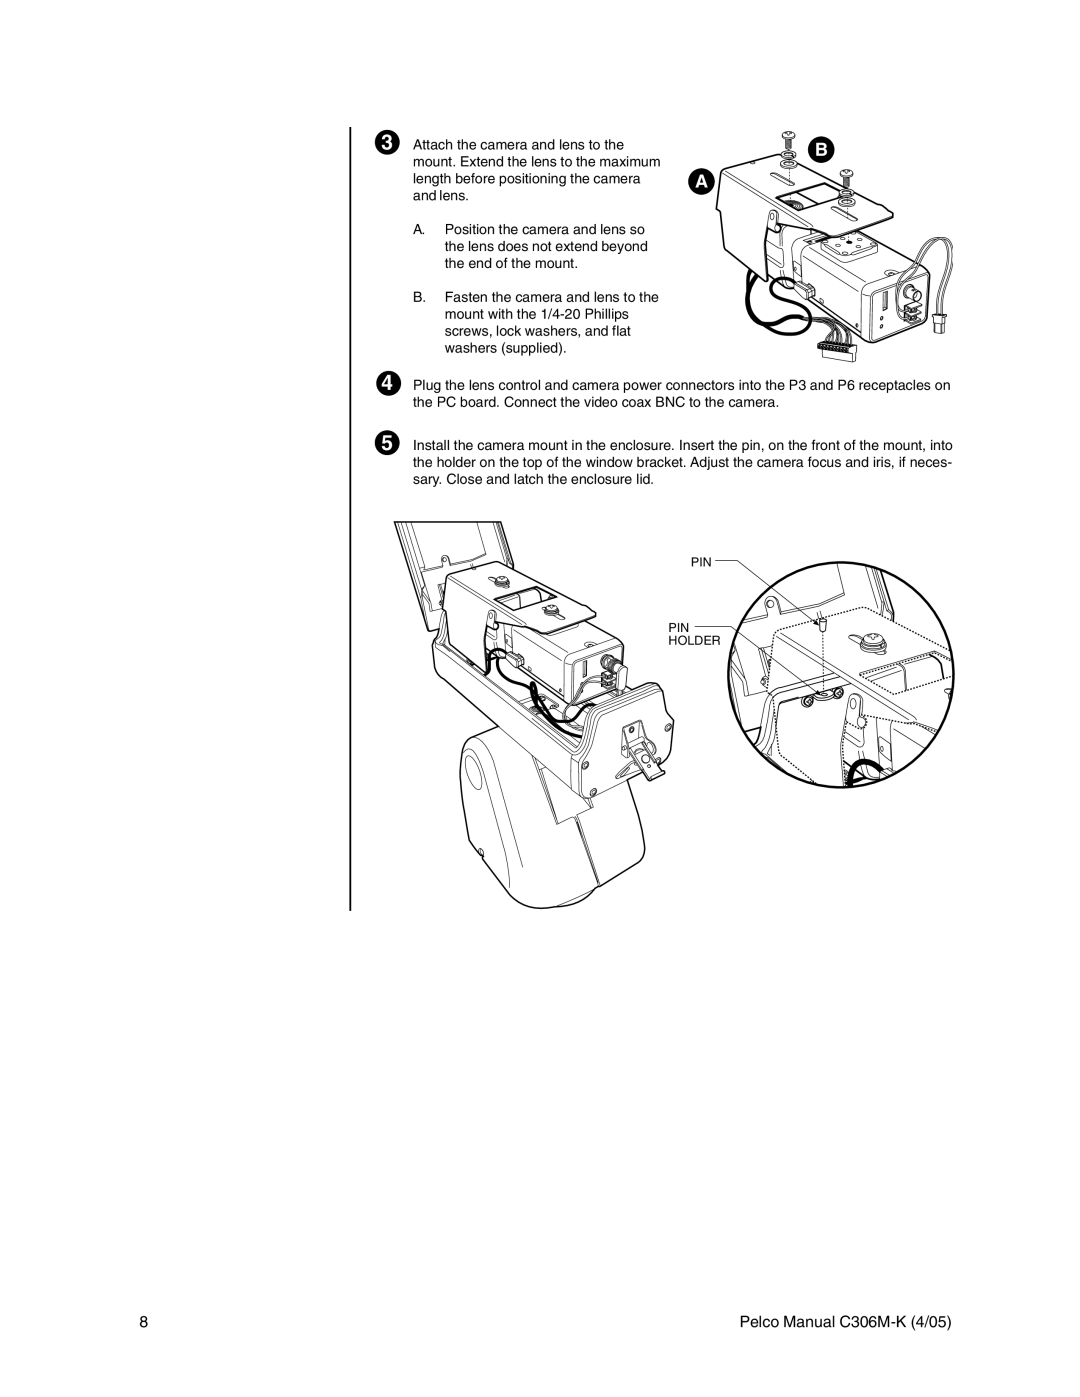
3 Attach the camera and lens to the | B | |
mount. Extend the lens to the maximum | ||
| ||
length before positioning the camera | A | |
and lens. |
|
A.Position the camera and lens so the lens does not extend beyond the end of the mount.
B. Fasten the camera and lens to the mount with the
4 Plug the lens control and camera power connectors into the P3 and P6 receptacles on the PC board. Connect the video coax BNC to the camera.
5 Install the camera mount in the enclosure. Insert the pin, on the front of the mount, into the holder on the top of the window bracket. Adjust the camera focus and iris, if neces- sary. Close and latch the enclosure lid.
PIN
PIN
HOLDER
8 | Pelco Manual |