Using the Power Features
User Guide |
41 |
3Tap the Time button again.
The new Start Time or Stop Time is set.
Note If the Stop Time lies before the Start Time, the Stop Date automatically jumps to the next day.
Defining the Start Action or Stop Action
Pronto NG uses a similar procedure to define the Action List for the Start Action or the Stop Action of the selected timer as in the Macro Tool. See ‘Creating and Editing Macros’ on page 34 for more information.
Example Some examples of timer actions are: switching on your lights at a specific time or recording your favorite daily
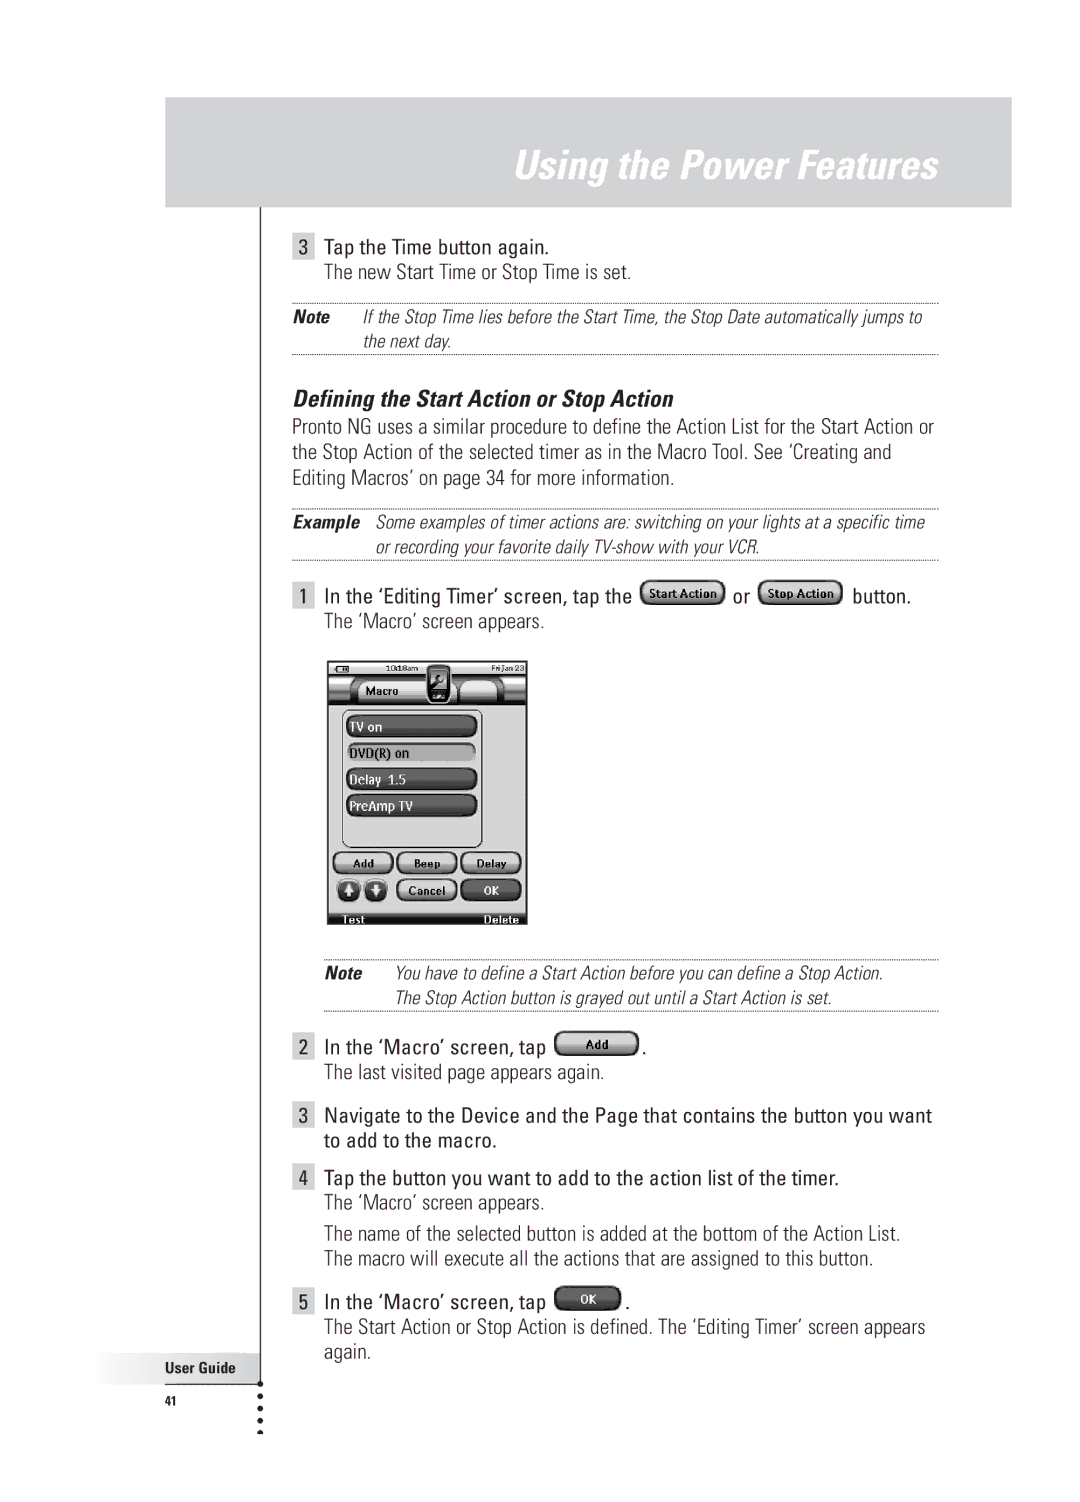
1In the ‘Editing Timer’ screen, tap the ![]() or
or ![]() button. The ‘Macro’ screen appears.
button. The ‘Macro’ screen appears.
Note You have to define a Start Action before you can define a Stop Action. The Stop Action button is grayed out until a Start Action is set.
2In the ‘Macro’ screen, tap ![]() . The last visited page appears again.
. The last visited page appears again.
3Navigate to the Device and the Page that contains the button you want to add to the macro.
4Tap the button you want to add to the action list of the timer. The ‘Macro’ screen appears.
The name of the selected button is added at the bottom of the Action List. The macro will execute all the actions that are assigned to this button.
5In the ‘Macro’ screen, tap ![]() .
.
The Start Action or Stop Action is defined. The ‘Editing Timer’ screen appears again.
