Customizing Pronto NG
What makes Pronto NG so powerful, is the ability to extend its functionality in multiple ways, like programming additional functions, adding supplementary devices and changing the interface as it suits you best.
For full editing you can use ProntoEdit NG software. See ‘ProntoEdit NG’ on page 49 for more information.
Using the Tools
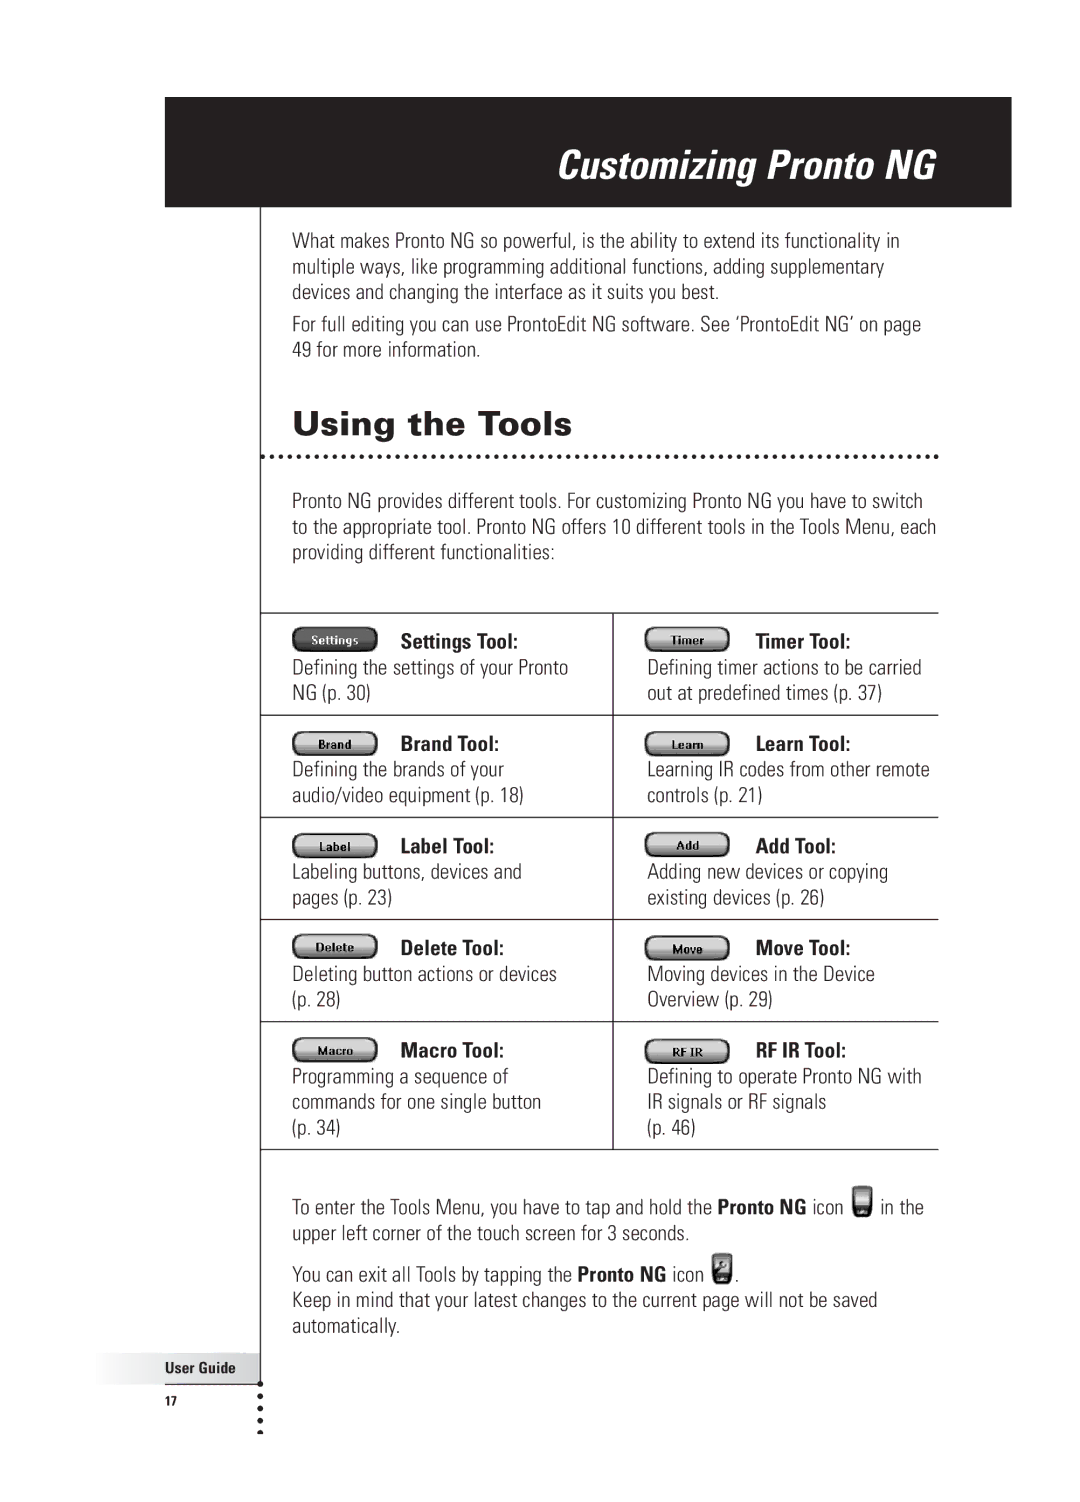
Pronto NG provides different tools. For customizing Pronto NG you have to switch to the appropriate tool. Pronto NG offers 10 different tools in the Tools Menu, each providing different functionalities:
Settings Tool: | Timer Tool: |
|
Defining the settings of your Pronto | Defining timer actions to be carried | |
NG (p. 30) | out at predefined times (p. 37) | |
|
|
|
Brand Tool: | Learn Tool: |
|
Defining the brands of your | Learning IR codes from other remote | |
audio/video equipment (p. 18) | controls (p. 21) |
|
|
|
|
Label Tool: | Add Tool: |
|
Labeling buttons, devices and | Adding new devices or copying | |
pages (p. 23) | existing devices (p. 26) |
|
|
|
|
Delete Tool: | Move Tool: |
|
Deleting button actions or devices | Moving devices in the Device |
|
(p. 28) | Overview (p. 29) |
|
|
|
|
Macro Tool: | RF IR Tool: |
|
Programming a sequence of | Defining to operate Pronto NG with | |
commands for one single button | IR signals or RF signals |
|
(p. 34) | (p. 46) |
|
|
|
|
To enter the Tools Menu, you have to tap and hold the Pronto NG icon | in the | |
upper left corner of the touch screen for 3 seconds. |
| |
You can exit all Tools by tapping the Pronto NG icon ![]() .
.
Keep in mind that your latest changes to the current page will not be saved automatically.
User Guide |
17 |
