Using the Power Features
User Guide |
39 |
3Tap ![]() .
.
The ‘Timer’ screen appears.
4Tap the label of the timer you want to label. The timer is highlighted.
5In the ‘Timer’ screen, tap ![]() . The ‘Labeling’ screen appears.
. The ‘Labeling’ screen appears.
6Label the timer as described in ‘Labeling Elements’ on page 23.
7In the ‘Labeling’ screen, tap ![]() .
.
The ‘Timer’ screen appears again and the timer is relabeled.
8In the ‘Timer’ screen, tap ![]() . The Tools Menu appears again.
. The Tools Menu appears again.
Editing a Timer
1Tap and hold the Pronto NG icon ![]() in the upper left corner of the touch screen for 3 seconds. The Tools Menu appears.
in the upper left corner of the touch screen for 3 seconds. The Tools Menu appears.
2Tap ![]() in the Tools Menu.
in the Tools Menu.
The ‘Timer Tool’ information screen appears.
3Tap ![]() .
.
The ‘Timer’ screen appears.
4Tap the label of the timer you want to edit. The timer is highlighted.
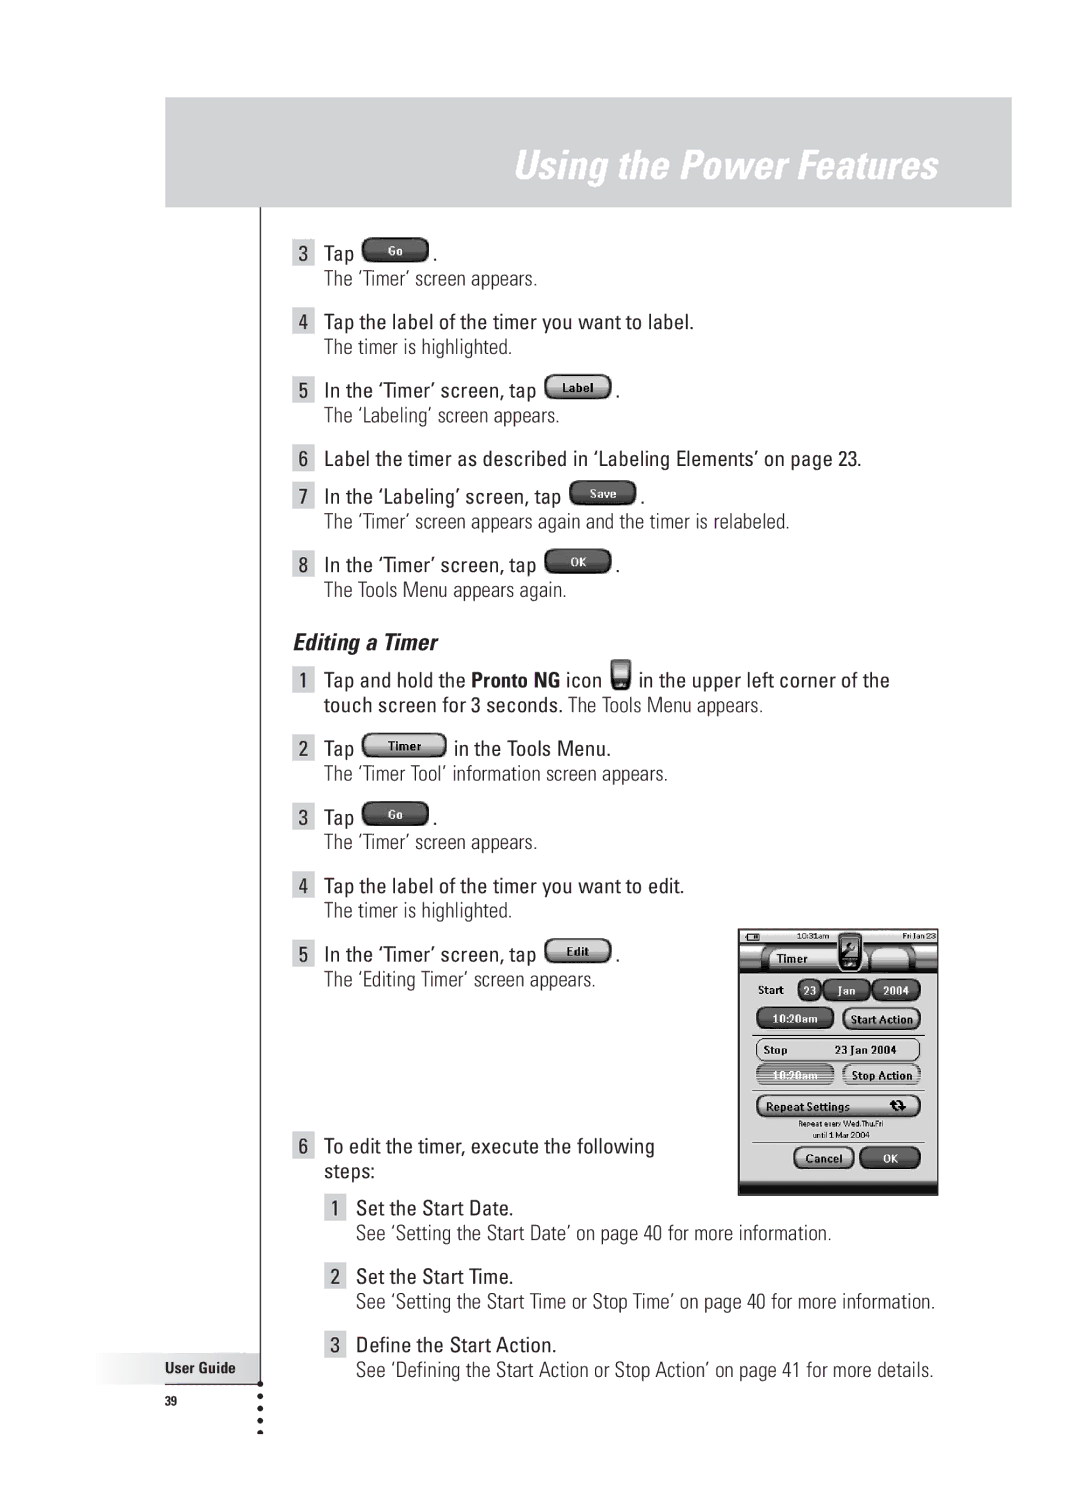
5In the ‘Timer’ screen, tap ![]() . The ‘Editing Timer’ screen appears.
. The ‘Editing Timer’ screen appears.
6To edit the timer, execute the following steps:
1Set the Start Date.
See ‘Setting the Start Date’ on page 40 for more information.
2Set the Start Time.
See ‘Setting the Start Time or Stop Time’ on page 40 for more information.
3Define the Start Action.
See ‘Defining the Start Action or Stop Action’ on page 41 for more details.