Timer Recording
POWER | TIMER | DISC | OPEN/ |
ON/OFF | TIMER | CLOSE | |
ANGLE | AUDIO | CH | |
SETUP/ | DNR | ZOOM | INPUT |
FUNCTION | |||
TITLE |
|
| MENU |
RETURN |
|
| SET/ |
|
| ENTER | |
|
|
| VCR PLUS+ |
|
| TIMER PROG. | |
|
|
| REC MODE |
AM/PM |
| ERASE PROGRAM | |
100 |
|
|
|
REV |
|
| FWD |
| PLAY |
| |
REC |
|
| STILL/PAUSE |
| STOP |
| |
SKIP | F.ADV | SLOW | |
SEARCH | SKIP | ||
DISPLAY | ON | ORIGINAL/ | EDIT |
SCREEN | PLAY LIST | ||
POWER | INPUT | VOL | |
CH
TV CONTROL
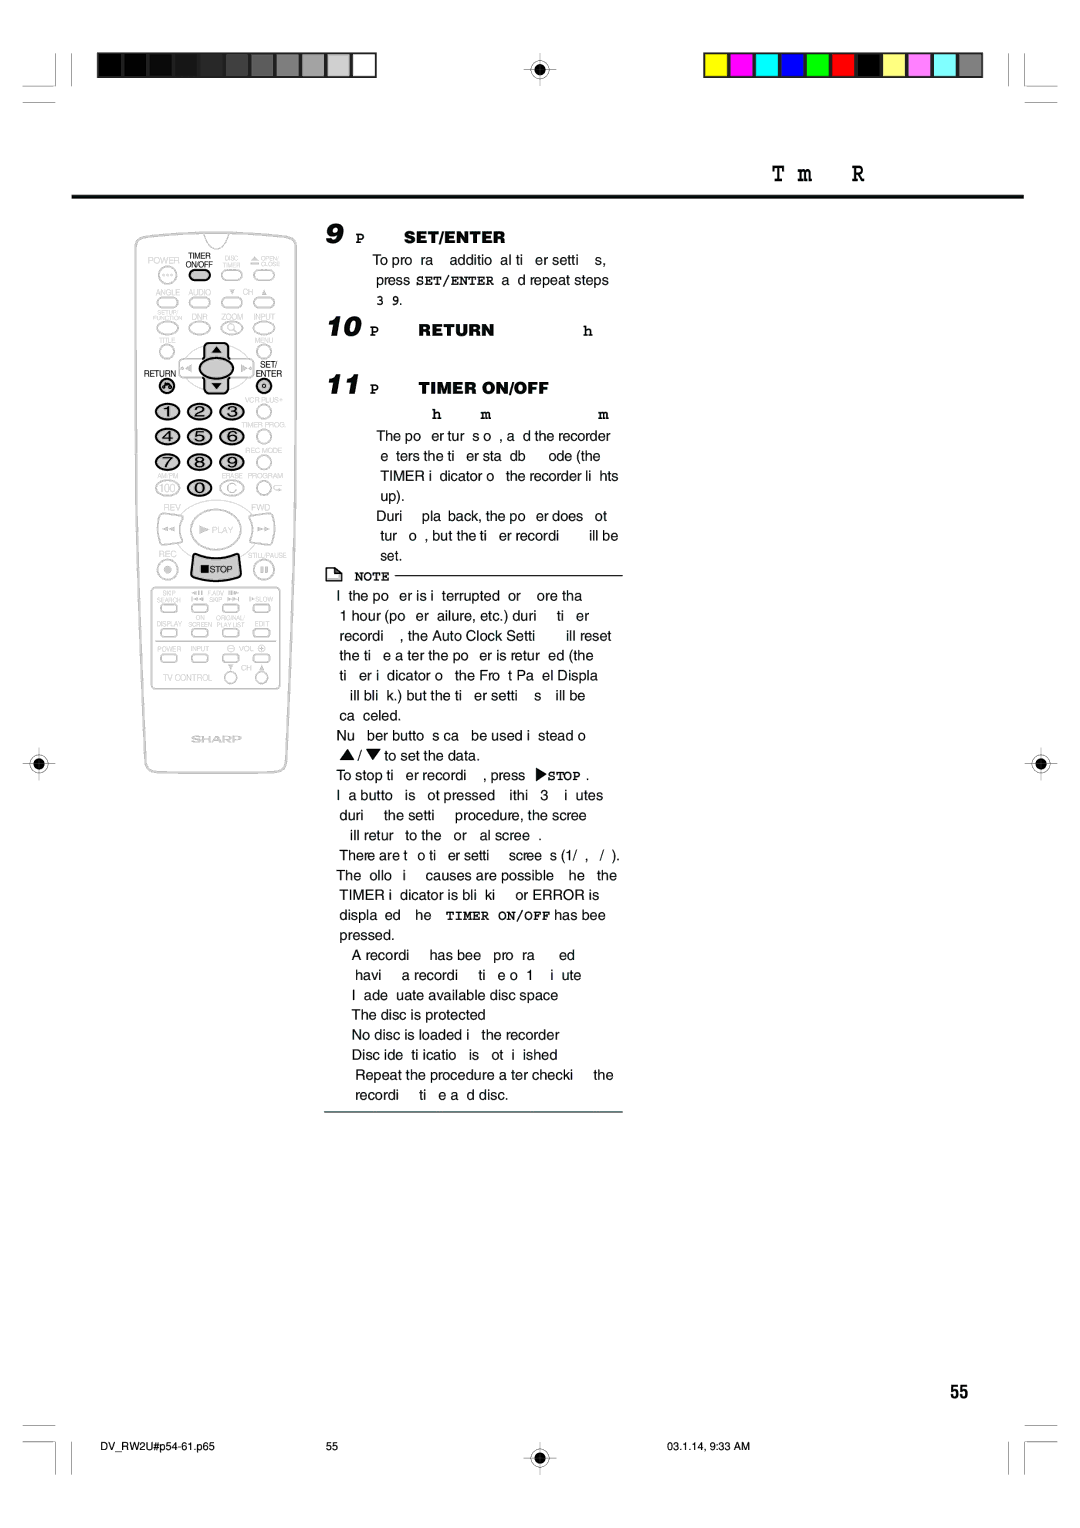
9 Press SET/ENTER.
•To program additional timer settings, press SET/ENTER and repeat steps
10 Press RETURN to finish settings.
11 Press TIMER ON/OFF to enter the timer standby mode.
•The power turns off, and the recorder enters the timer standby mode (the TIMER indicator on the recorder lights up).
•During playback, the power does not turn off, but the timer recording will be set.
![]() NOTE
NOTE
•If the power is interrupted for more than 1 hour (power failure, etc.) during timer recording, the Auto Clock Setting will reset the time after the power is returned (the timer indicator on the Front Panel Display will blink.) but the timer settings will be canceled.
•Number buttons can be used instead of ' / " to set the data.
•To stop timer recording, press ËSTOP.
•If a button is not pressed within 3 minutes during the setting procedure, the screen will return to the normal screen.
•There are two timer setting screens (1/2, 2/2).
•The following causes are possible when the TIMER indicator is blinking or “ERROR” is displayed when TIMER ON/OFF has been pressed.
• A recording has been programmed having a recording time of 1 minute
• Inadequate available disc space
• The disc is protected
• No disc is loaded in the recorder
• Disc identification is not finished Repeat the procedure after checking the recording time and disc.
55
55 | 03.1.14, 9:33 AM |