Clock Setting
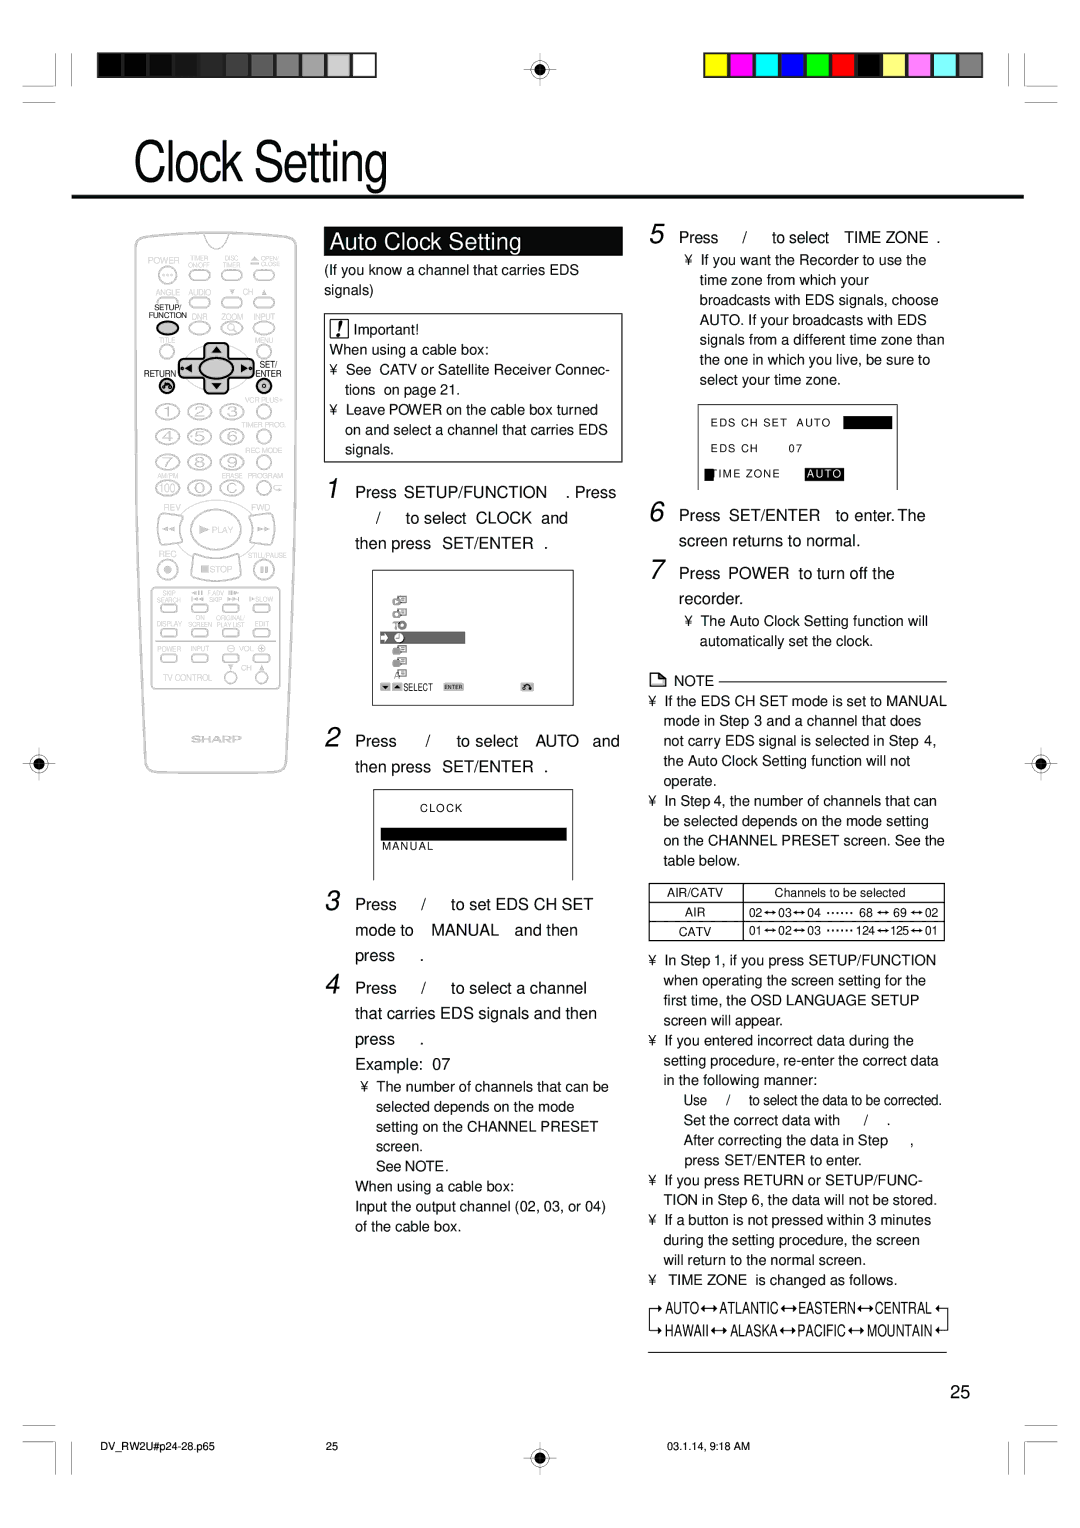
POWER | TIMER | DISC | OPEN/ |
| ON/OFF | TIMER | CLOSE |
ANGLE | AUDIO | CH | |
SETUP/ |
|
|
|
FUNCTION DNR | ZOOM | INPUT | |
TITLE |
|
| MENU |
RETURN |
|
| SET/ |
|
| ENTER | |
|
|
| VCR PLUS+ |
|
| TIMER PROG. | |
|
|
| REC MODE |
AM/PM |
| ERASE PROGRAM | |
100 |
|
|
|
REV |
|
| FWD |
| PLAY |
| |
REC |
|
| STILL/PAUSE |
| STOP |
| |
SKIP | F.ADV | SLOW | |
SEARCH | SKIP | ||
DISPLAY | ON | ORIGINAL/ | EDIT |
SCREEN | PLAY LIST | ||
POWER | INPUT | VOL | |
CH
TV CONTROL
Auto Clock Setting
(If you know a channel that carries EDS signals)
![]() Important!
Important!
When using a cable box:
•See “CATV or Satellite Receiver Connec- tions” on page 21.
•Leave POWER on the cable box turned on and select a channel that carries EDS signals.
1 Press SETUP/FUNCTION. Press
'/ " to select “CLOCK” and then press SET/ENTER.
SETUP |
|
PLAYBACK |
|
RECORD |
|
DISC |
|
CLOCK |
|
CHANNEL |
|
OPTION |
|
OSD LANGUAGE |
|
SELECT ENTER ENTER | RETURN |
2 Press ' / " to select “AUTO” and then press SET/ENTER.
CLOCK
AUTO
MANUAL
3 Press \ / to set EDS CH SET mode to “MANUAL” and then press ".
4 Press \ / to select a channel that carries EDS signals and then press ".
Example: 07
•The number of channels that can be selected depends on the mode setting on the CHANNEL PRESET screen.
See NOTE.
When using a cable box:
Input the output channel (02, 03, or 04) of the cable box.
5 Press \ / to select “TIME ZONE”.
•If you want the Recorder to use the time zone from which your broadcasts with EDS signals, choose AUTO. If your broadcasts with EDS signals from a different time zone than the one in which you live, be sure to select your time zone.
| EDS | CH | SET | AUTO | MANUAL |
| EDS | CH |
| 07 |
|
|
|
|
|
| |
| TIME | ZONE | AUTO |
| |
6 Press SET/ENTER to enter. The screen returns to normal.
7 Press POWER to turn off the recorder.
•The Auto Clock Setting function will automatically set the clock.
![]() NOTE
NOTE
•If the EDS CH SET mode is set to MANUAL mode in Step 3 and a channel that does not carry EDS signal is selected in Step 4, the Auto Clock Setting function will not operate.
•In Step 4, the number of channels that can be selected depends on the mode setting on the CHANNEL PRESET screen. See the table below.
AIR/CATV |
|
| Channels to be selected |
|
| |||||
|
|
|
|
|
|
|
|
|
|
|
AIR | 02 |
| 03 |
| 04 | 68 |
| 69 |
| 02 |
|
|
|
| |||||||
CATV | 01 |
| 02 |
| 03 | 124 |
| 125 |
| 01 |
|
|
|
| |||||||
•In Step 1, if you press SETUP/FUNCTION when operating the screen setting for the first time, the OSD LANGUAGE SETUP screen will appear.
•If you entered incorrect data during the setting procedure,
1 Use \ / to select the data to be corrected. 2 Set the correct data with ' / ".
3 After correcting the data in Step 2, press SET/ENTER to enter.
•If you press RETURN or SETUP/FUNC- TION in Step 6, the data will not be stored.
•If a button is not pressed within 3 minutes during the setting procedure, the screen will return to the normal screen.
•“TIME ZONE” is changed as follows.
![]() AUTO
AUTO![]()
![]() ATLANTIC
ATLANTIC![]()
![]() EASTERN
EASTERN![]()
![]() CENTRAL
CENTRAL ![]()
![]() HAWAII
HAWAII ![]()
![]() ALASKA
ALASKA![]()
![]() PACIFIC
PACIFIC ![]()
![]() MOUNTAIN
MOUNTAIN ![]()
25
25 | 03.1.14, 9:18 AM |