Changing Image/Audio During Playback
POWER | TIMER | DISC | OPEN/ |
| ON/OFF | TIMER | CLOSE |
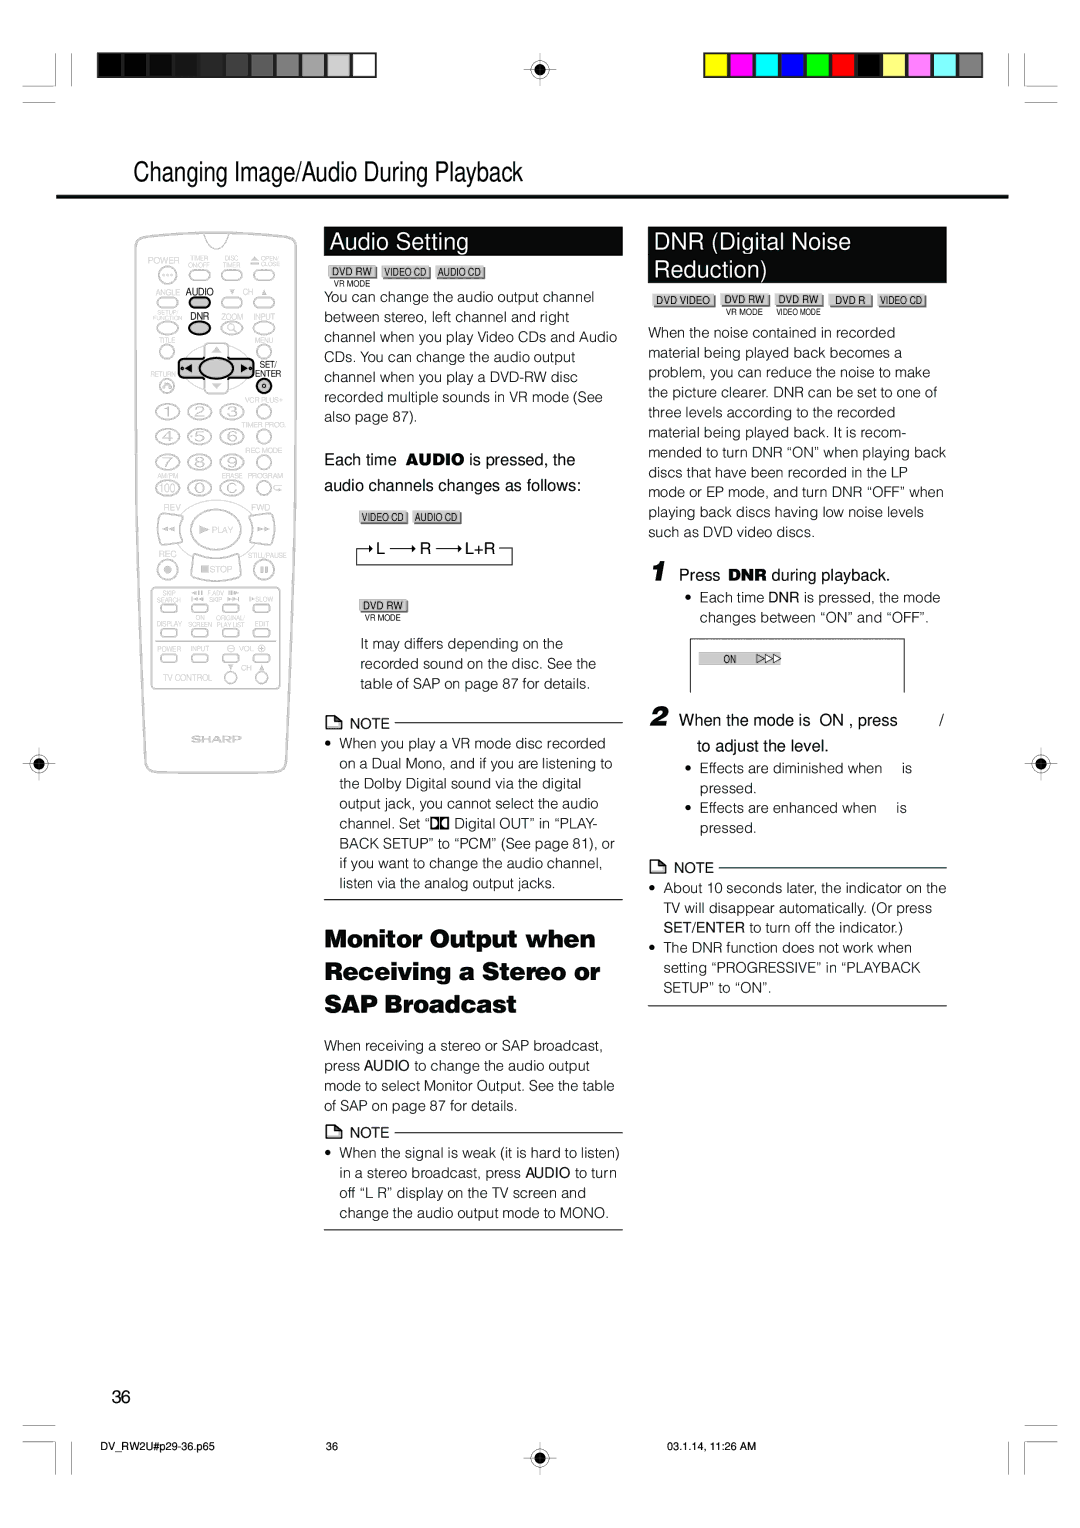
ANGLE | AUDIO | CH | |
SETUP/ | DNR | ZOOM | INPUT |
FUNCTION | |||
TITLE |
|
| MENU |
|
|
| SET/ |
RETURN |
|
| ENTER |
|
|
| VCR PLUS+ |
|
| TIMER PROG. | |
|
|
| REC MODE |
AM/PM |
| ERASE PROGRAM | |
100 |
|
|
|
REV |
|
| FWD |
| PLAY |
| |
REC |
|
| STILL/PAUSE |
| STOP |
| |
SKIP | F.ADV | SLOW | |
SEARCH | SKIP | ||
DISPLAY | ON | ORIGINAL/ | EDIT |
SCREEN | PLAY LIST | ||
POWER | INPUT | VOL | |
CH
TV CONTROL
36
Audio Setting
DVD RW VIDEO CD AUDIO CD
VR MODE
You can change the audio output channel between stereo, left channel and right channel when you play Video CDs and Audio CDs. You can change the audio output channel when you play a
Each time AUDIO is pressed, the
audio channels changes as follows:
| VIDEO CD |
| AUDIO CD |
|
| ||||
|
| L |
|
| R |
|
| L+R |
|
|
|
|
|
|
|
| |||
|
|
|
|
|
|
|
|
|
|
DVD RW
VR MODE
It may differs depending on the recorded sound on the disc. See the table of SAP on page 87 for details.
![]() NOTE
NOTE
•When you play a VR mode disc recorded on a Dual Mono, and if you are listening to the Dolby Digital sound via the digital output jack, you cannot select the audio channel. Set “![]()
![]() Digital OUT” in “PLAY- BACK SETUP” to “PCM” (See page 81), or if you want to change the audio channel, listen via the analog output jacks.
Digital OUT” in “PLAY- BACK SETUP” to “PCM” (See page 81), or if you want to change the audio channel, listen via the analog output jacks.
Monitor Output when Receiving a Stereo or SAP Broadcast
When receiving a stereo or SAP broadcast, press AUDIO to change the audio output mode to select Monitor Output. See the table of SAP on page 87 for details.
![]() NOTE
NOTE
•When the signal is weak (it is hard to listen) in a stereo broadcast, press AUDIO to turn off “L R” display on the TV screen and change the audio output mode to MONO.
DNR (Digital Noise
Reduction)
DVD VIDEO |
| DVD RW |
| DVD RW |
| DVD R |
| VIDEO CD |
|
| VR MODE |
| VIDEO MODE |
|
|
| |
When the noise contained in recorded material being played back becomes a problem, you can reduce the noise to make the picture clearer. DNR can be set to one of three levels according to the recorded material being played back. It is recom- mended to turn DNR “ON” when playing back discs that have been recorded in the LP mode or EP mode, and turn DNR “OFF” when playing back discs having low noise levels such as DVD video discs.
1 Press DNR during playback.
•Each time DNR is pressed, the mode changes between “ON” and “OFF”.
ON
2 When the mode is “ON”, press \ /
to adjust the level.
•Effects are diminished when \ is pressed.
•Effects are enhanced when is pressed.
![]() NOTE
NOTE
•About 10 seconds later, the indicator on the TV will disappear automatically. (Or press SET/ENTER to turn off the indicator.)
•The DNR function does not work when setting “PROGRESSIVE” in “PLAYBACK SETUP” to “ON”.
36 | 03.1.14, 11:26 AM |
