3. Installation Procedures
3.4 Adjusting the Plasma Display
3.4.1Procedures for setting the plasma display
For details, refer to the Technical Manual of the plasma display.
1.First, set the “System Settings”. Set “SIGNAL FORMAT”.
To use 1280 x 768 (60 Hz/70 Hz) screen resolution and refresh rate, set “SIGNAL FORMAT” to “WXGA”.
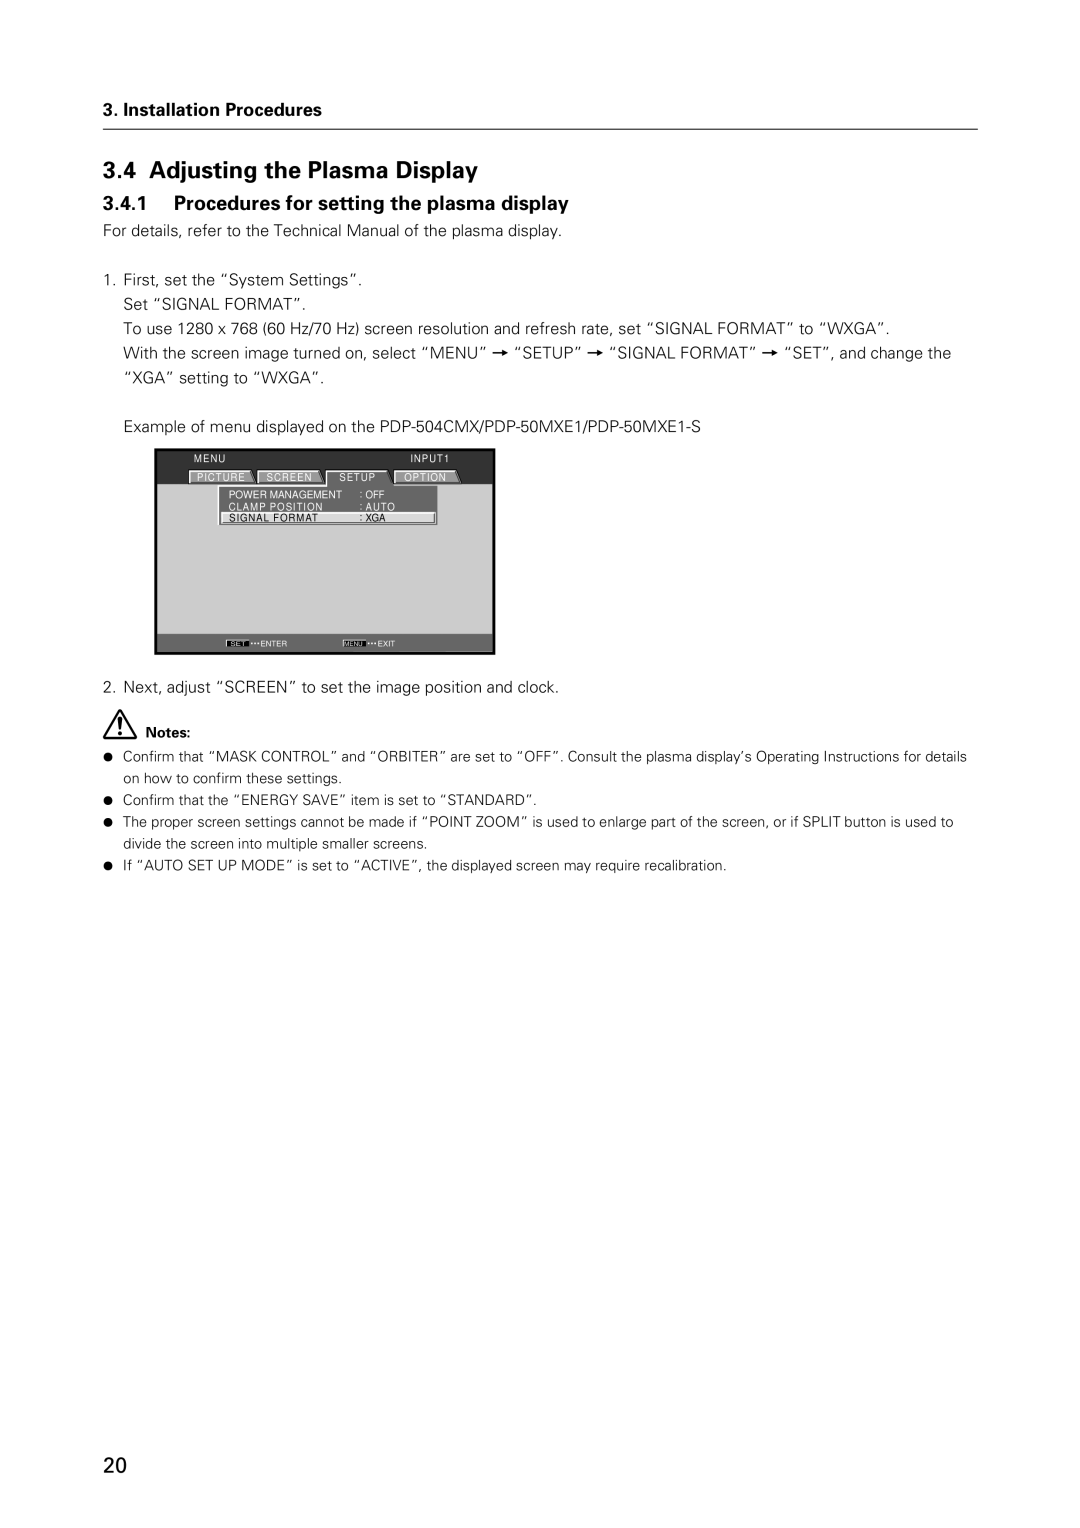
With the screen image turned on, select “MENU” = “SETUP” = “SIGNAL FORMAT” = “SET”, and change the “XGA” setting to “WXGA”.
Example of menu displayed on the
| MENU |
| INPUT1 |
| PICTURE SCREEN | SETUP | OPTION |
| POWER MANAGEMENT : OFF |
| |
| CLAMP POSITION | : AUTO |
|
| SIGNAL FORMAT | : XGA |
|
SET ENTER | MENU EXIT |
2. Next, adjust “SCREEN” to set the image position and clock.
Notes:
¶Confirm that “MASK CONTROL” and “ORBITER” are set to “OFF”. Consult the plasma display’s Operating Instructions for details on how to confirm these settings.
¶Confirm that the “ENERGY SAVE” item is set to “STANDARD”.
¶The proper screen settings cannot be made if “POINT ZOOM” is used to enlarge part of the screen, or if SPLIT button is used to divide the screen into multiple smaller screens.
¶If “AUTO SET UP MODE” is set to “ACTIVE”, the displayed screen may require recalibration.
20