Using External Equipment
 Setup
Setup
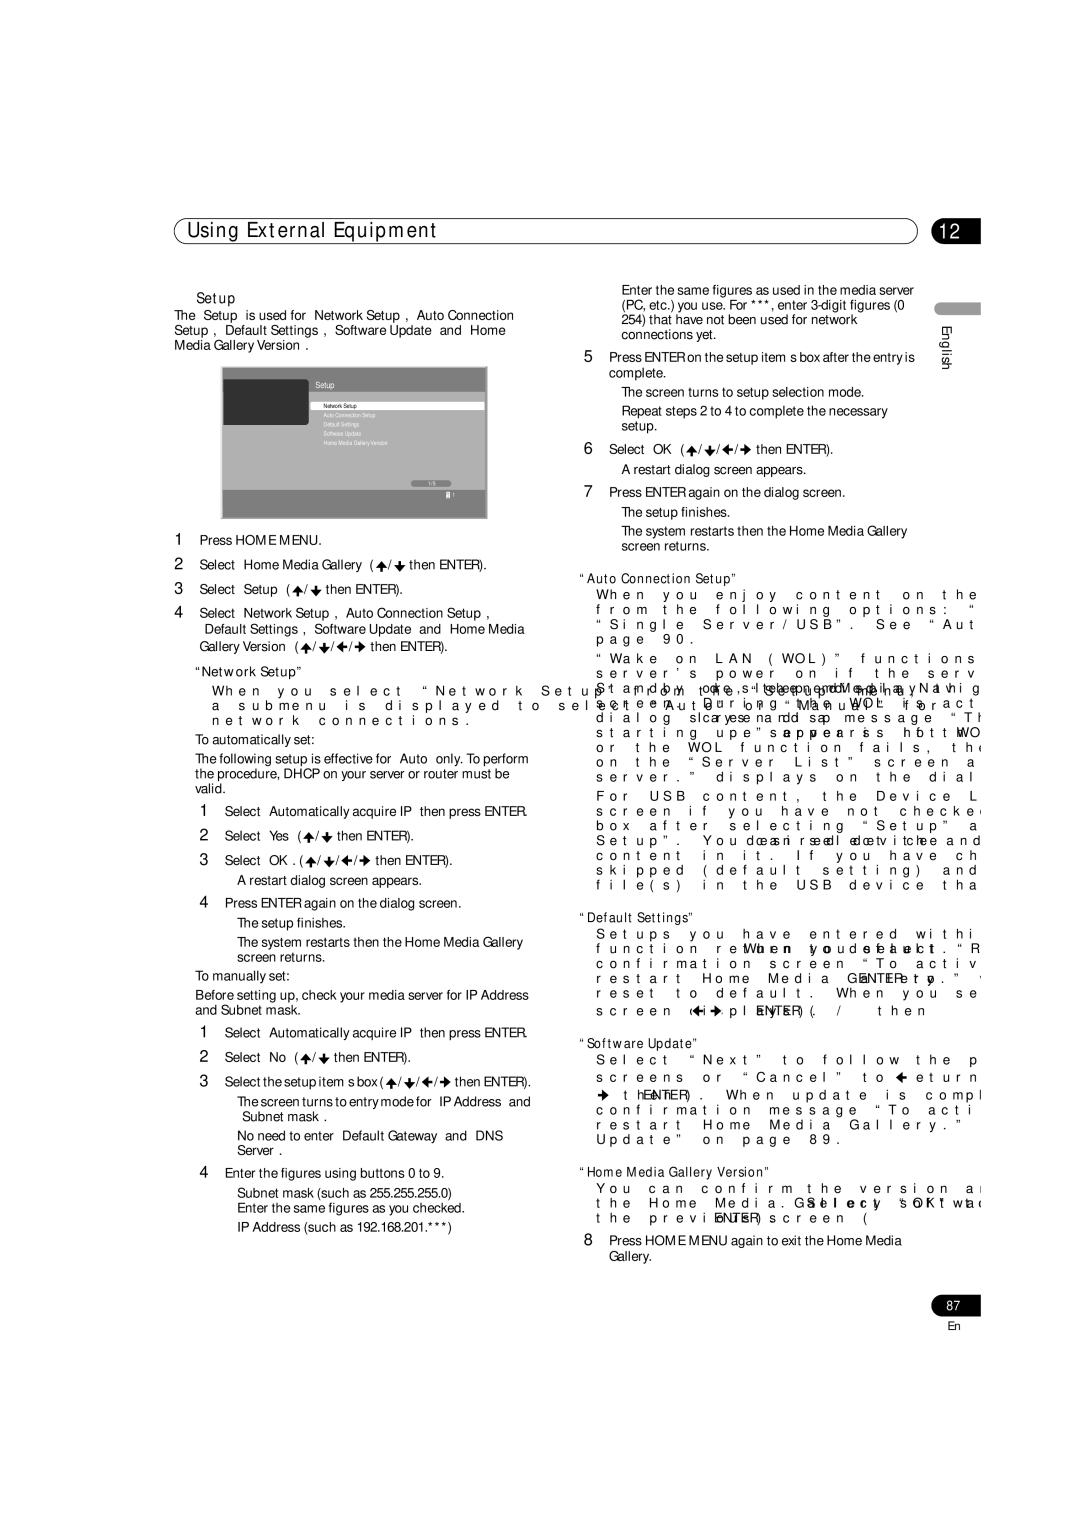
The “Setup” is used for “Network Setup”, “Auto Connection Setup”, “Default Settings”, “Software Update” and “Home Media Gallery Version”.
Setup
Network Setup
Auto Connection Setup
Default Settings
Software Update
Home Media Gallery Version
1/5
![]() 1
1
1Press HOME MENU.
2Select “Home Media Gallery” ( ![]() /
/ ![]() then ENTER).
then ENTER).
3Select “Setup” ( ![]() /
/ ![]() then ENTER).
then ENTER).
4Select “Network Setup”, “Auto Connection Setup”, “Default Settings”, “Software Update” and “Home Media Gallery Version” ( ![]() /
/ ![]() /
/ ![]() /
/ ![]() then ENTER).
then ENTER).
“Network Setup”
When you select “Network Setup” from the “Setup” menu, a submenu is displayed to select “Auto” or “Manual” for network connections.
To automatically set:
The following setup is effective for “Auto” only. To perform the procedure, DHCP on your server or router must be valid.
1Select “Automatically acquire IP” then press ENTER.
2Select “Yes” ( ![]() /
/ ![]() then ENTER).
then ENTER).
3Select “OK”. ( ![]() /
/ ![]() /
/ ![]() /
/ ![]() then ENTER).
then ENTER).
•A restart dialog screen appears.
4Press ENTER again on the dialog screen.
•The setup finishes.
•The system restarts then the Home Media Gallery screen returns.
To manually set:
Before setting up, check your media server for IP Address and Subnet mask.
1Select “Automatically acquire IP” then press ENTER.
2Select “No” ( ![]() /
/ ![]() then ENTER).
then ENTER).
3Select the setup item’s box ( ![]() /
/ ![]() /
/ ![]() /
/ ![]() then ENTER).
then ENTER).
•The screen turns to entry mode for “IP Address” and “Subnet mask”.
•No need to enter “Default Gateway” and “DNS Server”.
4Enter the figures using buttons 0 to 9.
•Subnet mask (such as 255.255.255.0) Enter the same figures as you checked.
•IP Address (such as 192.168.201.***)
Enter the same figures as used in the media server (PC, etc.) you use. For ***, enter
254)that have not been used for network connections yet.
5Press ENTER on the setup item’s box after the entry is complete.
•The screen turns to setup selection mode.
•Repeat steps 2 to 4 to complete the necessary setup.
6Select “OK” ( ![]() /
/ ![]() /
/ ![]() /
/ ![]() then ENTER).
then ENTER).
•A restart dialog screen appears.
7Press ENTER again on the dialog screen.
•The setup finishes.
•The system restarts then the Home Media Gallery screen returns.
“Auto Connection Setup”
When you enjoy content on the network, you can select from the following options: “Last Connected Server” and “Single Server/USB”. See “Auto Connection Setup” on page 90.
“Wake on LAN (WOL)” functions to turn the last accessed server’s power on if the server is
For USB content, the Device List is displayed on the screen if you have not checked in the “Single Server/USB” box after selecting “Setup” and then “Auto Connection Setup”. You can select the desired device and then content in it. If you have checked in the box, the list is skipped (default setting) and you can see the folder(s) or file(s) in the USB device that has a single directory.
“Default Settings”
Setups you have entered within the Home Media Gallery function return to default. When you select “Reset”, a confirmation screen “To activate the default settings, restart Home Media Gallery.” will appear. Press ENTER to reset to default. When you select “Cancel”, the previous
screen displays ( ![]() /
/ ![]() then ENTER).
then ENTER).
“Software Update”
Select “Next” to follow the procedure on the subsequent screens or “Cancel” to return to the previous screen ( ![]() /
/
![]() then ENTER). When update is completed, a confirmation message “To activate the updated software, restart Home Media Gallery.” appears. See“Software Update” on page 89.
then ENTER). When update is completed, a confirmation message “To activate the updated software, restart Home Media Gallery.” appears. See“Software Update” on page 89.
“Home Media Gallery Version”
You can confirm the version and copyright information on the Home Media Gallery software. Select “OK” to return to the previous screen (ENTER).
8Press HOME MENU again to exit the Home Media Gallery.
12
English
87
En