08Other connections
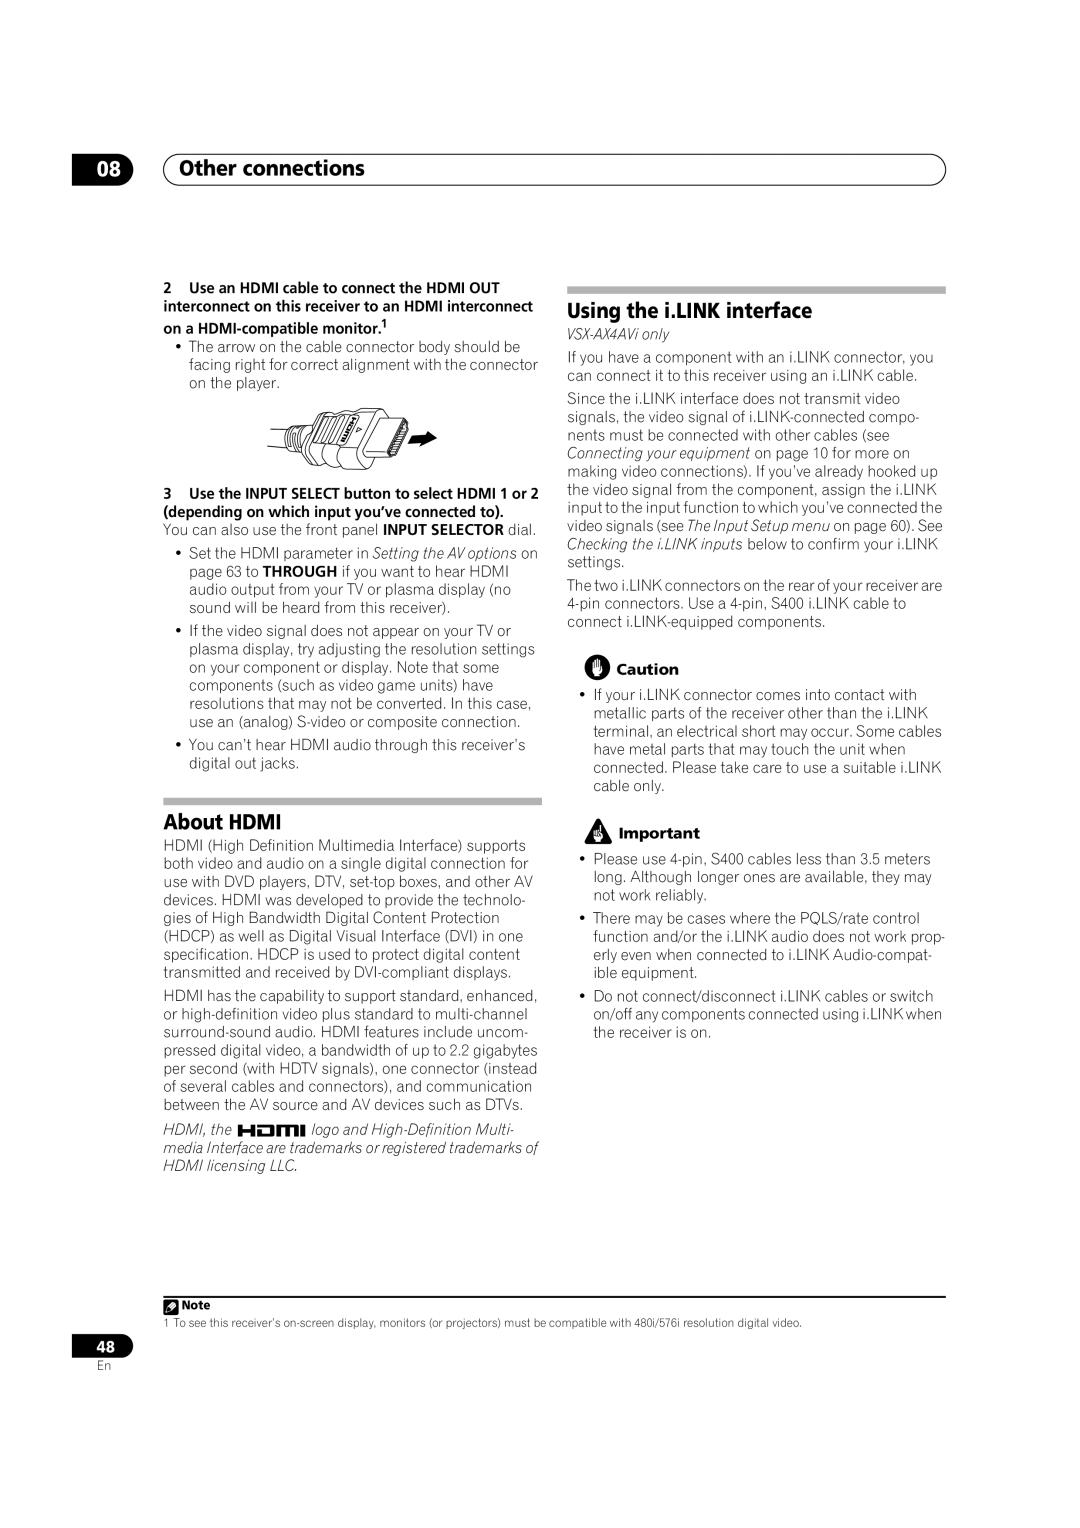
2Use an HDMI cable to connect the HDMI OUT interconnect on this receiver to an HDMI interconnect
on a HDMI-compatible monitor.1
•The arrow on the cable connector body should be facing right for correct alignment with the connector on the player.
3Use the INPUT SELECT button to select HDMI 1 or 2 (depending on which input you’ve connected to).
You can also use the front panel INPUT SELECTOR dial.
•Set the HDMI parameter in Setting the AV options on page 63 to THROUGH if you want to hear HDMI audio output from your TV or plasma display (no sound will be heard from this receiver).
•If the video signal does not appear on your TV or plasma display, try adjusting the resolution settings on your component or display. Note that some components (such as video game units) have resolutions that may not be converted. In this case, use an (analog)
•You can’t hear HDMI audio through this receiver’s digital out jacks.
About HDMI
HDMI (High Definition Multimedia Interface) supports both video and audio on a single digital connection for use with DVD players, DTV,
HDMI has the capability to support standard, enhanced, or
HDMI, the ![]()
![]() logo and
logo and
Using the i.LINK interface
VSX-AX4AVi only
If you have a component with an i.LINK connector, you can connect it to this receiver using an i.LINK cable.
Since the i.LINK interface does not transmit video signals, the video signal of
The two i.LINK connectors on the rear of your receiver are
![]() Caution
Caution
•If your i.LINK connector comes into contact with metallic parts of the receiver other than the i.LINK terminal, an electrical short may occur. Some cables have metal parts that may touch the unit when connected. Please take care to use a suitable i.LINK cable only.
![]() Important
Important
•Please use
•There may be cases where the PQLS/rate control function and/or the i.LINK audio does not work prop- erly even when connected to i.LINK
•Do not connect/disconnect i.LINK cables or switch on/off any components connected using i.LINK when the receiver is on.
![]() Note
Note
1 To see this receiver’s
48
En