10Using other functions
Setting | What it does | Option(s) |
Contrast | Adjusts the contrast between light | |
| and dark. | Default: 0 |
|
|
|
Hue | Adjusts the red/green balance. |
|
|
| Default: 0 |
|
|
|
a.Only when listening to
b.Only when listening to 2-channel sources in Neo:6 Music mode.
c.You shouldn't have any problems using this with most SACD discs, but if the sound distorts, it is best to switch the gain setting back to 0dB.
2 Prepare the source you want to record.
Tune to the radio station, load the CD, video, DVD etc.
3 Prepare the recorder.
Insert a blank tape, MD, video etc. into the recording device and set the recording levels.
Refer to the instructions that came with the recorder if you are unsure how to do this. Most video recorders set the audio recording level
4Start recording, then start playback of the source component.
Making an audio or a video recording
You can make an audio or a video recording from the
connected to the receiver (such as a CD player or TV). 1
Keep in mind you can't make a digital recording from an analog source or
Since the video converter is not available when making recordings (from the video OUT jacks) make sure to use the same type of video cable for connecting your recorder as you used to connect your video source (the one you want to record) to this receiver. For example, you must connect your recorder using
For more information about video connections, see Connecting a DVD/HDD recorder, VCR and other video sources on page 13.
RECEIVER INPUT | SYSTEM OFF |
SOURCE | |
SELECT |
|
CD | TV | VIDEO 2 |
|
DVD | SAT | VIDEO1 | TVCONT |
DVR2 | MULTI IN | ROOM2/3 | |
DVR1 | iPod | TUNER | RECEIVER |
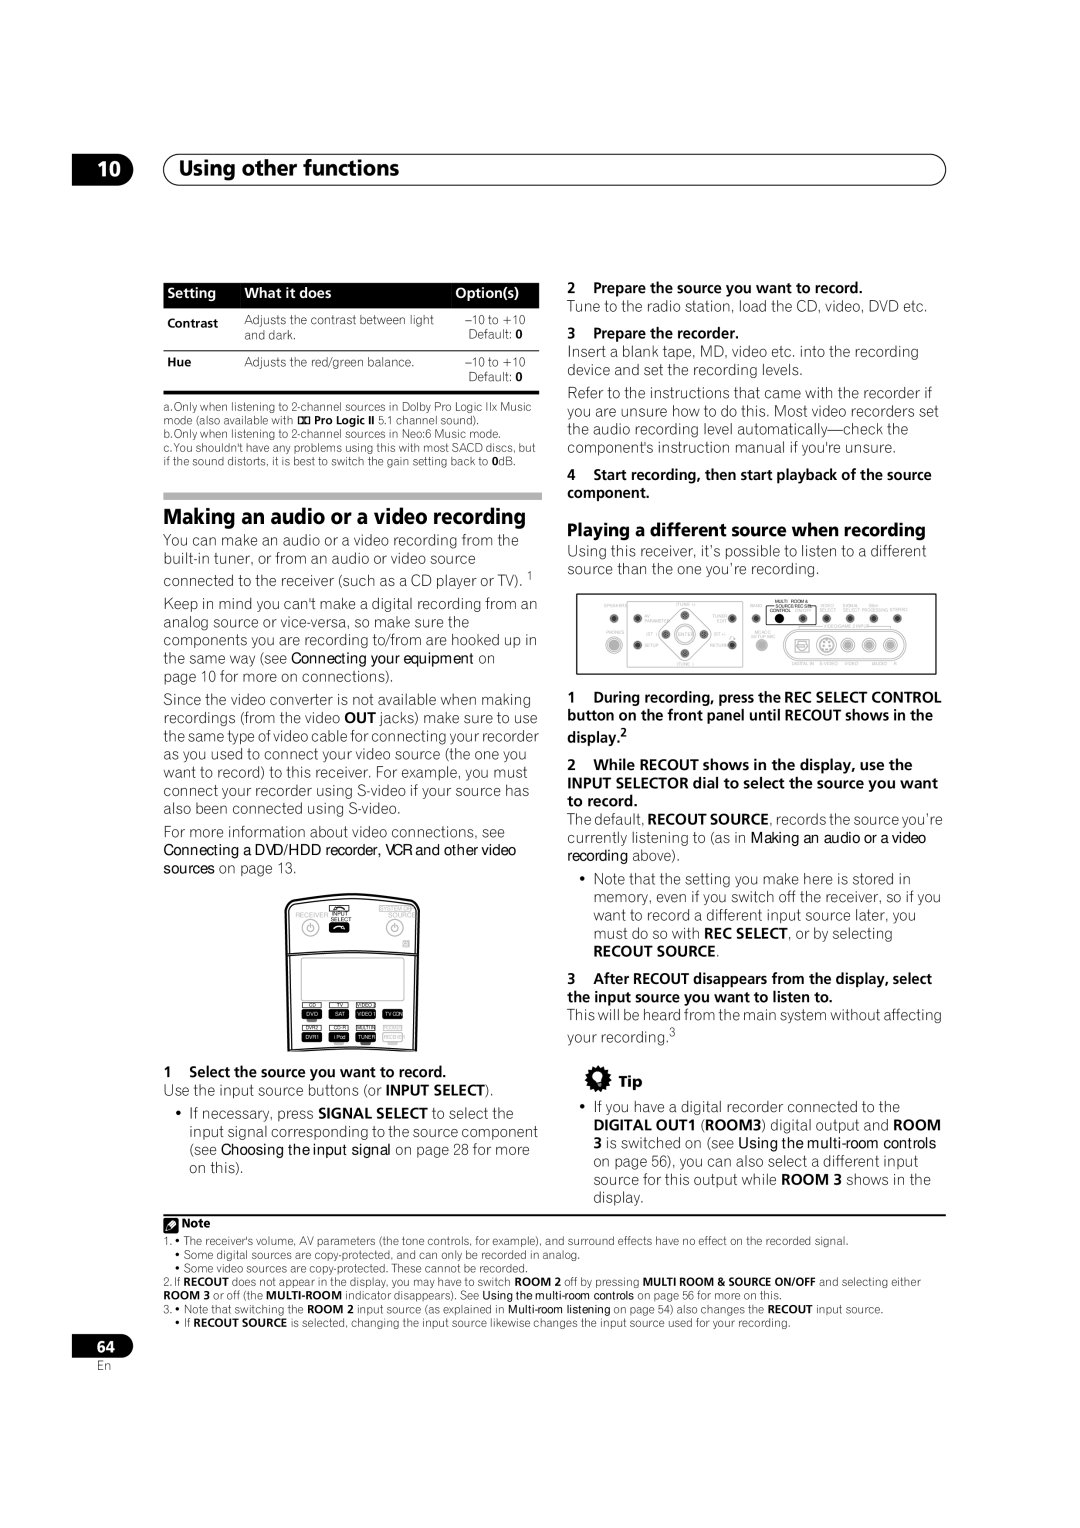
1 Select the source you want to record.
Use the input source buttons (or INPUT SELECT).
•If necessary, press SIGNAL SELECT to select the input signal corresponding to the source component (see Choosing the input signal on page 28 for more on this).
Playing a different source when recording
Using this receiver, it’s possible to listen to a different source than the one you’re recording.
SPEAKERS |
| (TUNE +) |
| BAND | MULTI – ROOM & | VIDEO | SIGNAL | SBch |
|
|
| SOURCE/REC SEL | STEREO | ||||||
|
|
|
|
| CONTROL ON/OFF | SELECT | SELECT | PROCESSING | |
| AV |
| TUNER |
|
|
|
|
|
|
| PARAMETER |
| EDIT |
|
|
|
|
|
|
|
|
|
|
|
| VIDEO/GAME 2 INPUT |
| ||
PHONES | (ST | ENTER | (ST +) | MCACC |
|
|
|
|
|
| SETUP MIC |
|
|
|
| ||||
|
|
|
|
|
|
|
| ||
| SETUP |
| RETURN |
|
|
|
|
|
|
|
| (TUNE |
|
| DIGITAL IN | VIDEO | L AUDIO | R | |
1During recording, press the REC SELECT CONTROL button on the front panel until RECOUT shows in the display.2
2While RECOUT shows in the display, use the
INPUT SELECTOR dial to select the source you want to record.
The default, RECOUT SOURCE, records the source you’re currently listening to (as in Making an audio or a video recording above).
•Note that the setting you make here is stored in memory, even if you switch off the receiver, so if you want to record a different input source later, you must do so with REC SELECT, or by selecting
RECOUT SOURCE.
3After RECOUT disappears from the display, select the input source you want to listen to.
This will be heard from the main system without affecting your recording.3
 Tip
Tip
•If you have a digital recorder connected to the DIGITAL OUT1 (ROOM3) digital output and ROOM 3 is switched on (see Using the
![]() Note
Note
1.• The receiver's volume, AV parameters (the tone controls, for example), and surround effects have no effect on the recorded signal.
•Some digital sources are
•Some video sources are
2.If RECOUT does not appear in the display, you may have to switch ROOM 2 off by pressing MULTI ROOM & SOURCE ON/OFF and selecting either ROOM 3 or off (the
3.• Note that switching the ROOM 2 input source (as explained in
•If RECOUT SOURCE is selected, changing the input source likewise changes the input source used for your recording.
64
En