08Other connections
3If you’re connecting for the first time, wait for the USB driver installation to finish.
The installation may take a minute or two to complete. Make sure you leave the USB cable connected until the dialog box indicates that the USB setup is finished. Note that some older operating systems may require a disc for installation.1
4Use the INPUT SELECT button to select USB.
You can also use the INPUT SELECTOR dial on the front panel.
5Make any necessary settings required to select the USB interface as your computer audio output.
You will need to make sure the correct speaker setting is selected with the audio software you’re using. Please refer to the manual that came with the software to make these settings.
6Turn up the volume control on your computer and this receiver.
You may want to start with a fairly low volume on this receiver and turn it up as necessary after you’ve checked your levels.
7Start playback of a source on your computer.
![]() Caution
Caution
•Make sure you don’t switch off the computer or unplug the USB cable during playback.
•To prevent noise being output, don’t use other software on your computer during playback.
•Pioneer is not responsible for computer system damage, software crashes or failures, or any other possible computer problems due to this configuration.
Microsoft®, Windows® XP, Windows® 2000, Windows® Millennium Edition, Windows® 98, and Windows NT® are either registered trademarks or trademarks of Microsoft Corporation in the United States and/or other countries.
Second Zone speaker B setup
![]() Caution
Caution
•Before making or changing the connections, switch off the power and disconnect the power cord from the power outlet. Plugging in components should be the last connection you make with your system.
•Be careful not to allow any contact between speaker wires from different terminals.
•You can use speakers with a nominal impedance between
After selecting 2nd Zone in Surround back speaker setting on page 35, you can use the speakers connected to the (surround back) B speaker terminals on the rear panel to listen to stereo playback in another room. See Switching the speaker system below for the listening options with this setup.
1Connect a pair of speakers to the surround back speaker terminals on the rear panel.
Connect them the same way you connected your speakers in Installing your speaker system on page 17. Make sure to review Placing the speakers on page 18 when placing the speakers in another room.
2Select ‘2nd Zone’ from the ‘Surr Back System’ menu. See Surround back speaker setting on page 35 to do this.
Switching the speaker system
If you selected 2nd Zone in Surround back speaker setting on page 35, three speaker system settings are possible using the SPEAKERS button. If you selected Normal (SB) or Front
2nd Zone setting only.2
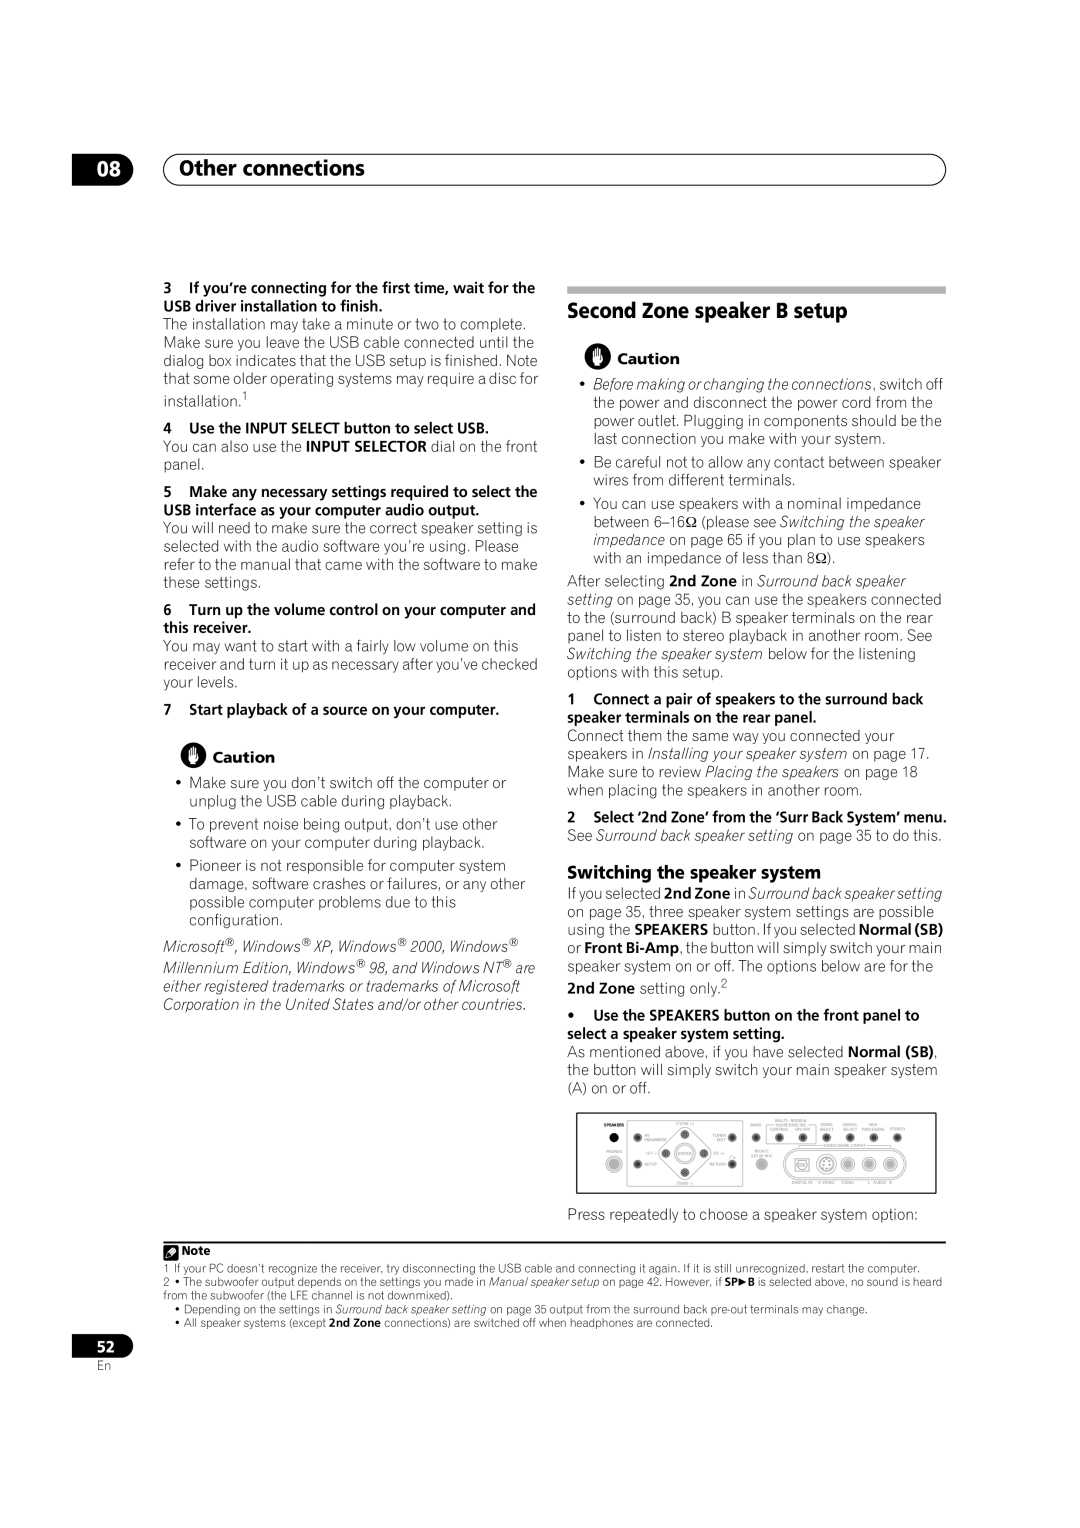
•Use the SPEAKERS button on the front panel to select a speaker system setting.
As mentioned above, if you have selected Normal (SB), the button will simply switch your main speaker system
(A) on or off.
SPEAKERS |
| (TUNE +) |
| BAND | MULTI – ROOM & | VIDEO | SIGNAL | SBch |
|
|
| SOURCE/REC SEL | STEREO | ||||||
|
|
|
|
| CONTROL ON/OFF | SELECT | SELECT | PROCESSING | |
| AV |
| TUNER |
|
|
|
|
|
|
| PARAMETER |
| EDIT |
|
|
|
|
|
|
|
|
|
|
|
| VIDEO/GAME 2 INPUT |
| ||
PHONES | (ST | ENTER | (ST +) | MCACC |
|
|
|
|
|
|
|
|
| SETUP MIC |
|
|
|
| |
| SETUP |
| RETURN |
|
|
|
|
|
|
|
| (TUNE |
|
| DIGITAL IN | VIDEO | L AUDIO | R | |
|
| Press repeatedly to choose a speaker system option: |
|
|
|
|
| Note |
|
|
|
1 | If your PC doesn’t recognize the receiver, try disconnecting the USB cable and connecting it again. If it is still unrecognized, restart the computer. | |
2 | • The subwoofer output depends on the settings you made in Manual speaker setup on page 42. However, if SP B is selected above, no sound is heard | |
from the subwoofer (the LFE channel is not downmixed).
•Depending on the settings in Surround back speaker setting on page 35 output from the surround back
•All speaker systems (except 2nd Zone connections) are switched off when headphones are connected.
52
En