3Select the item to be adjusted on the Main Menu
Select the item to be adjusted by moving the cursor on the Main menu with the
[![]() ] and/or [
] and/or [ ![]() ] button and then press the [ENTER] button. You can see the cursor moving to the Sub menu.
] button and then press the [ENTER] button. You can see the cursor moving to the Sub menu.
4Select the item to be adjusted on the Sub Menu
Select the item to be adjusted by moving the cursor on the Sub menu with the
[![]() ] and/or [
] and/or [ ![]() ] button and then press the [ENTER] button.
] button and then press the [ENTER] button.
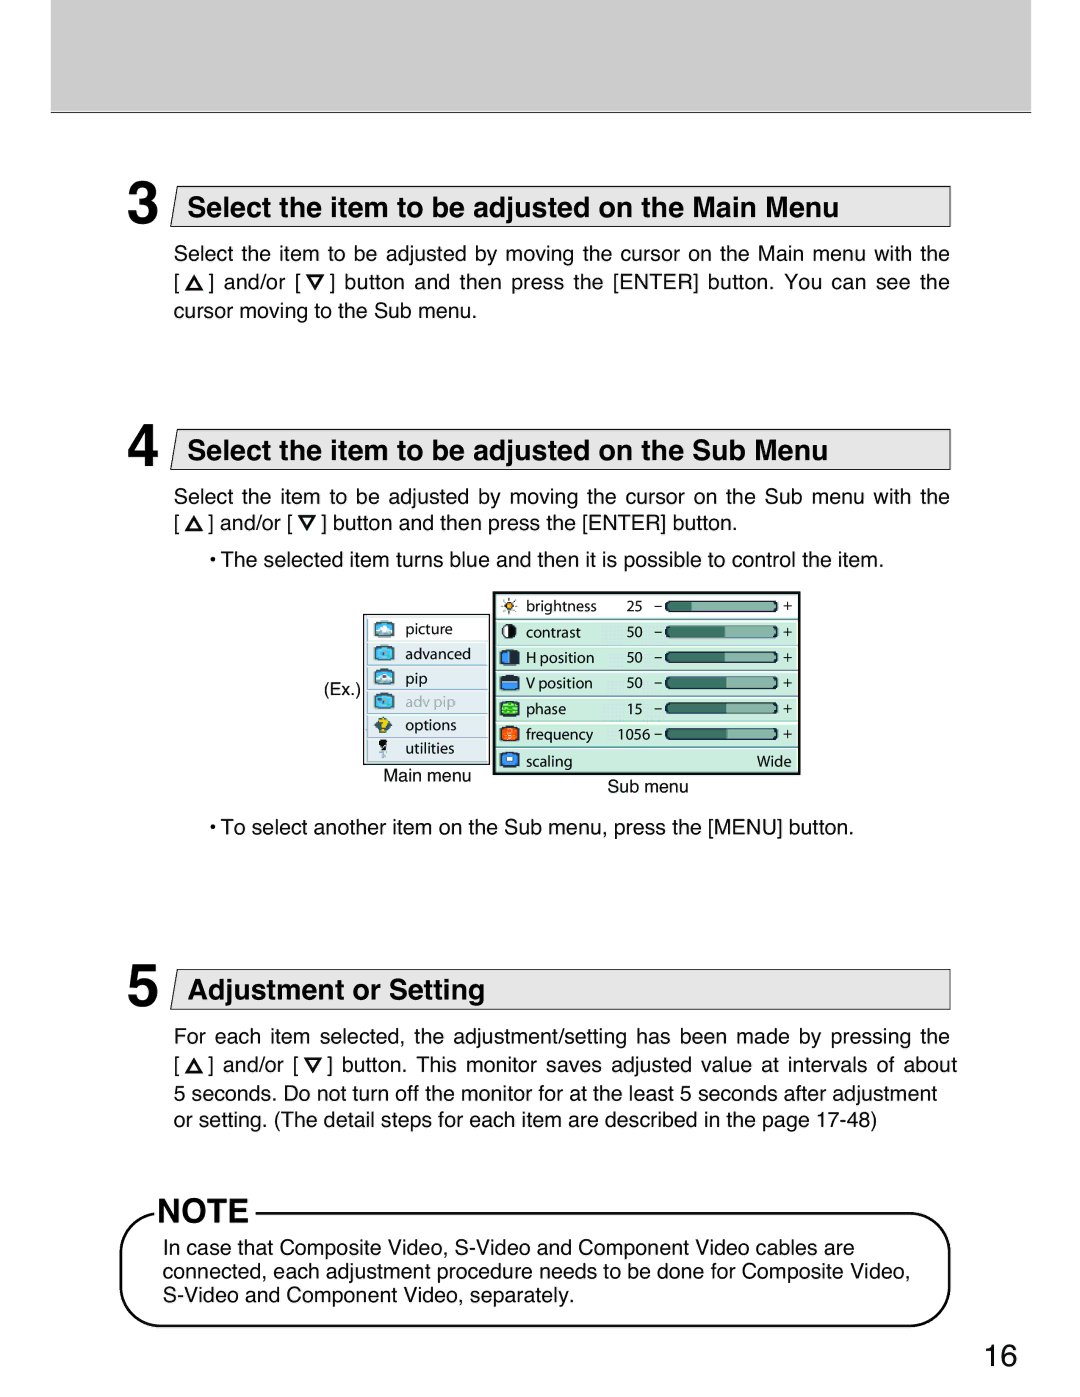
¥The selected item turns blue and then it is possible to control the item.
|
| brightness | 25 | - | + |
| picture | contrast | 50 | - | + |
| advanced | H position | 50 | - | + |
(Ex.) | pip | V position | 50 | - | + |
adv pip |
|
| - | + | |
| phase | 15 | |||
| options | ||||
| frequency | 1056 - | + | ||
| utilities | ||||
| scaling |
|
| Wide | |
|
|
|
| ||
Main menu
Sub menu
¥To select another item on the Sub menu, press the [MENU] button.
5Adjustment or Setting
For each item selected, the adjustment/setting has been made by pressing the [ ![]() ] and/or [
] and/or [ ![]() ] button. This monitor saves adjusted value at intervals of about 5 seconds. Do not turn off the monitor for at the least 5 seconds after adjustment or setting. (The detail steps for each item are described in the page
] button. This monitor saves adjusted value at intervals of about 5 seconds. Do not turn off the monitor for at the least 5 seconds after adjustment or setting. (The detail steps for each item are described in the page
NOTE
In case that Composite Video,
16