3Adjust the contrast
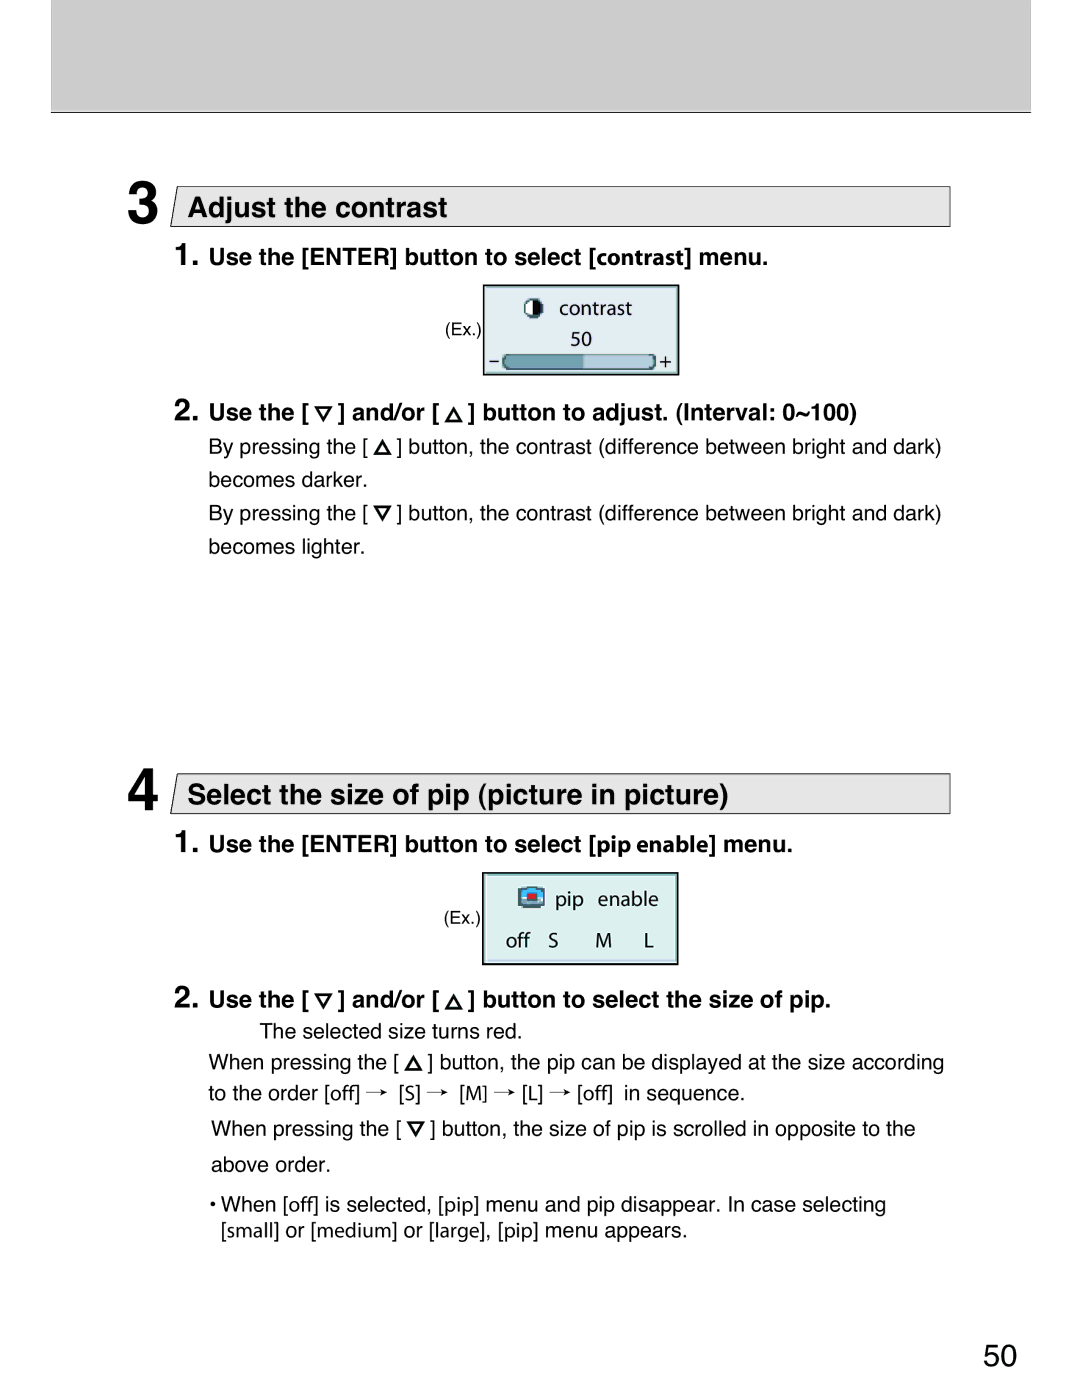
1.Use the [ENTER] button to select [contrast] menu.
contrast
(Ex.)50
-+
2. Use the [  ] and/or [
  ] button to adjust. (Interval: 0~100)
By pressing the [ ![]() ] button, the contrast (difference between bright and dark)
] button, the contrast (difference between bright and dark)
becomes darker.
By pressing the [ ![]() ] button, the contrast (difference between bright and dark)
] button, the contrast (difference between bright and dark)
becomes lighter.
4Select the size of pip (picture in picture)
1.Use the [ENTER] button to select [pip enable] menu.
pip enable
(Ex.)
off S M L
2. Use the [  ] and/or [
  ] button to select the size of pip.
The selected size turns red.
When pressing the [ ![]() ] button, the pip can be displayed at the size according to the order [off] / [S] / [M] / [L] / [off] in sequence.
] button, the pip can be displayed at the size according to the order [off] / [S] / [M] / [L] / [off] in sequence.
When pressing the [ ![]() ] button, the size of pip is scrolled in opposite to the
] button, the size of pip is scrolled in opposite to the
above order.
¥When [off] is selected, [pip] menu and pip disappear. In case selecting [small] or [medium] or [large], [pip] menu appears.
50