TOC | INDEX |
C. IDENTIFYING THE PARTS
Front Panel and Top
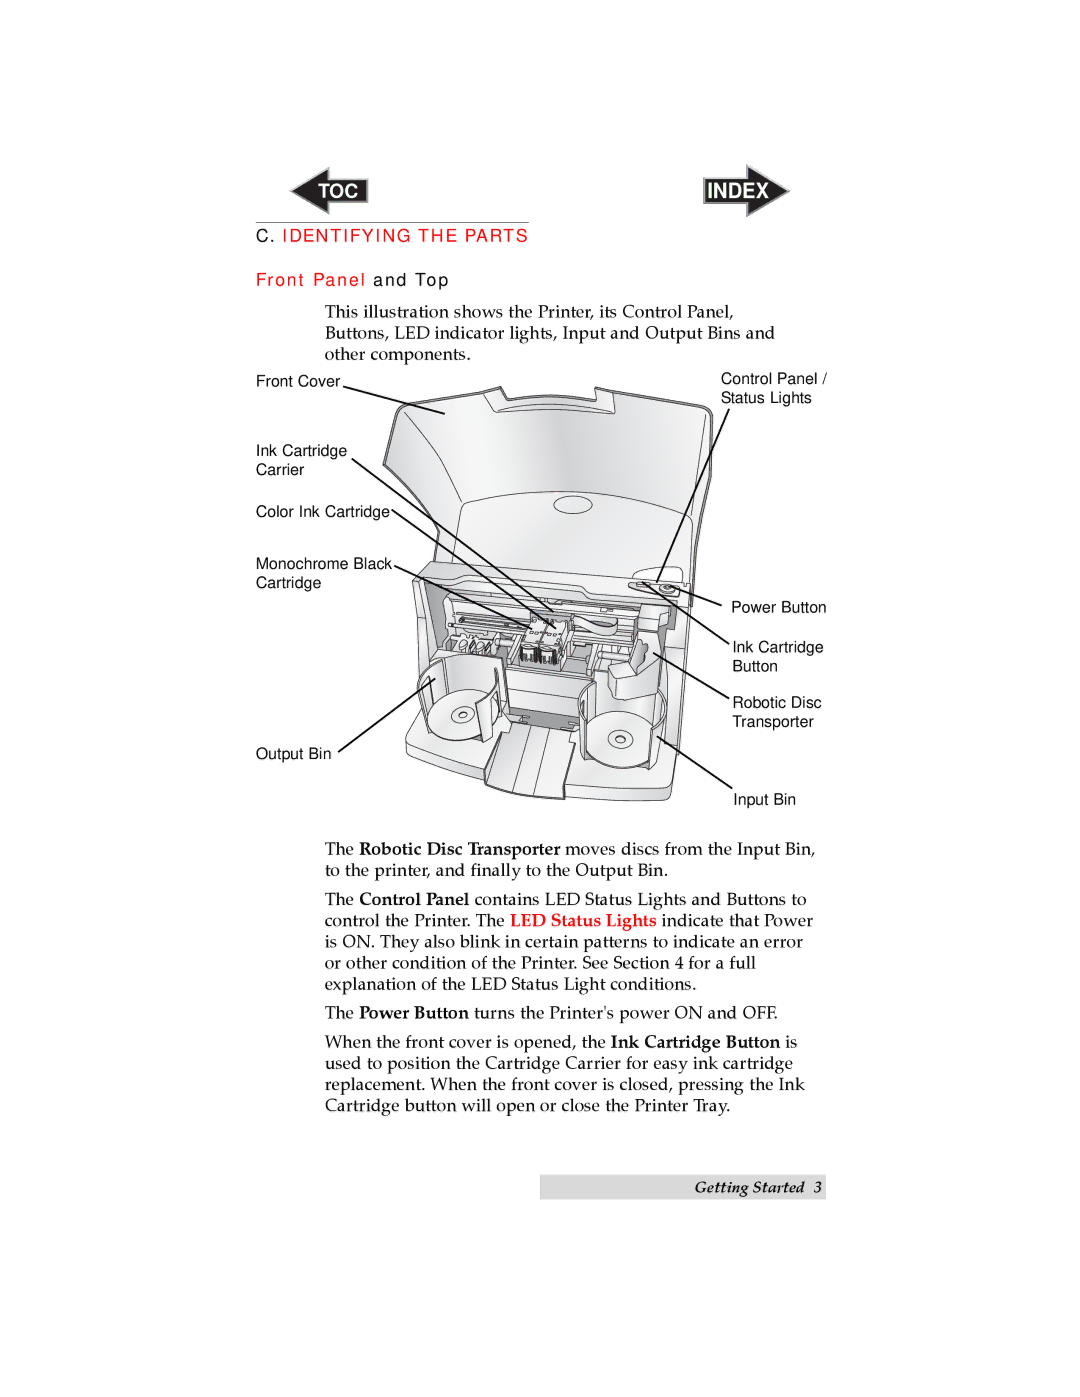
This illustration shows the Printer, its Control Panel, Buttons, LED indicator lights, Input and Output Bins and other components.
Front Cover | Control Panel / |
| Status Lights |
Ink Cartridge
Carrier
Color Ink Cartridge
Monochrome Black
Cartridge
Power Button
Ink Cartridge
Button
Robotic Disc
Transporter
Output Bin
Input Bin
The Robotic Disc Transporter moves discs from the Input Bin, to the printer, and finally to the Output Bin.
The Control Panel contains LED Status Lights and Buttons to control the Printer. The LED Status Lights indicate that Power is ON. They also blink in certain patterns to indicate an error or other condition of the Printer. See Section 4 for a full explanation of the LED Status Light conditions.
The Power Button turns the Printer's power ON and OFF.
When the front cover is opened, the Ink Cartridge Button is used to position the Cartridge Carrier for easy ink cartridge replacement. When the front cover is closed, pressing the Ink Cartridge button will open or close the Printer Tray.
Getting Started 3