QSC26404 User’s Manual
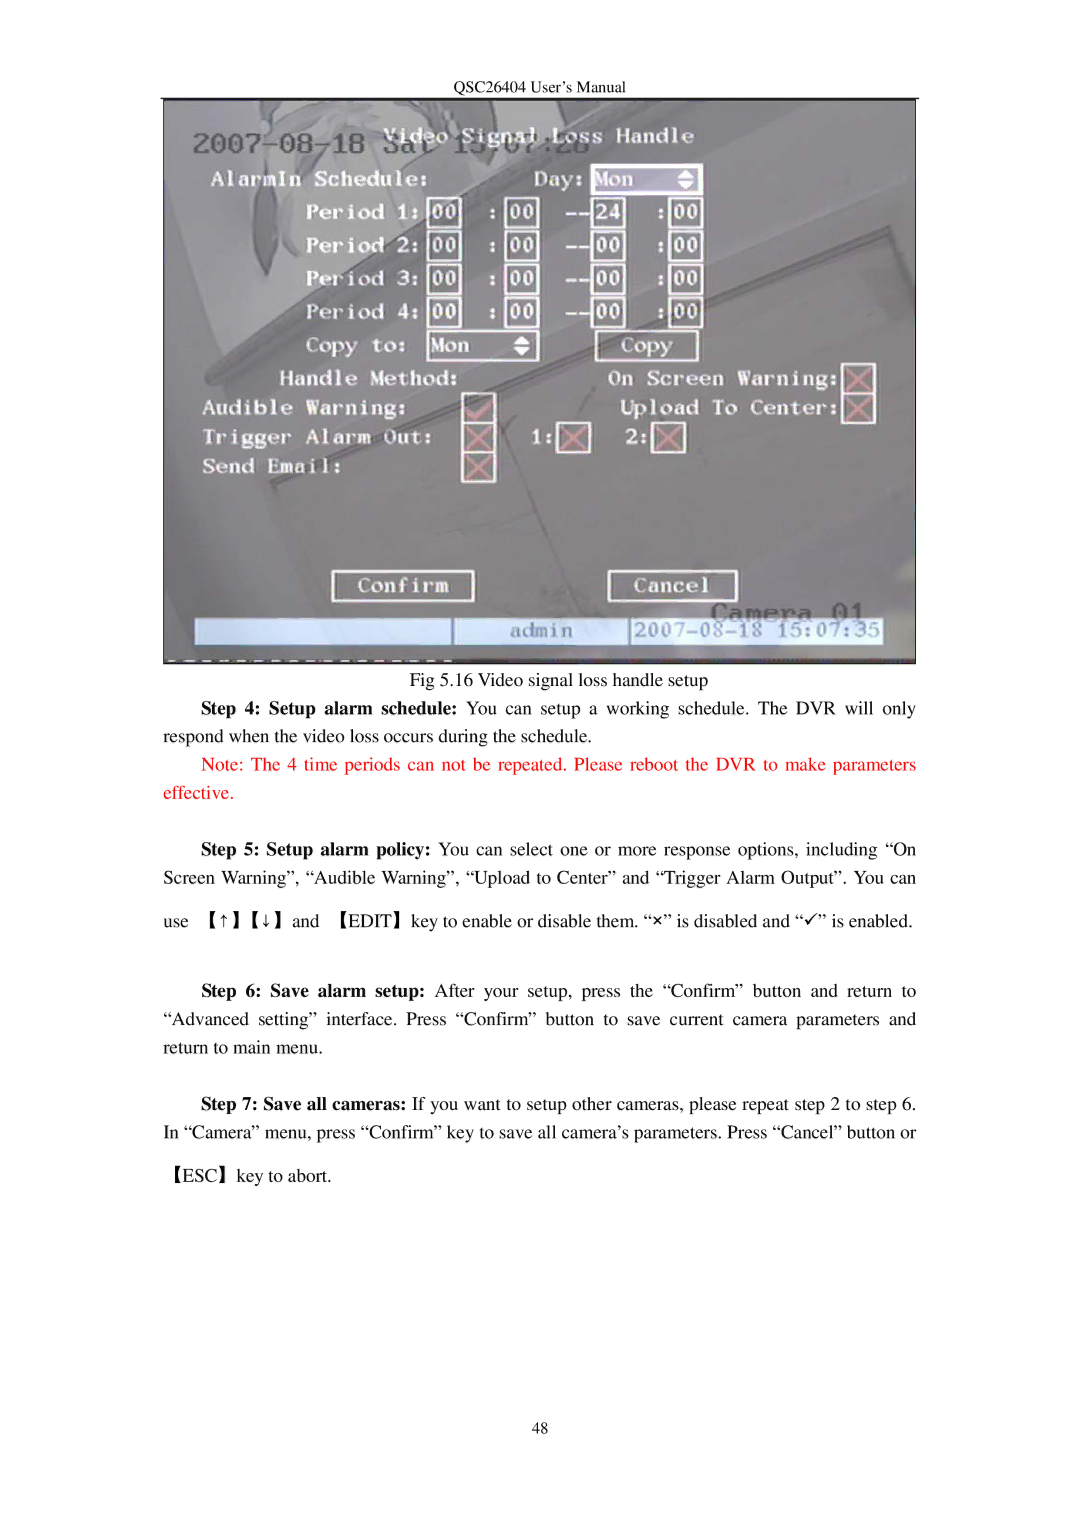
Fig 5.16 Video signal loss handle setup
Step 4: Setup alarm schedule: You can setup a working schedule. The DVR will only respond when the video loss occurs during the schedule.
Note: The 4 time periods can not be repeated. Please reboot the DVR to make parameters effective.
Step 5: Setup alarm policy: You can select one or more response options, including “On Screen Warning”, “Audible Warning”, “Upload to Center” and “Trigger Alarm Output”. You can
use 【↑】【↓】and 【EDIT】key to enable or disable them. “×” is disabled and “” is enabled.
Step 6: Save alarm setup: After your setup, press the “Confirm” button and return to “Advanced setting” interface. Press “Confirm” button to save current camera parameters and return to main menu.
Step 7: Save all cameras: If you want to setup other cameras, please repeat step 2 to step 6. In “Camera” menu, press “Confirm” key to save all camera’s parameters. Press “Cancel” button or
【ESC】key to abort.
48